Importing Contacts from a CSV in ClientWave360
Learn how to efficiently upload your contact list into ClientWave360 by mapping custom fields correctly. This guide provides a walkthrough for importing CSV files and assigning specific data attributes to ensure your CRM stays organized.
Import Initiation
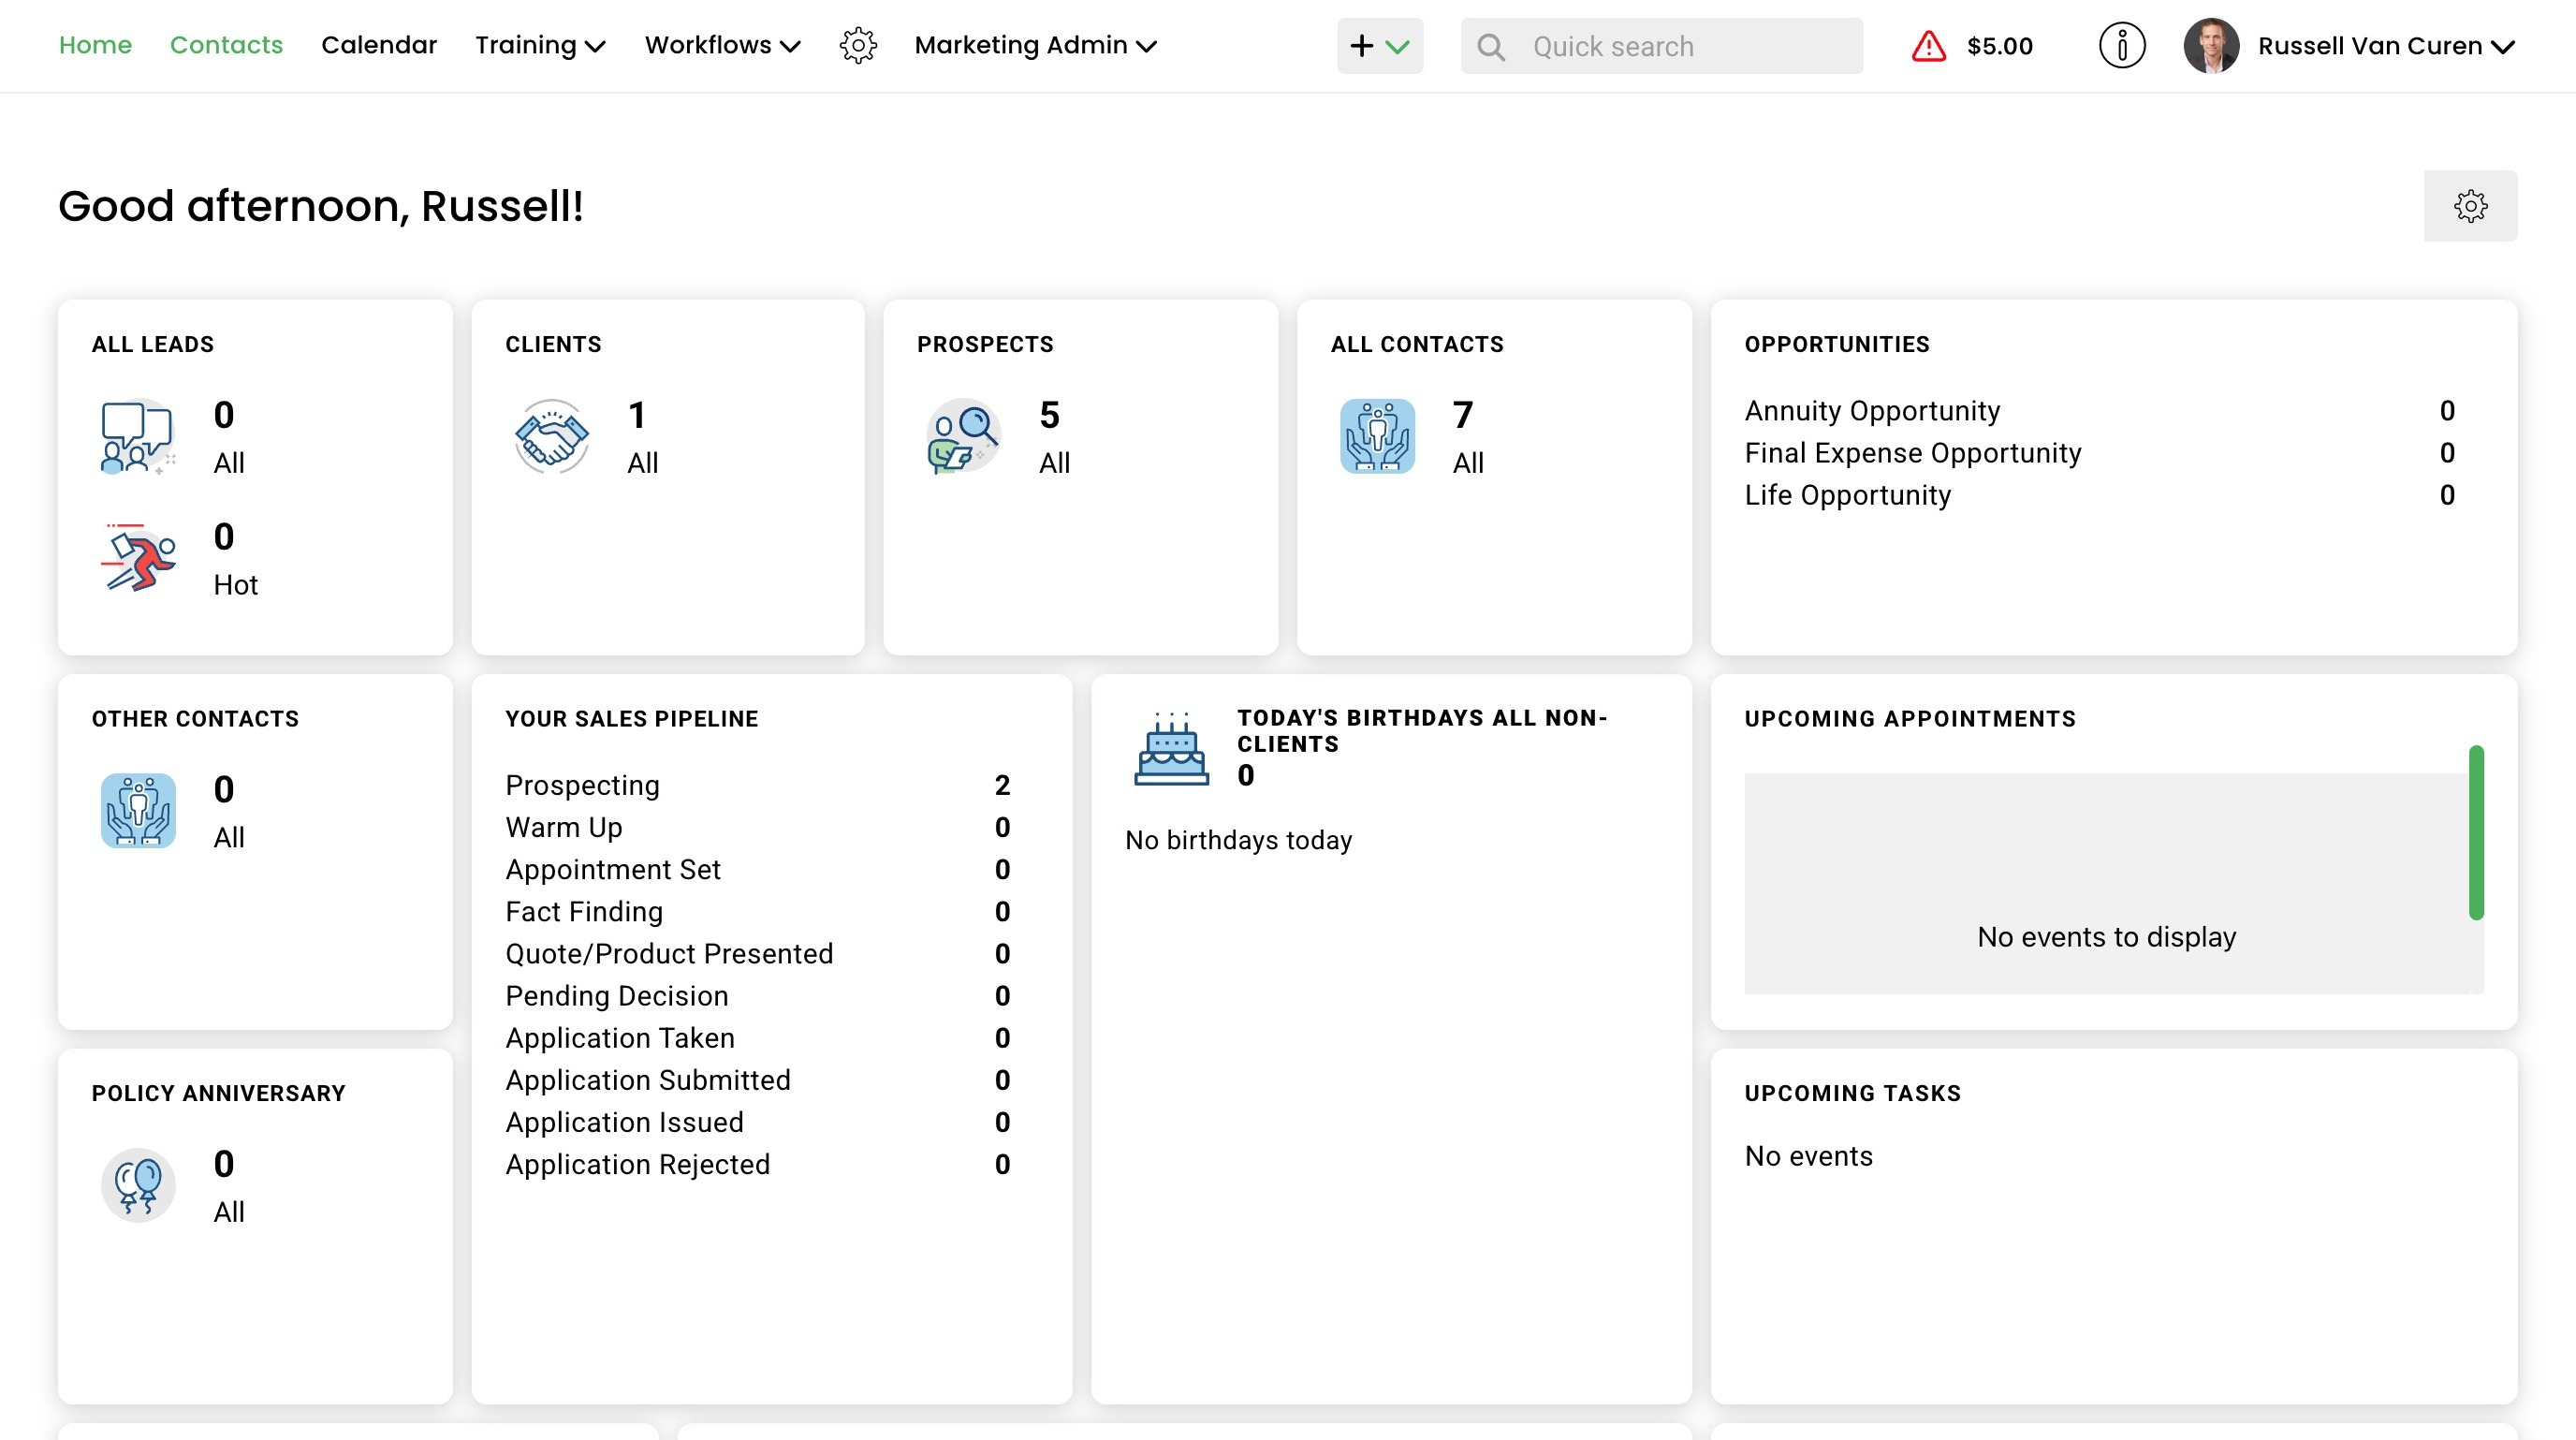
1. Navigate to https://clientwave360.com/
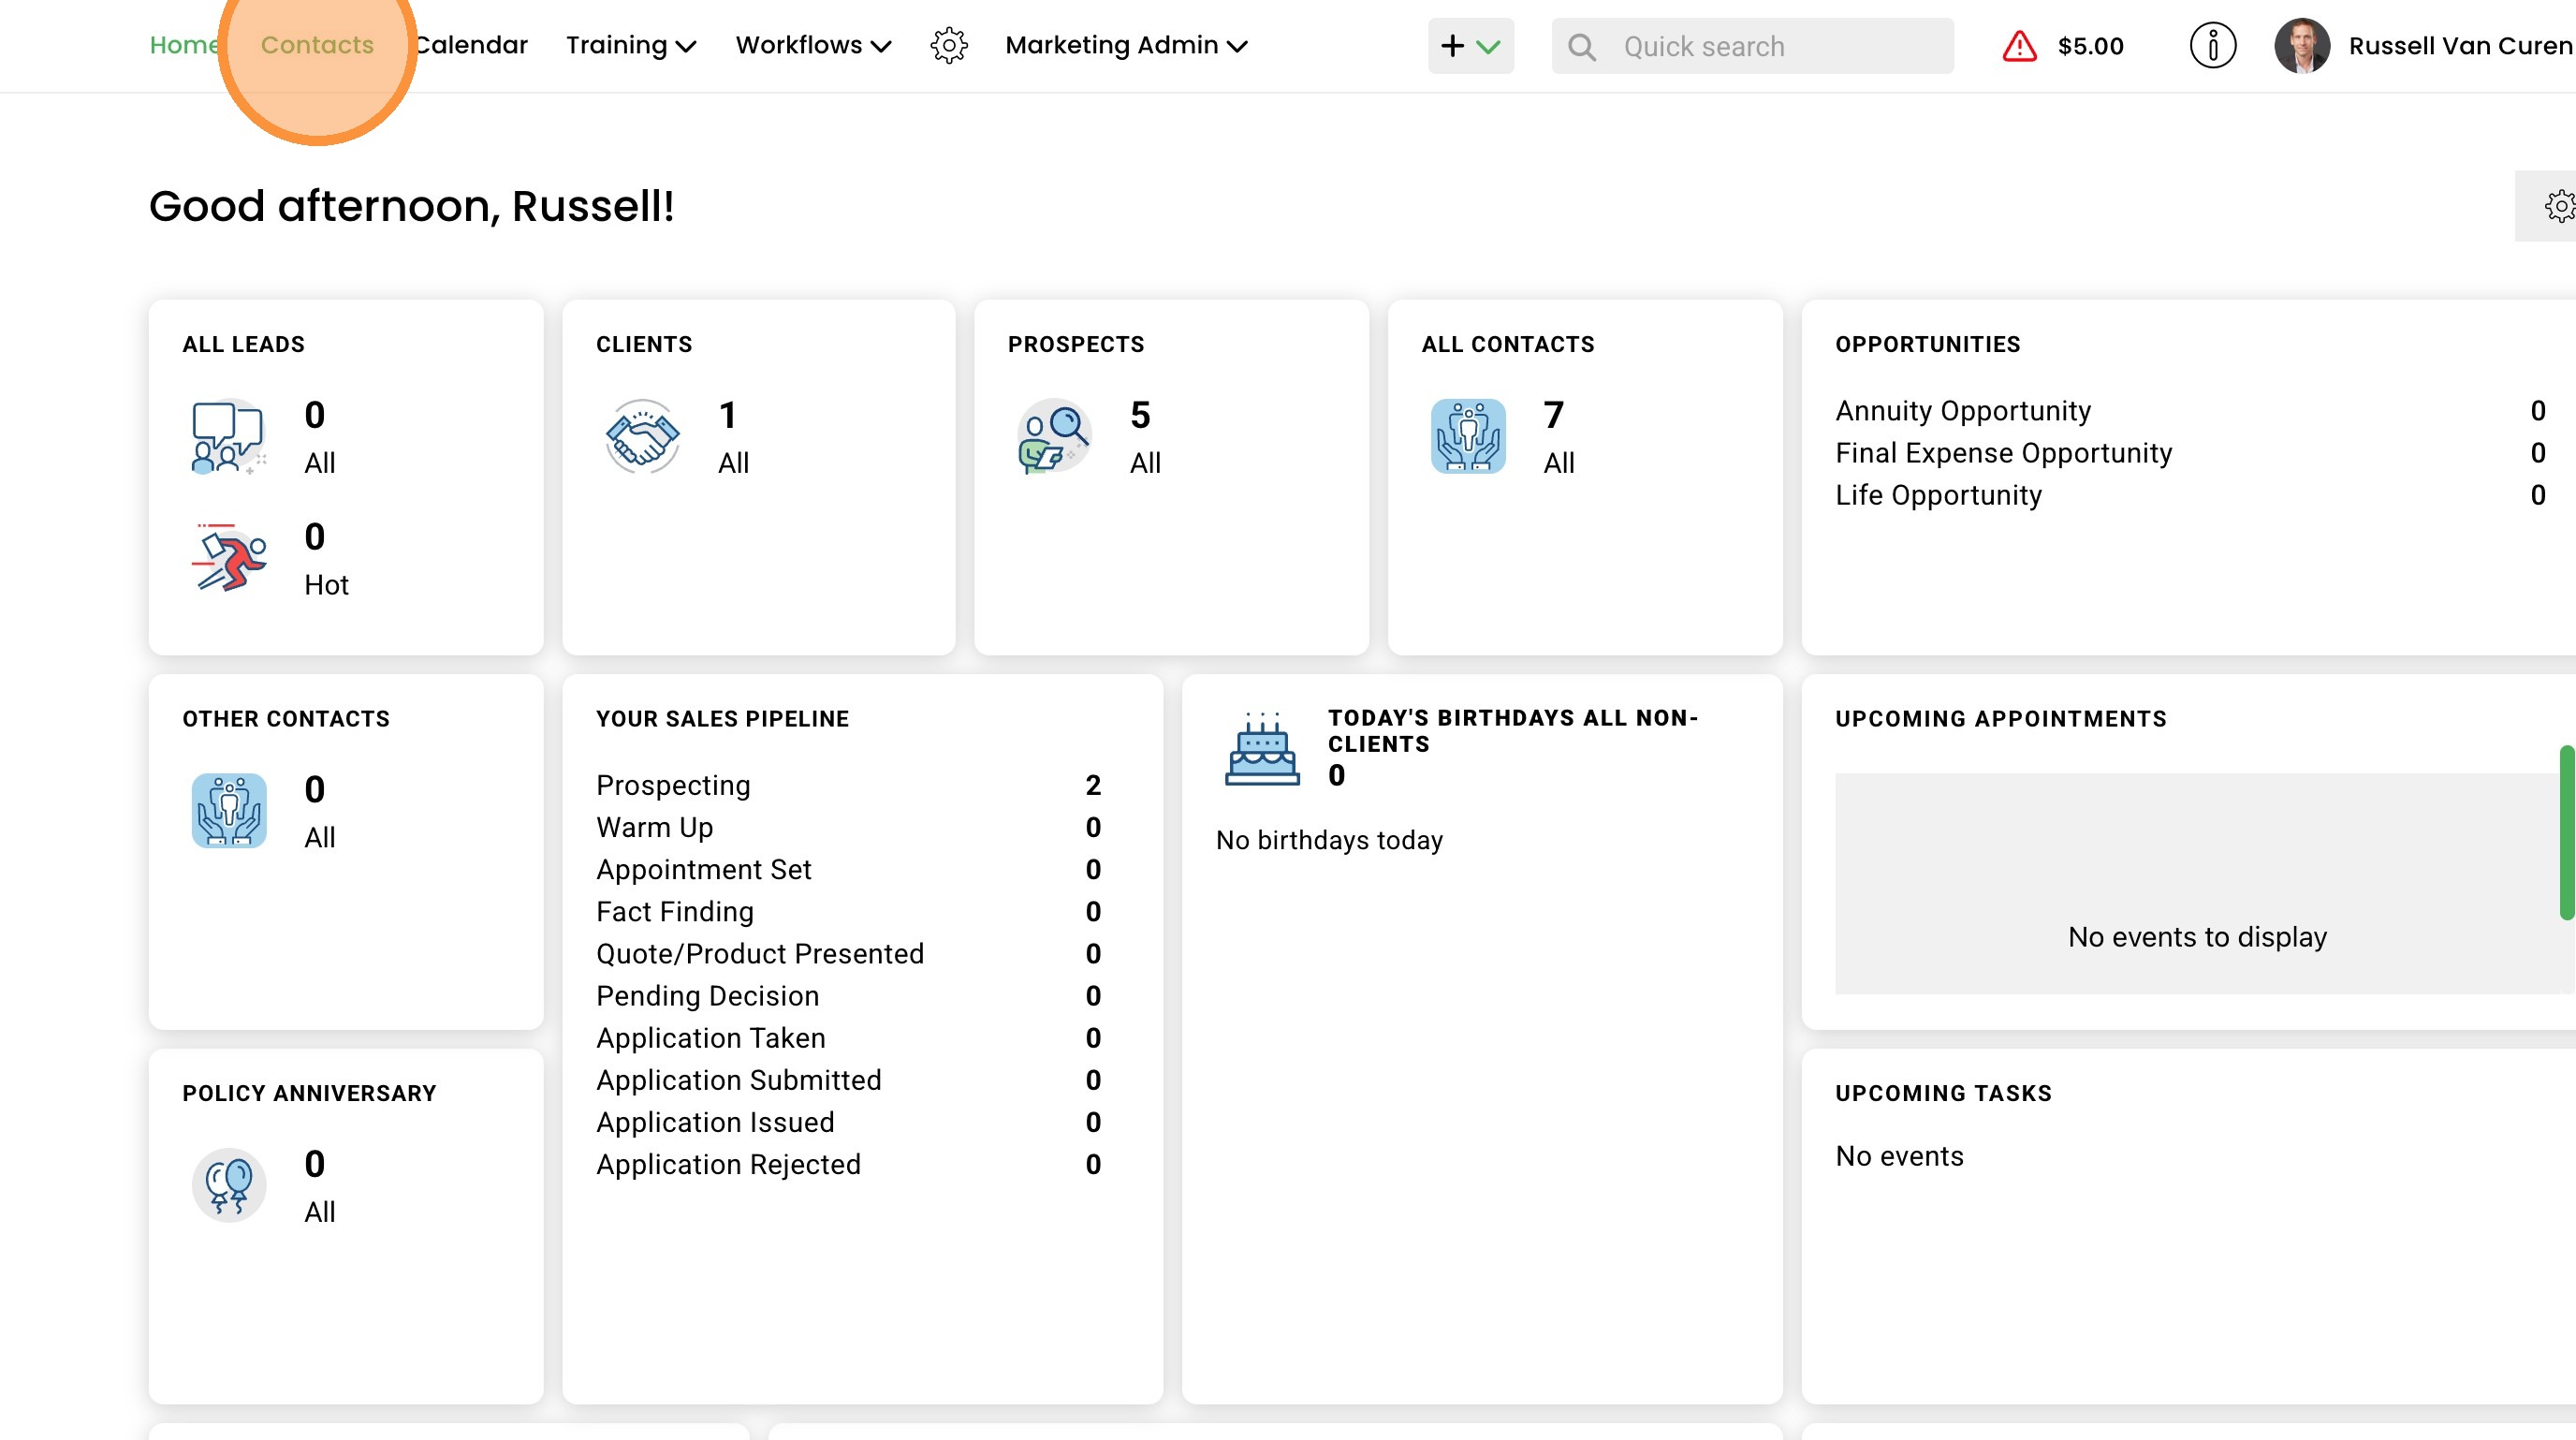
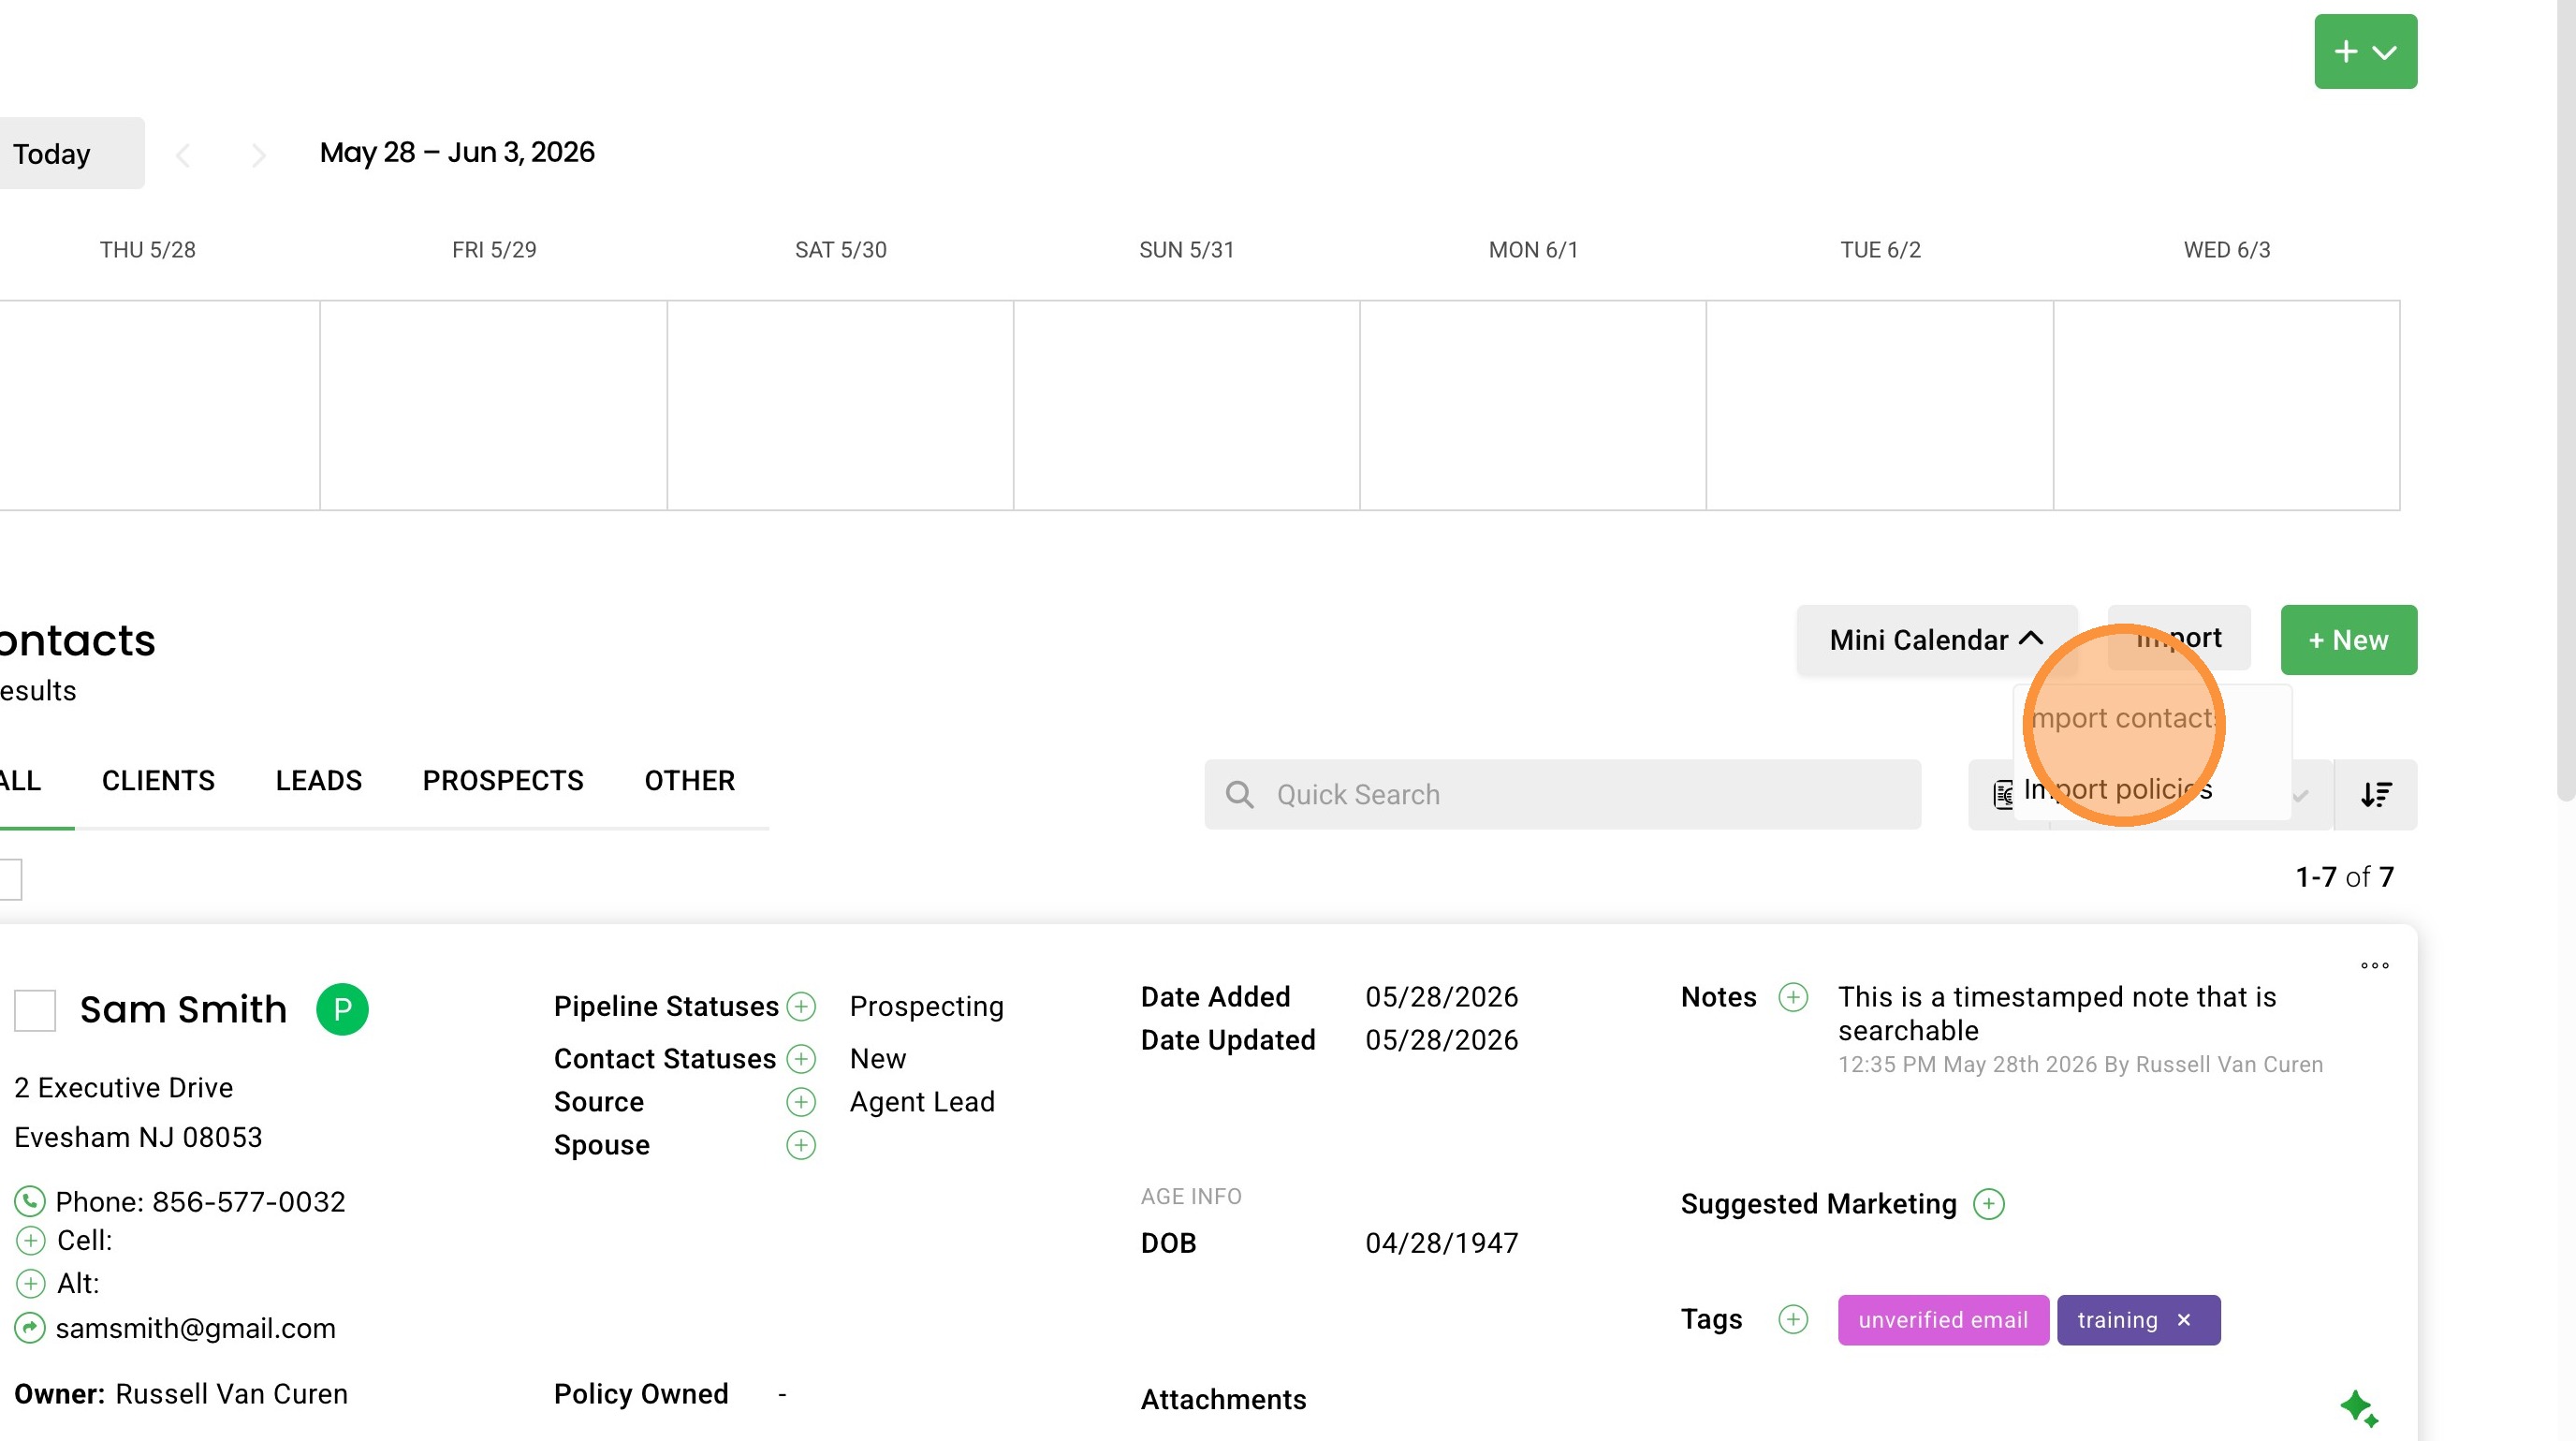
2. Click "Contacts"
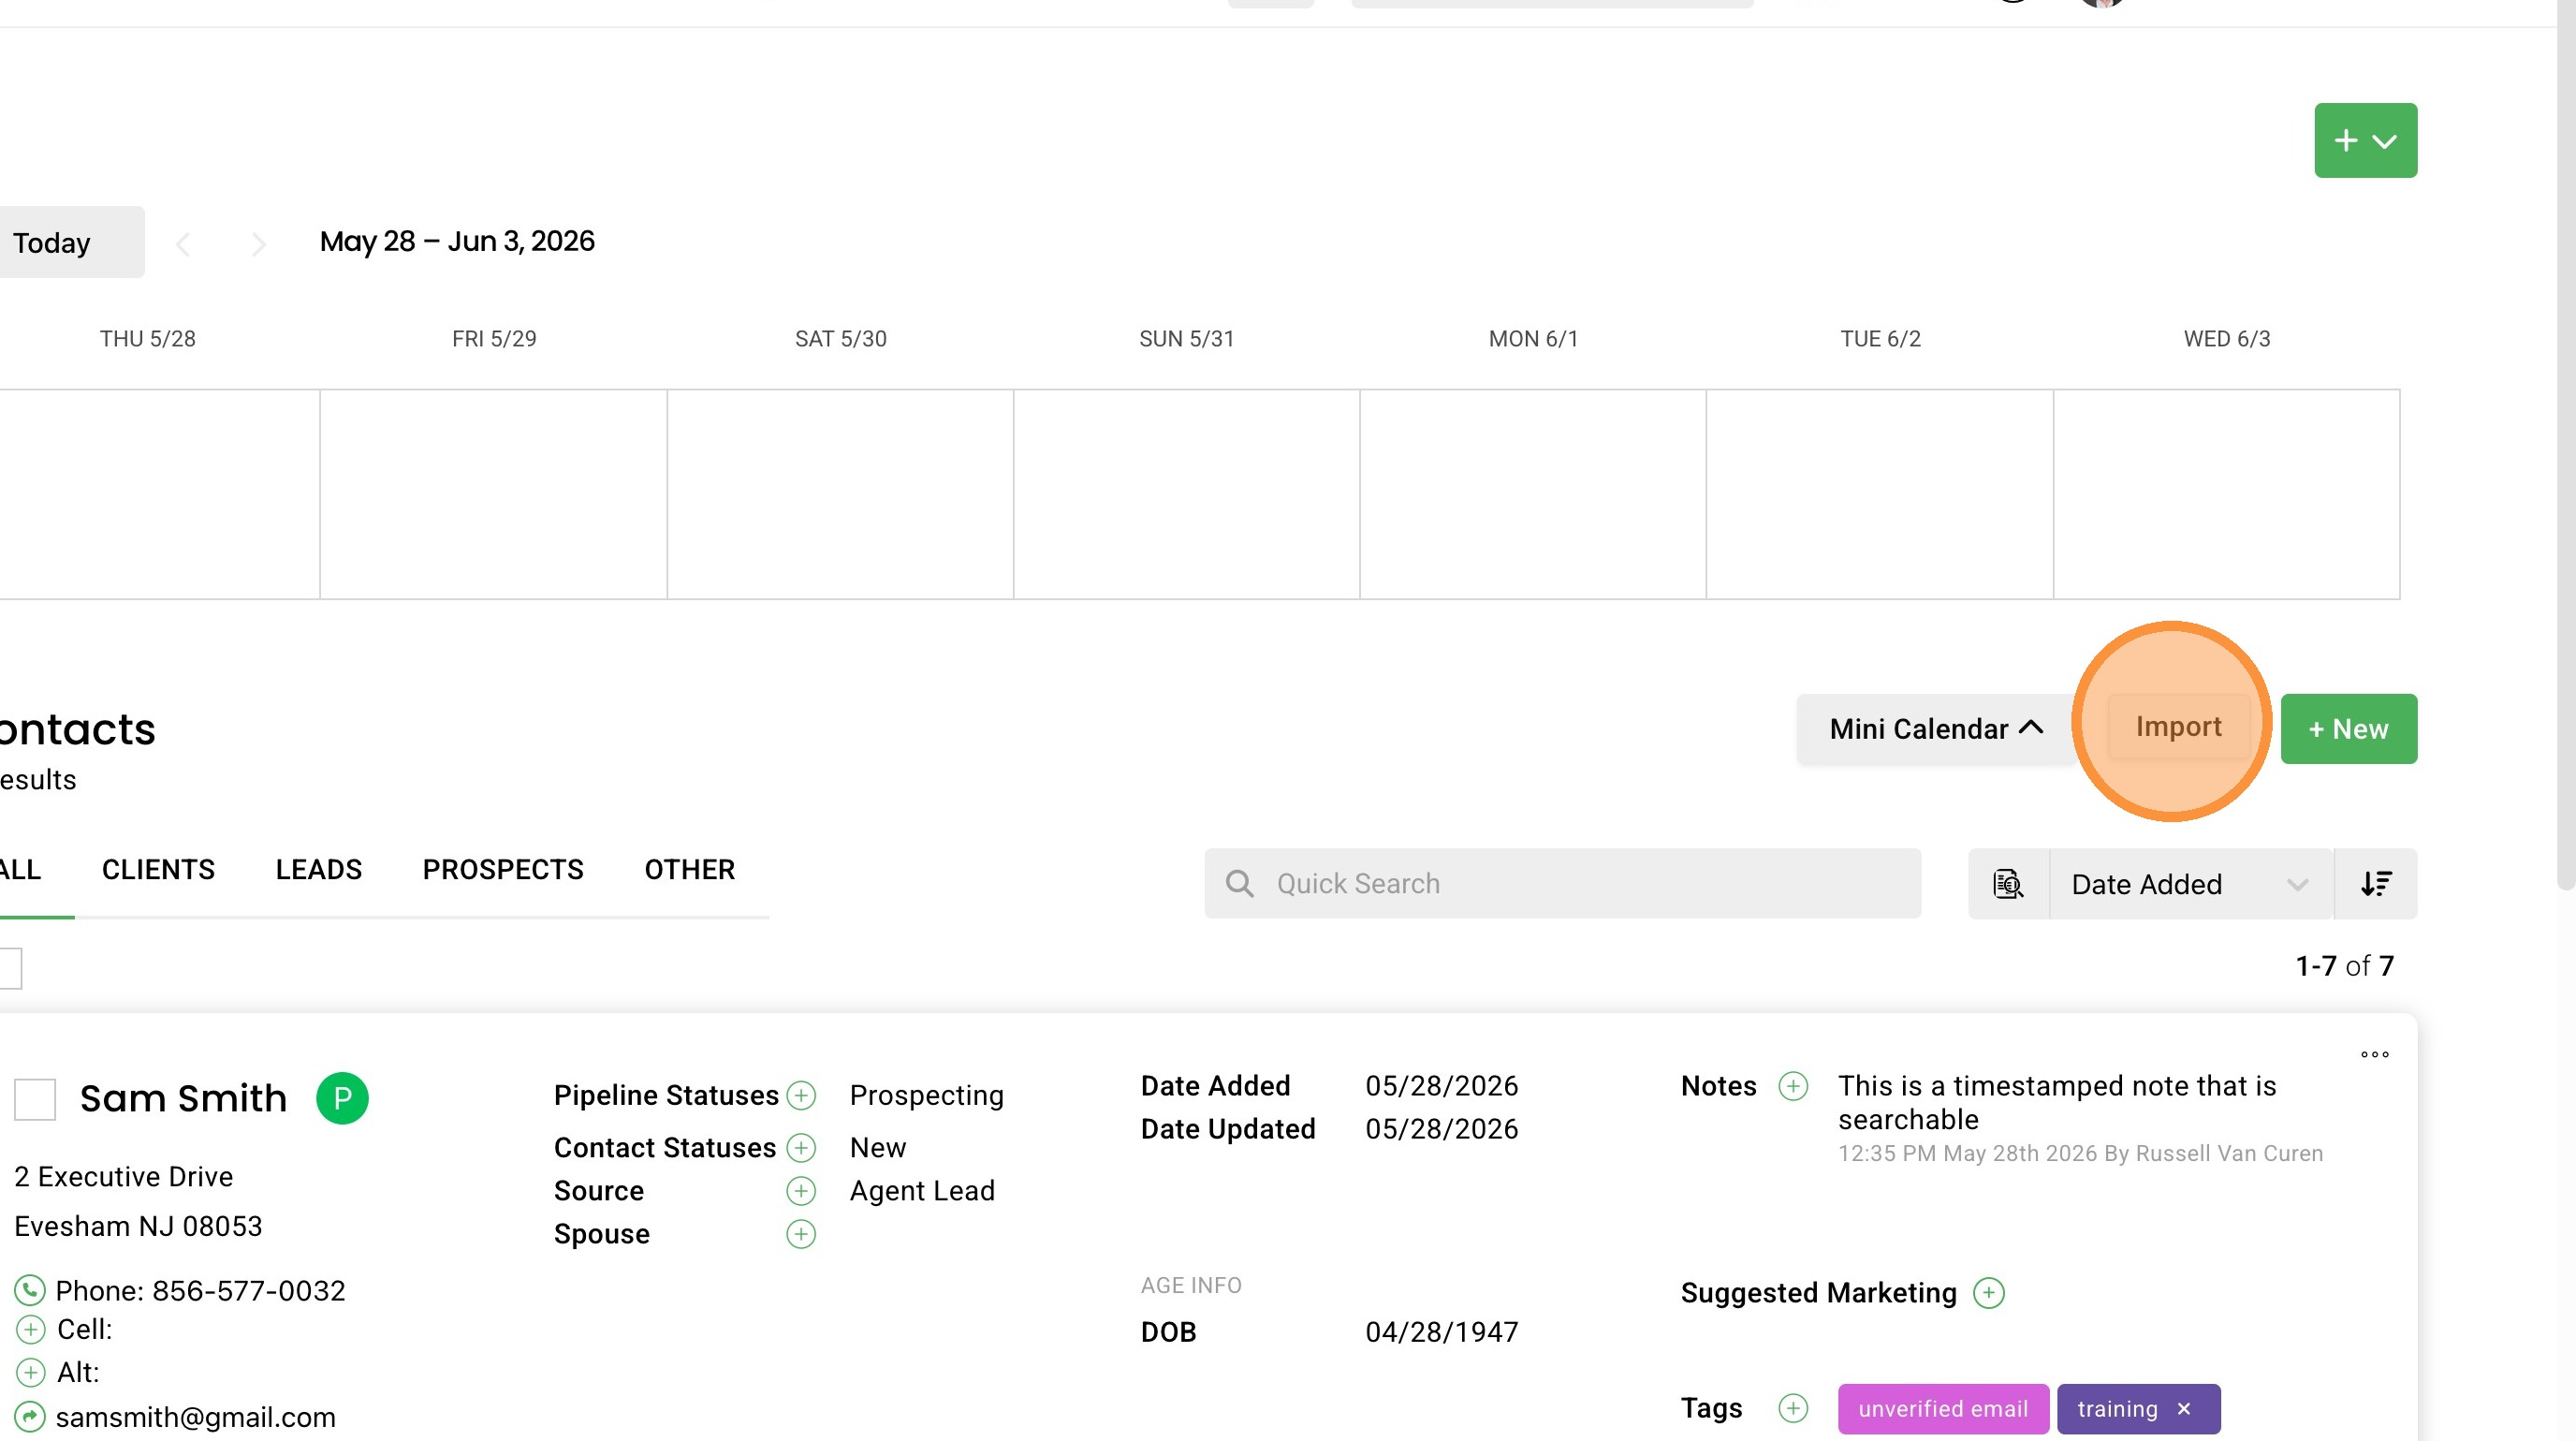
3. Click "Import"
4. Click "Import contacts"
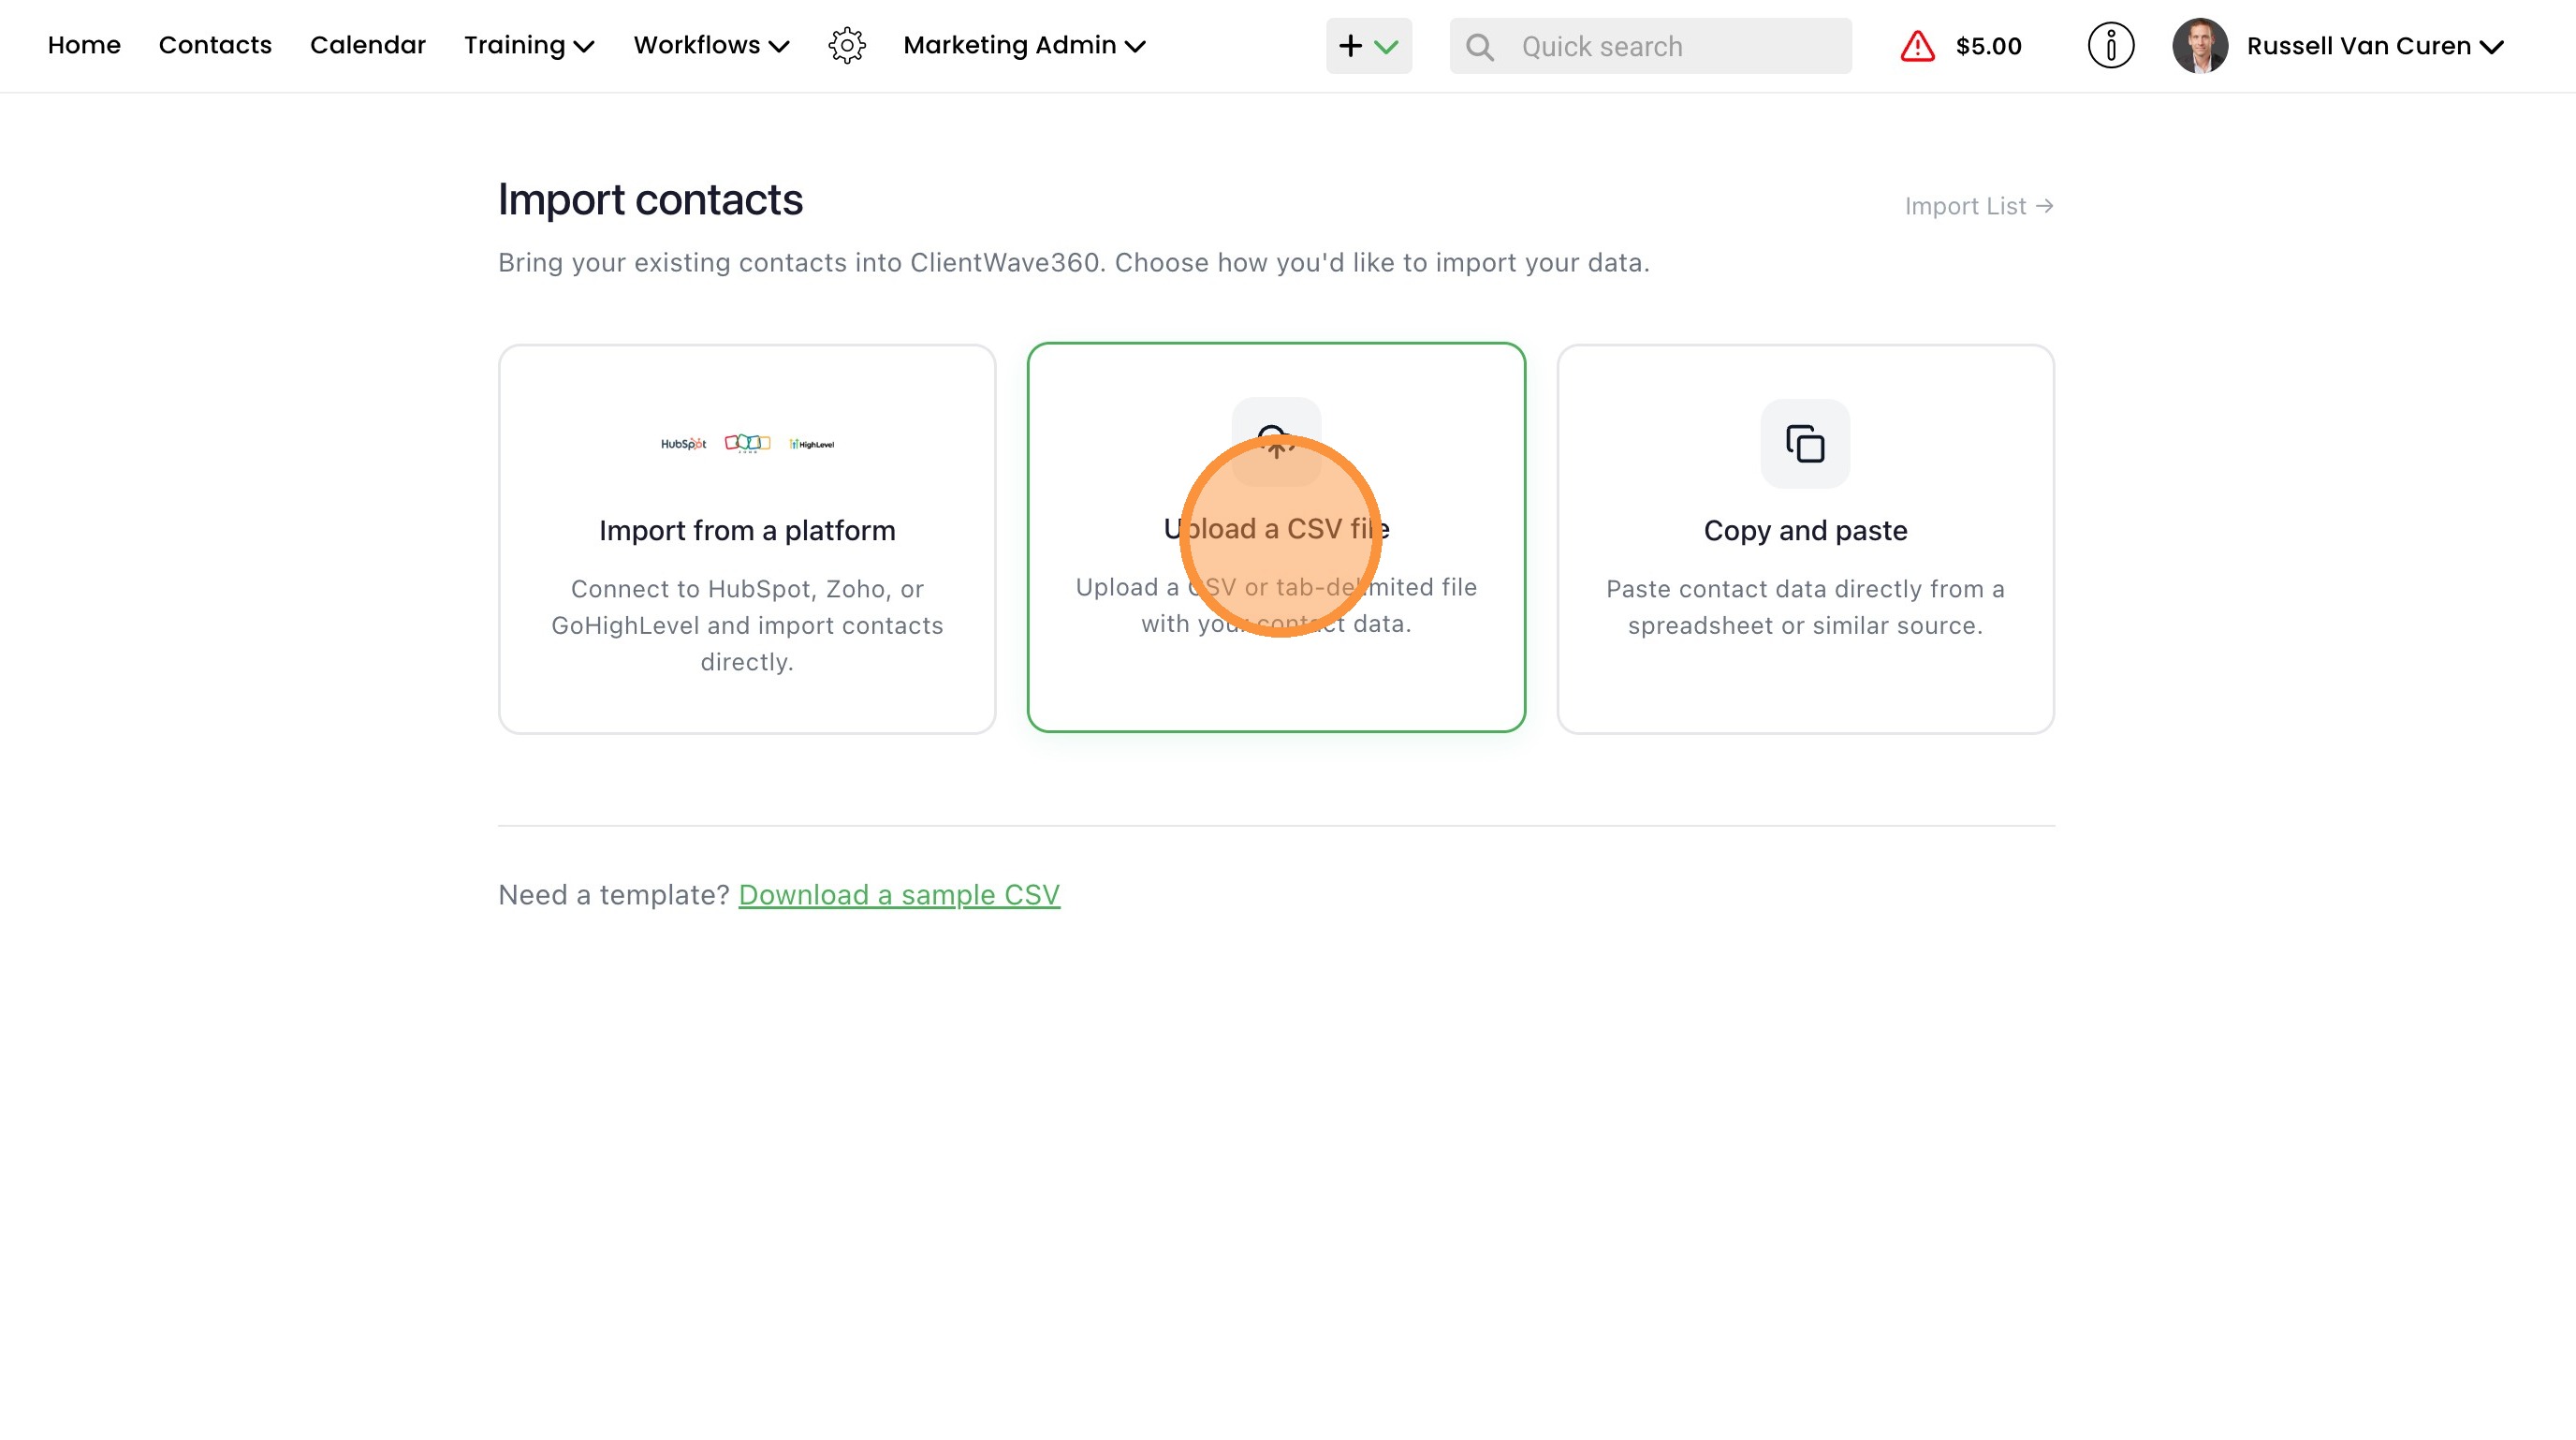
5. Click "Upload a CSV file"
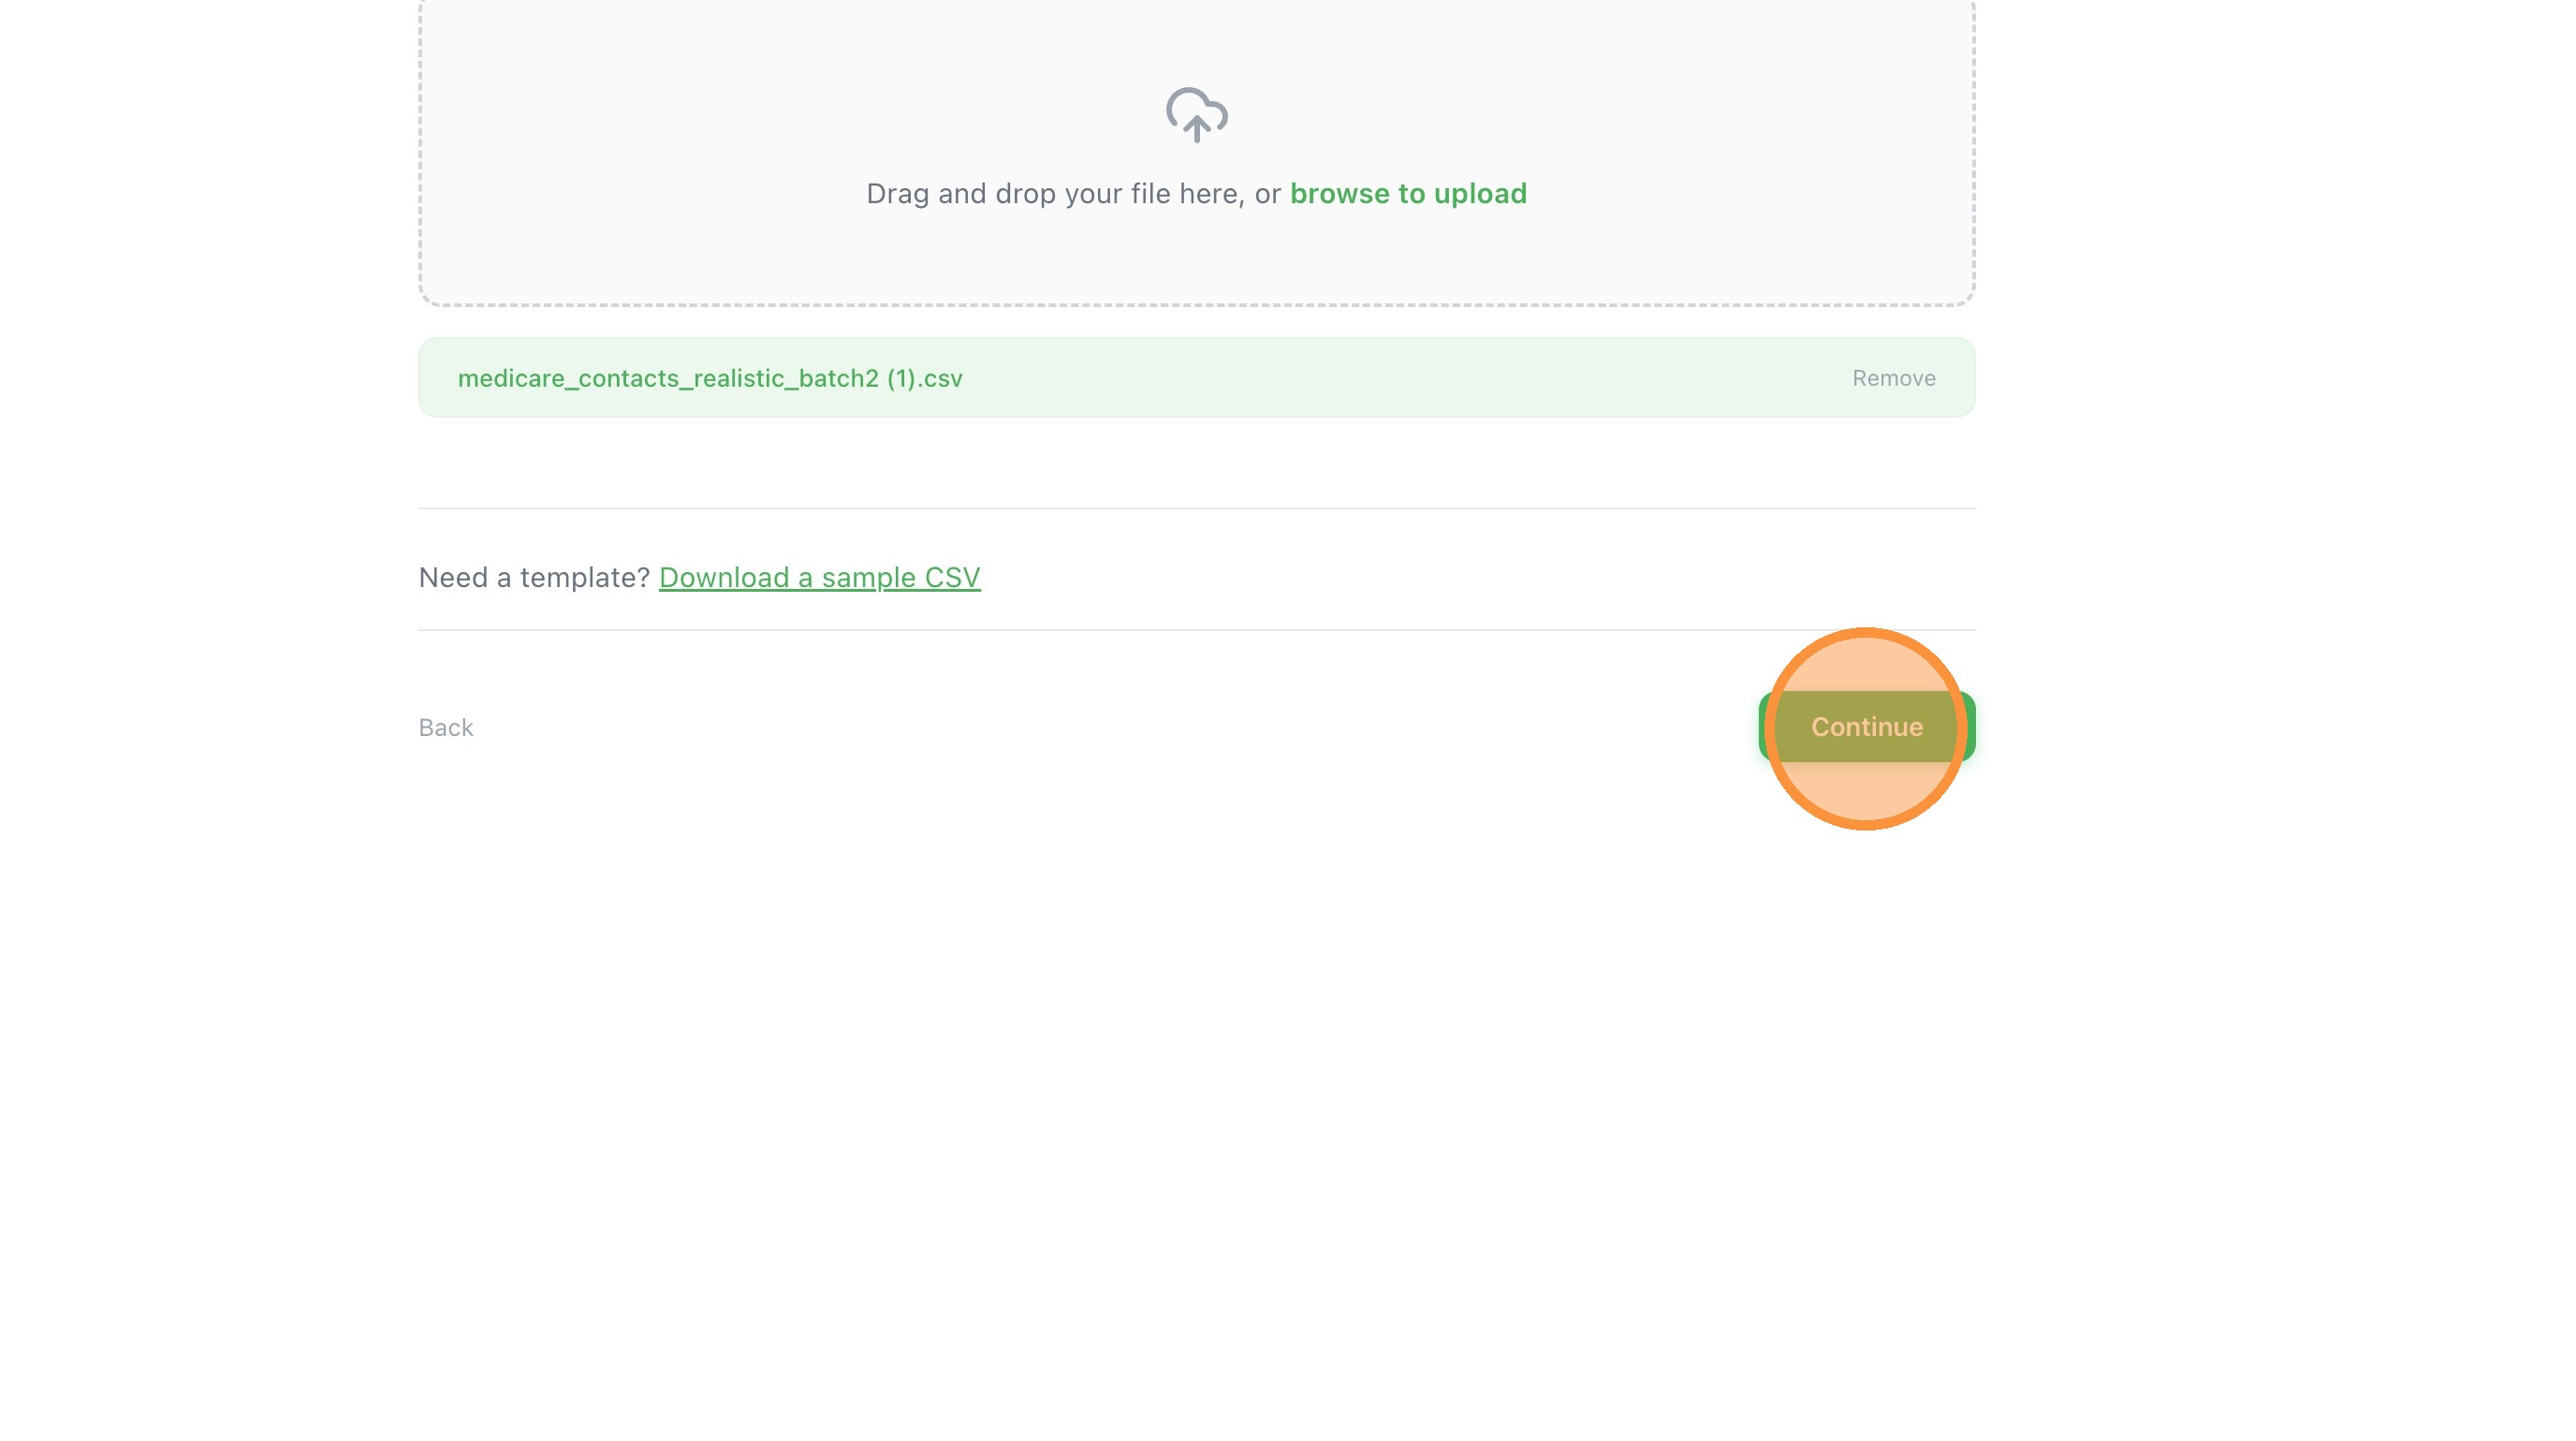
6. Click "Continue"
Field Mapping
7. Scroll through your the mapped fields and make sure everything is mapped correctly. In this example we change "Birth Year" to the "DOB" field.
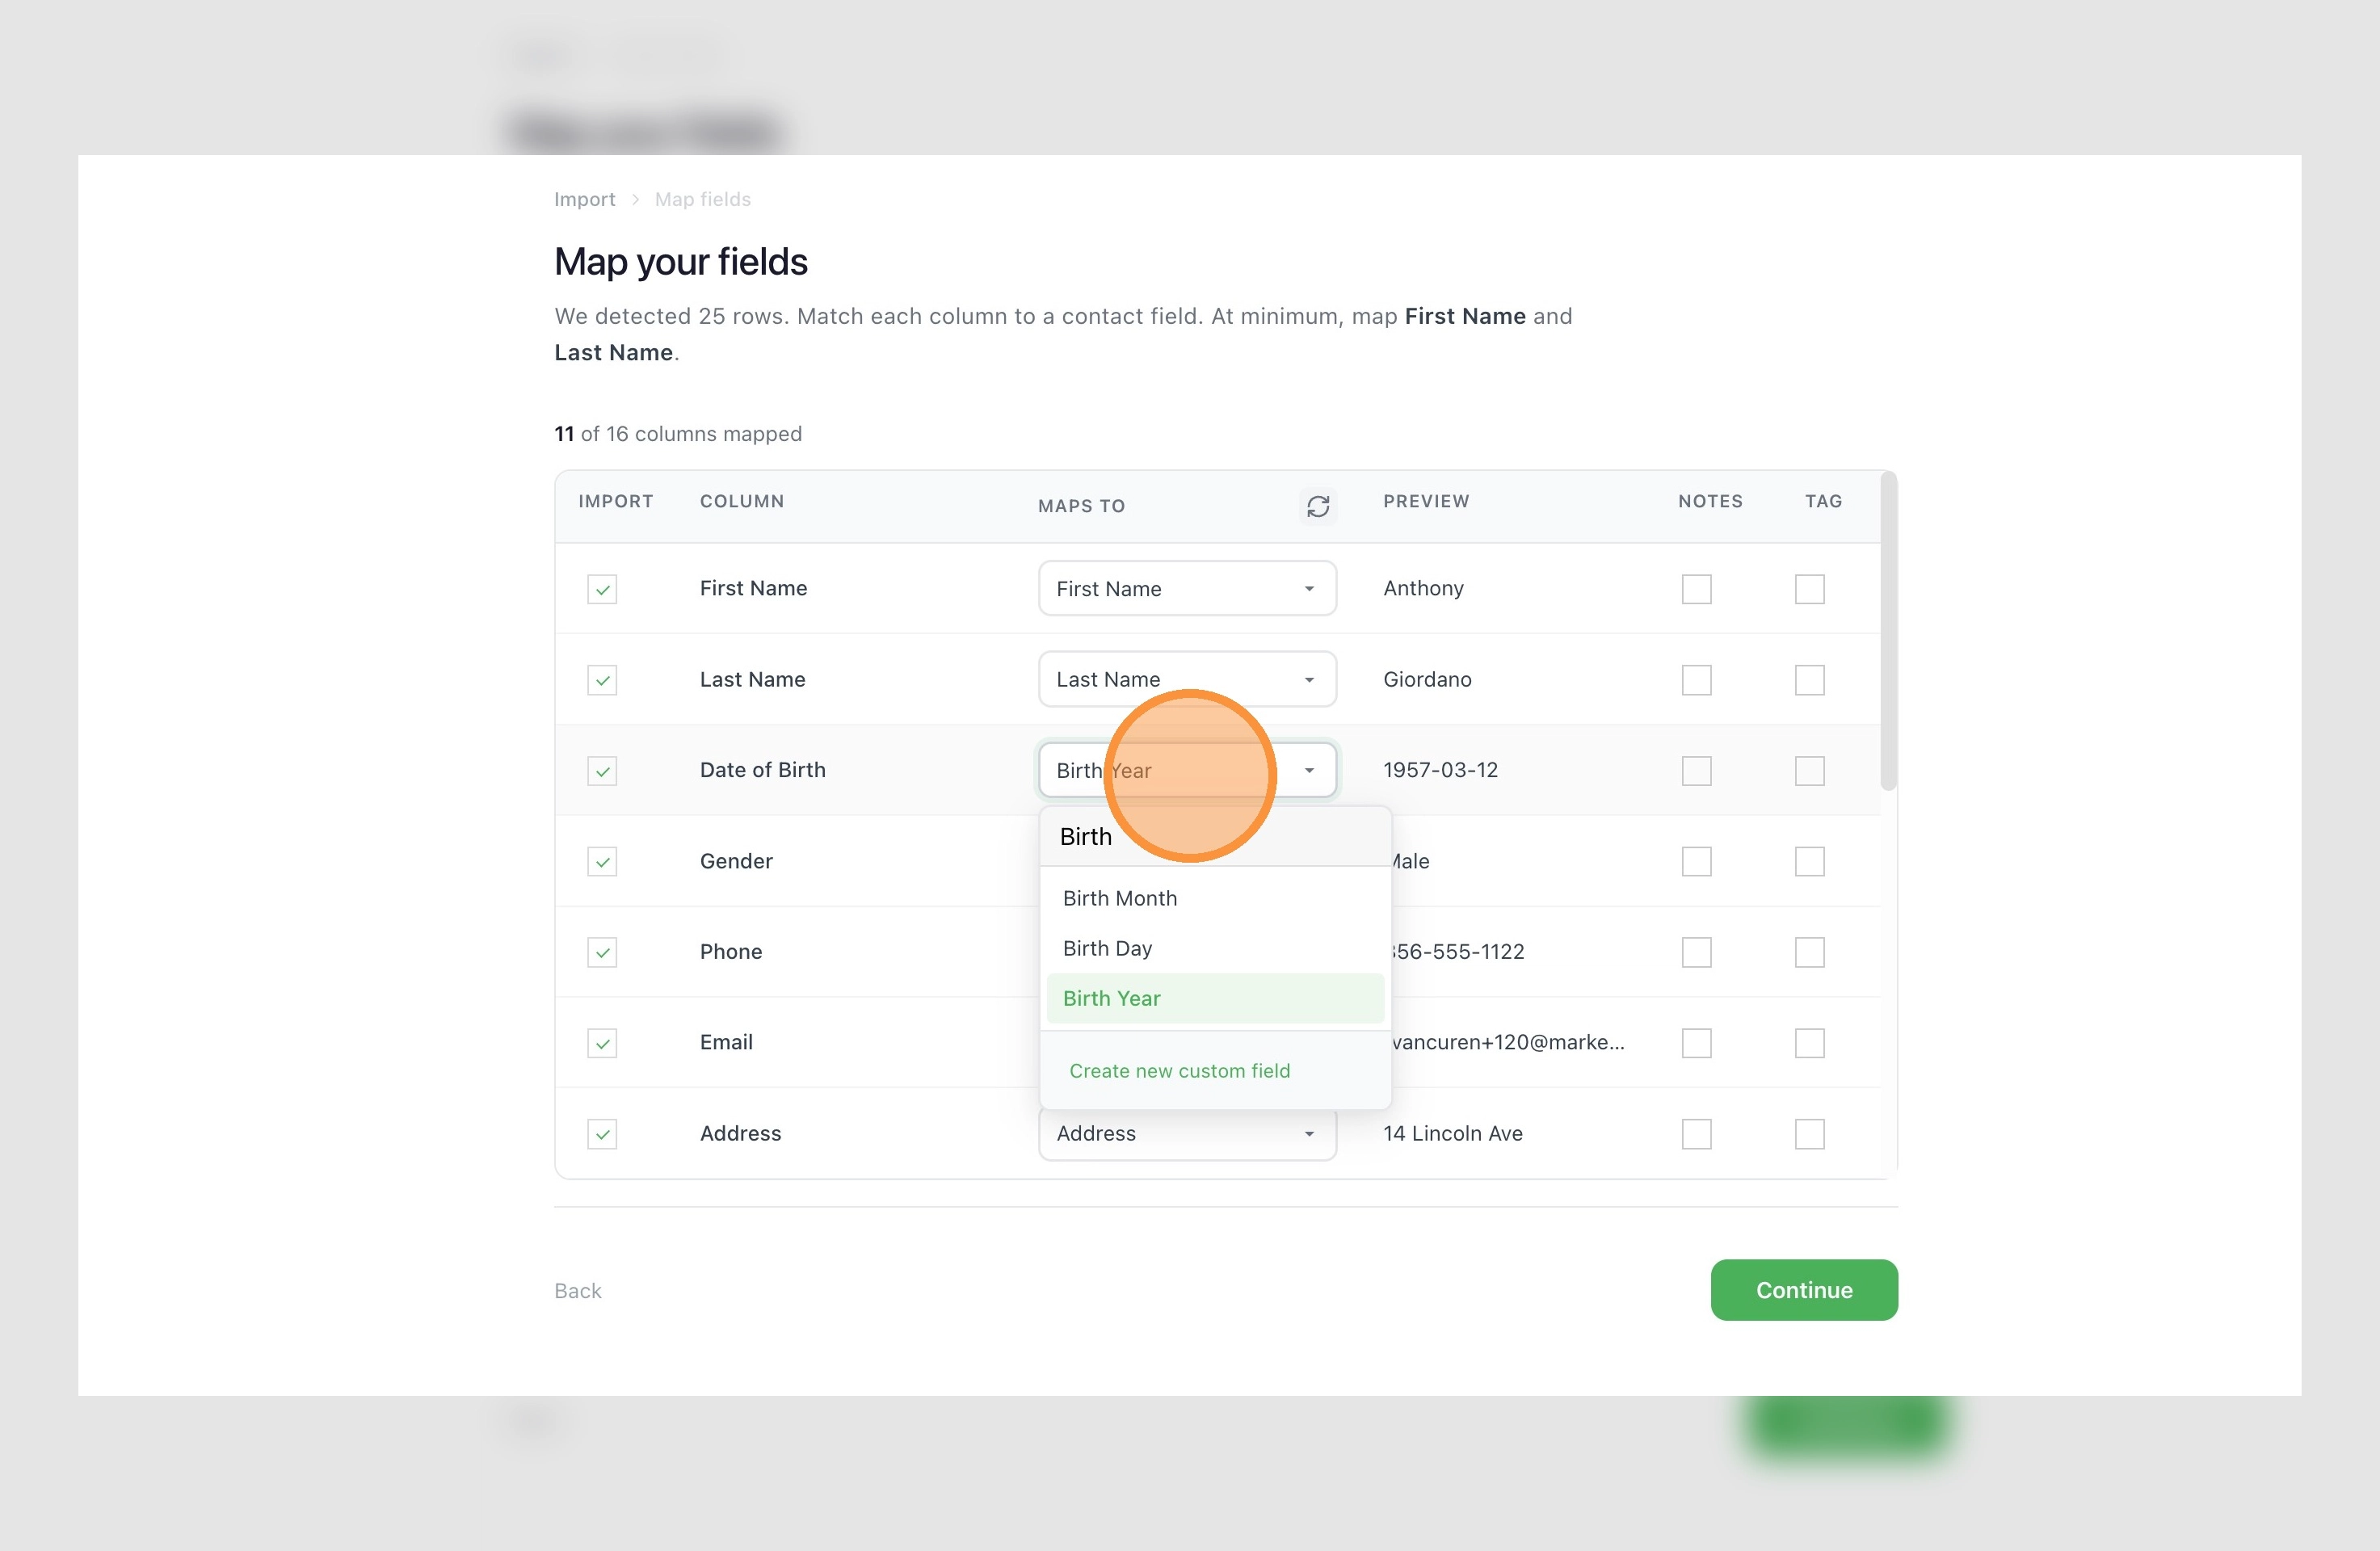
8. Map any remaining fields that weren't auto mapped our uncheck so that they are skipped during import. First name and last name are required.
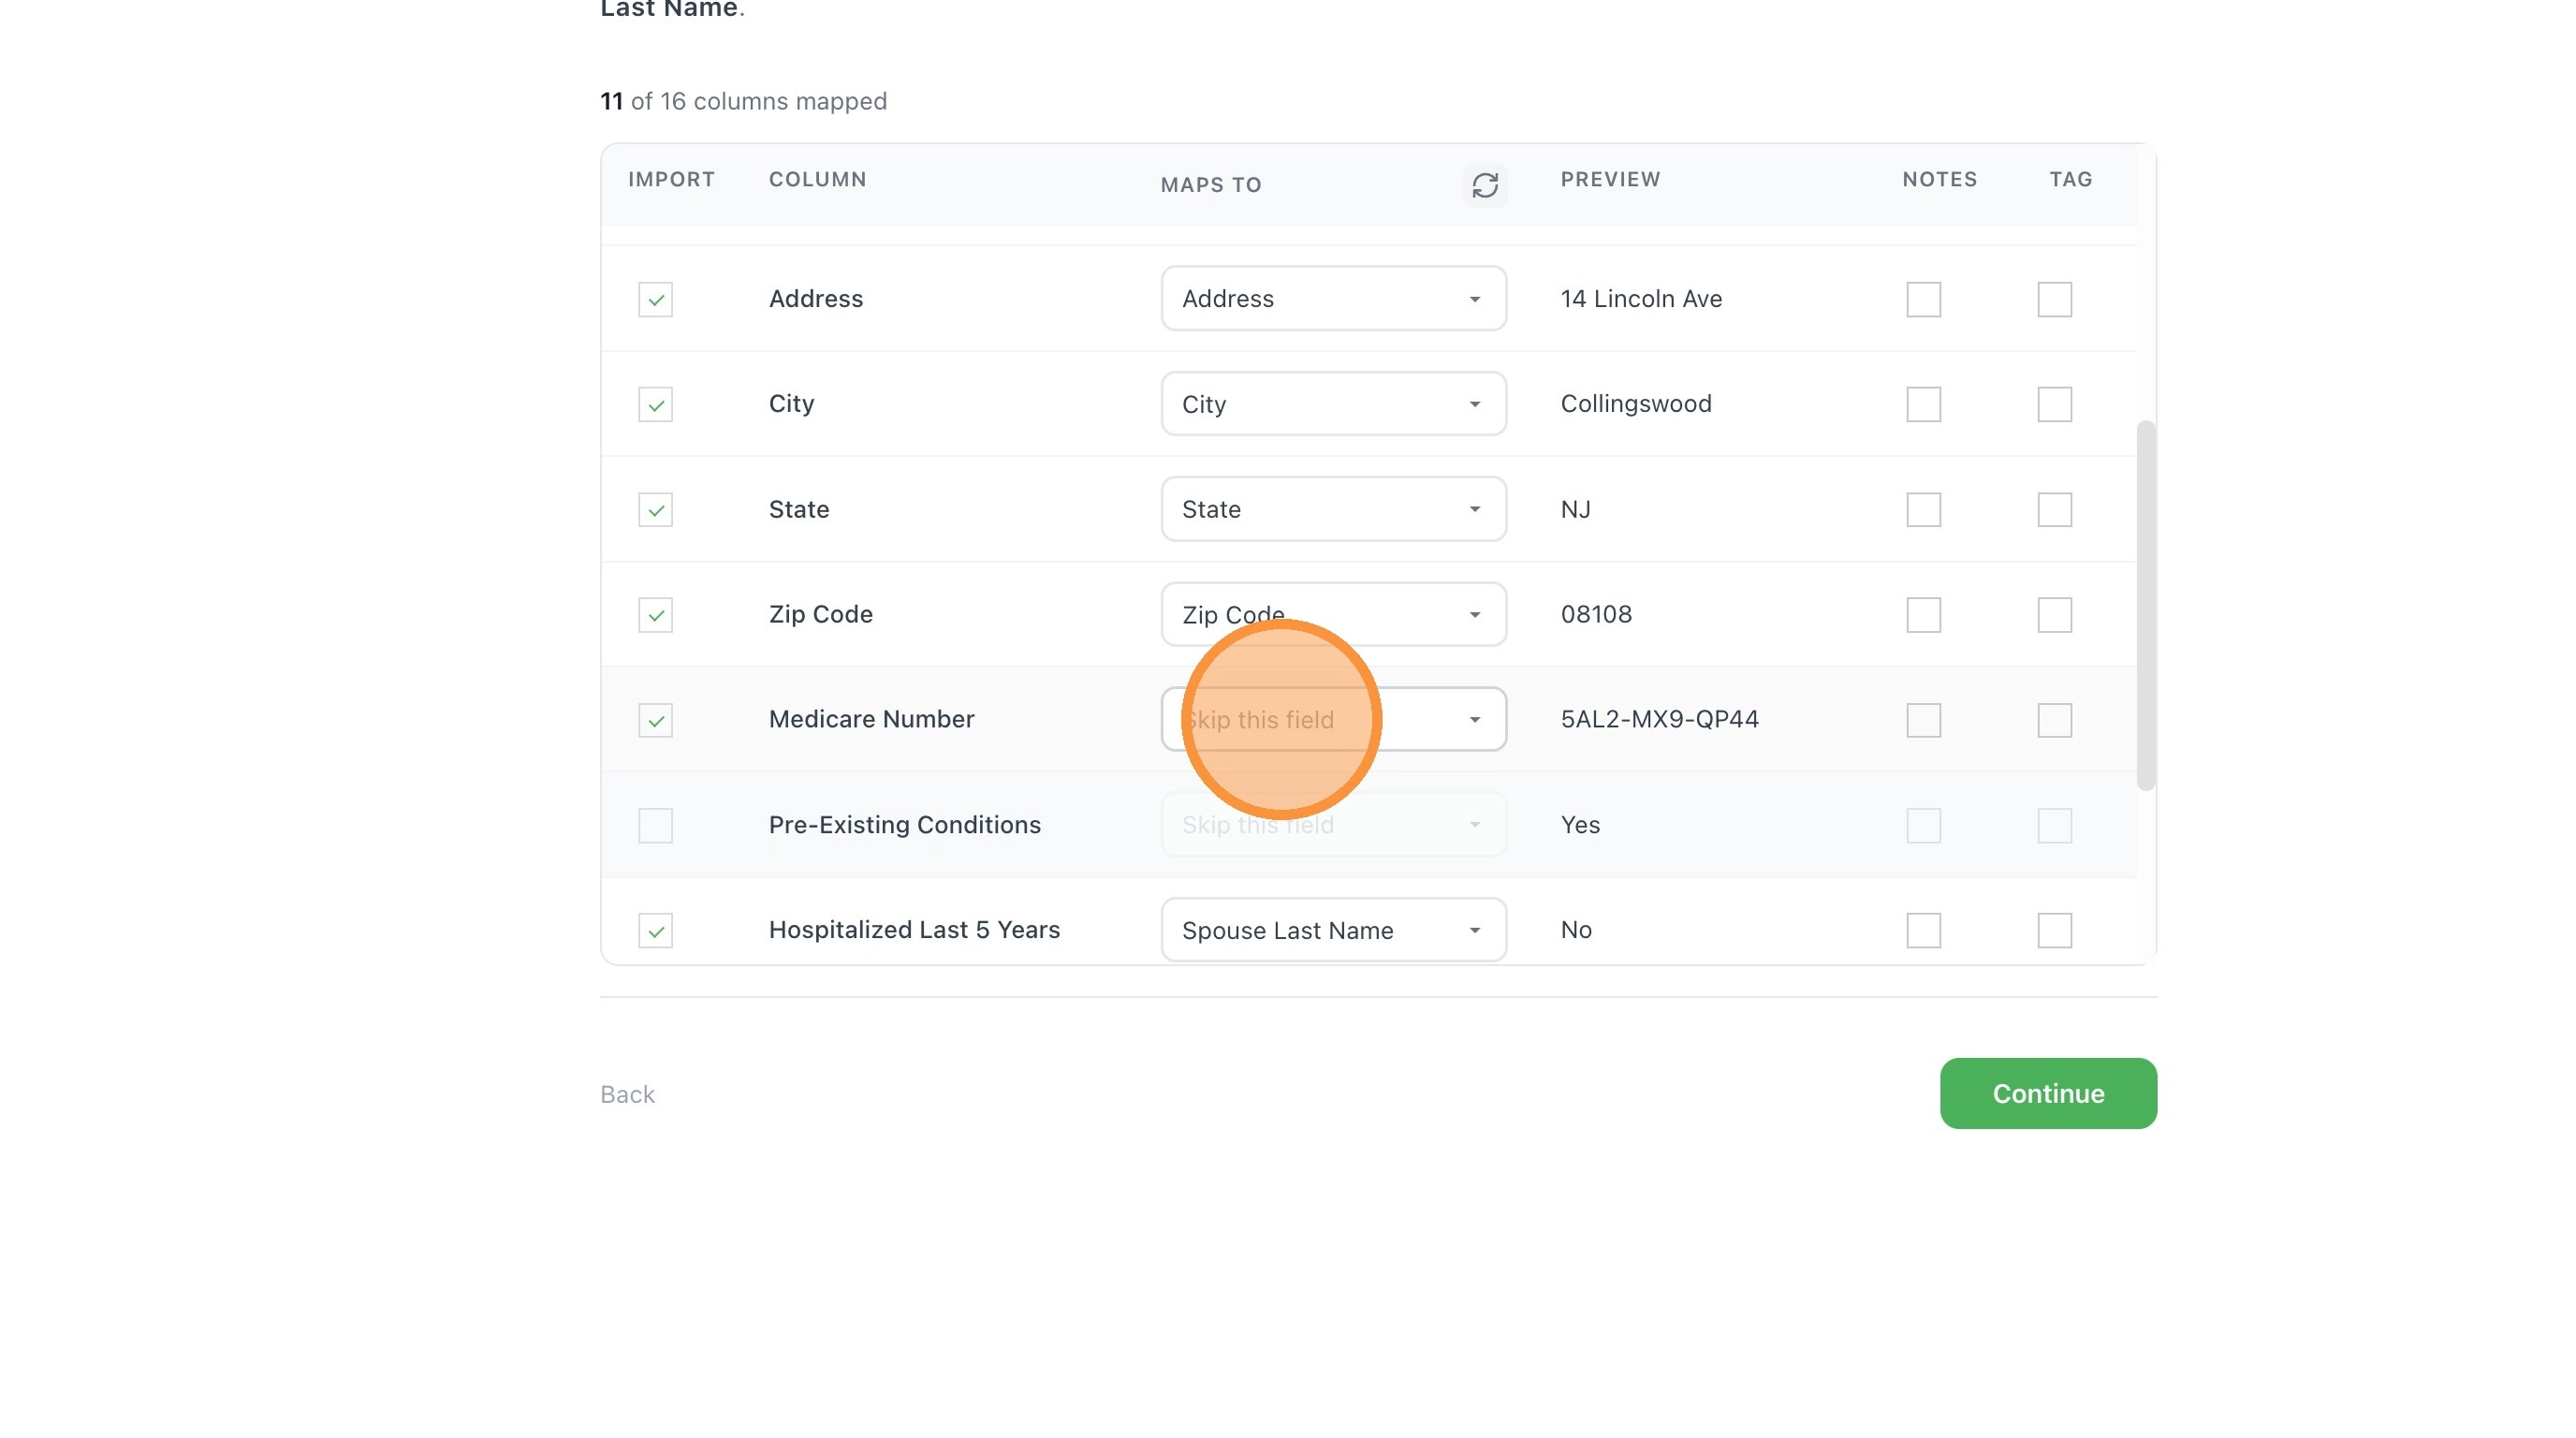
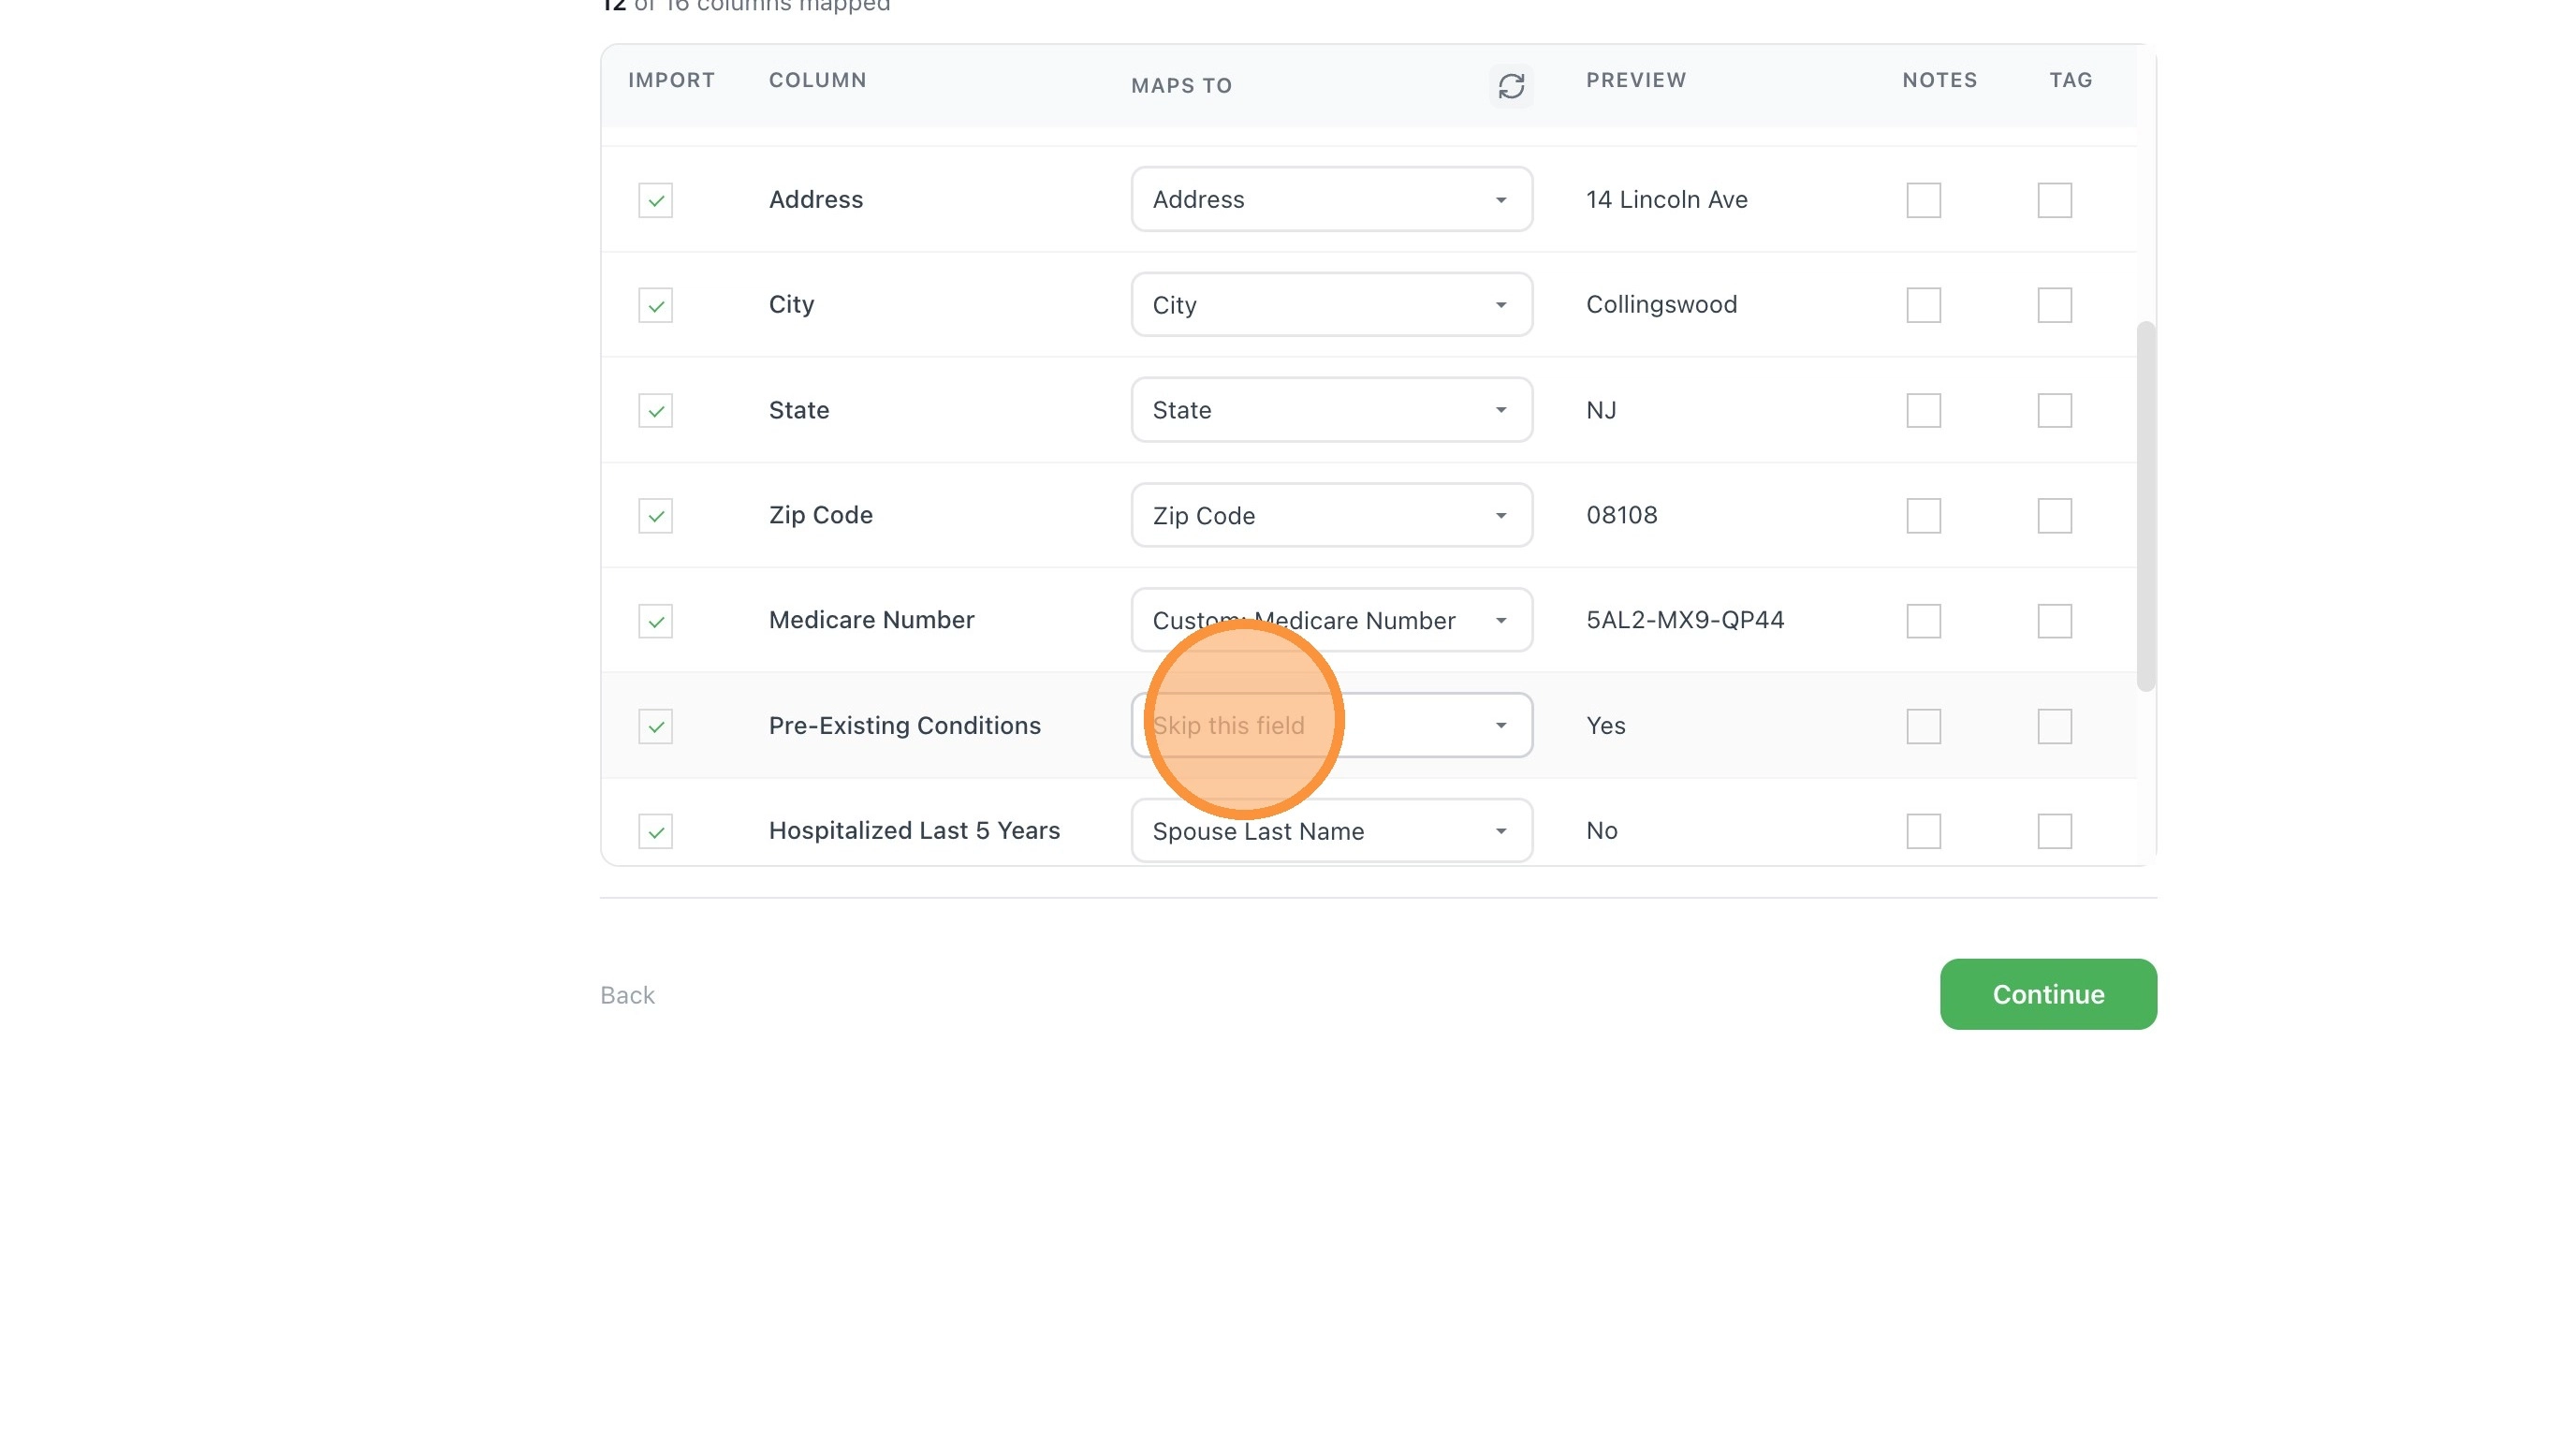
9. Custom fields can be mapped as well. Make sure they're added before importing so they are available for mapping.
Import Configuration
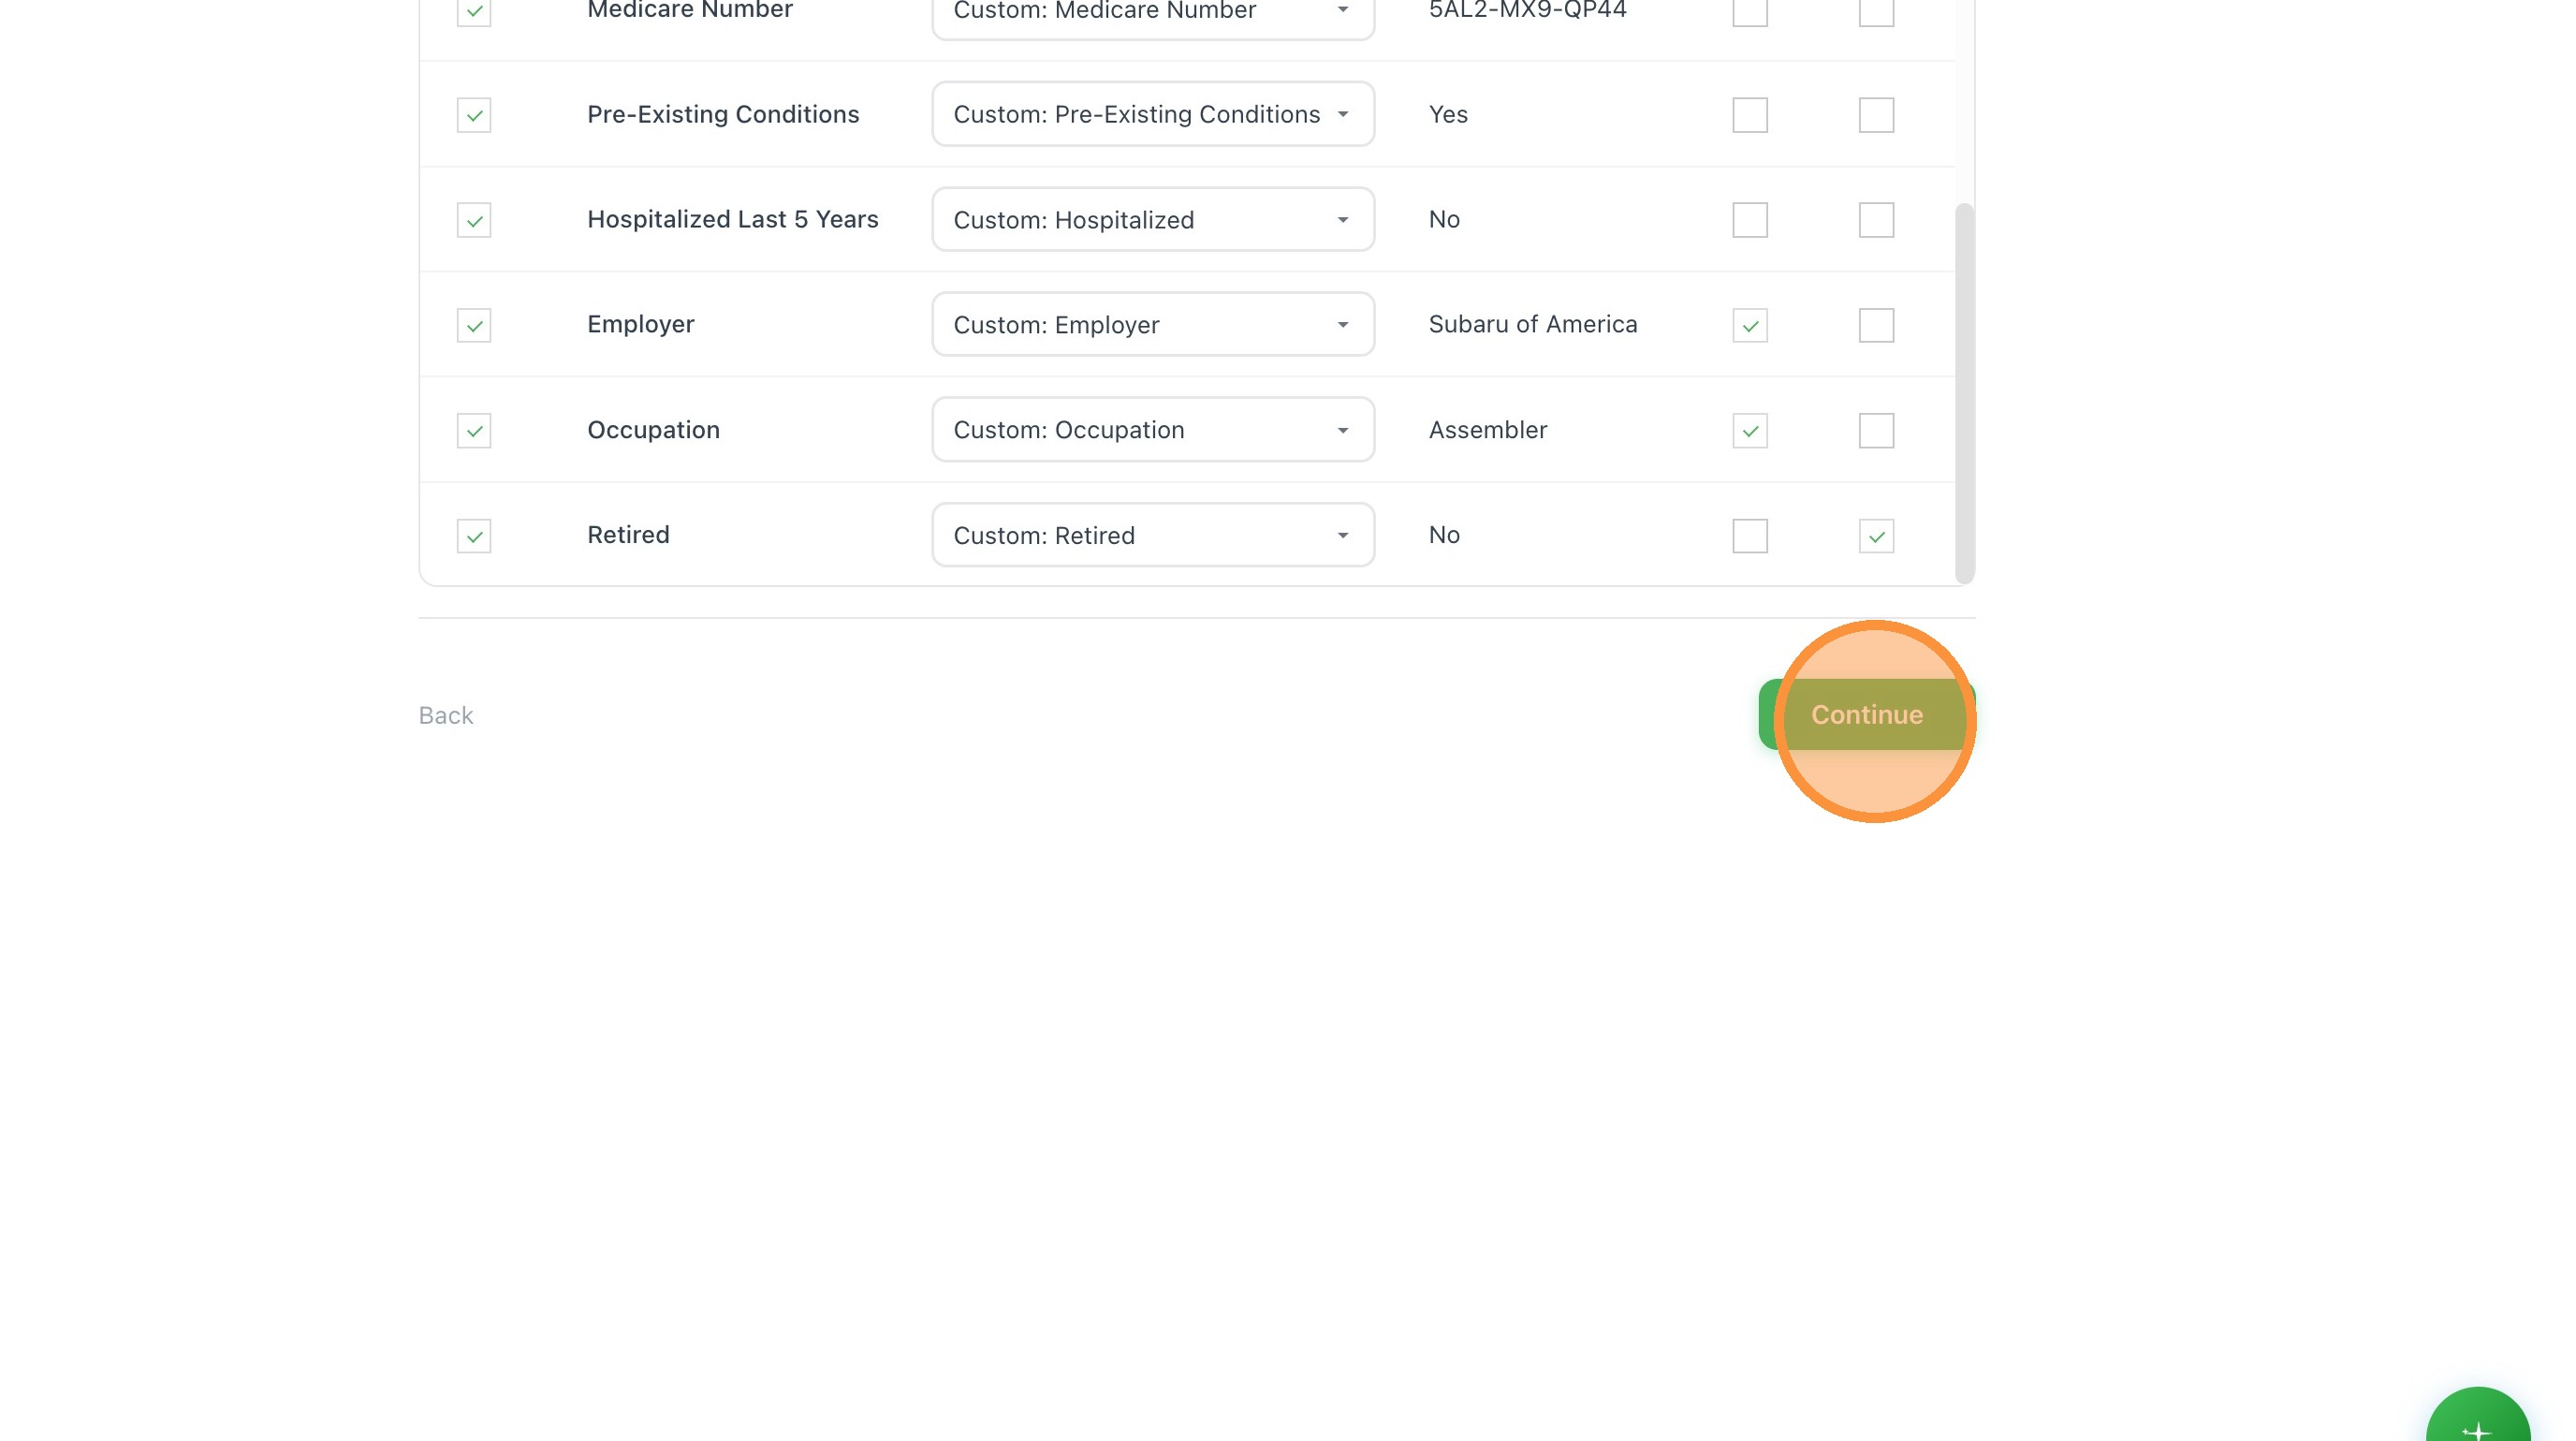
10. Once all fields have been mapped click "Continue"
11. Source is a required field in addition to first and last name.
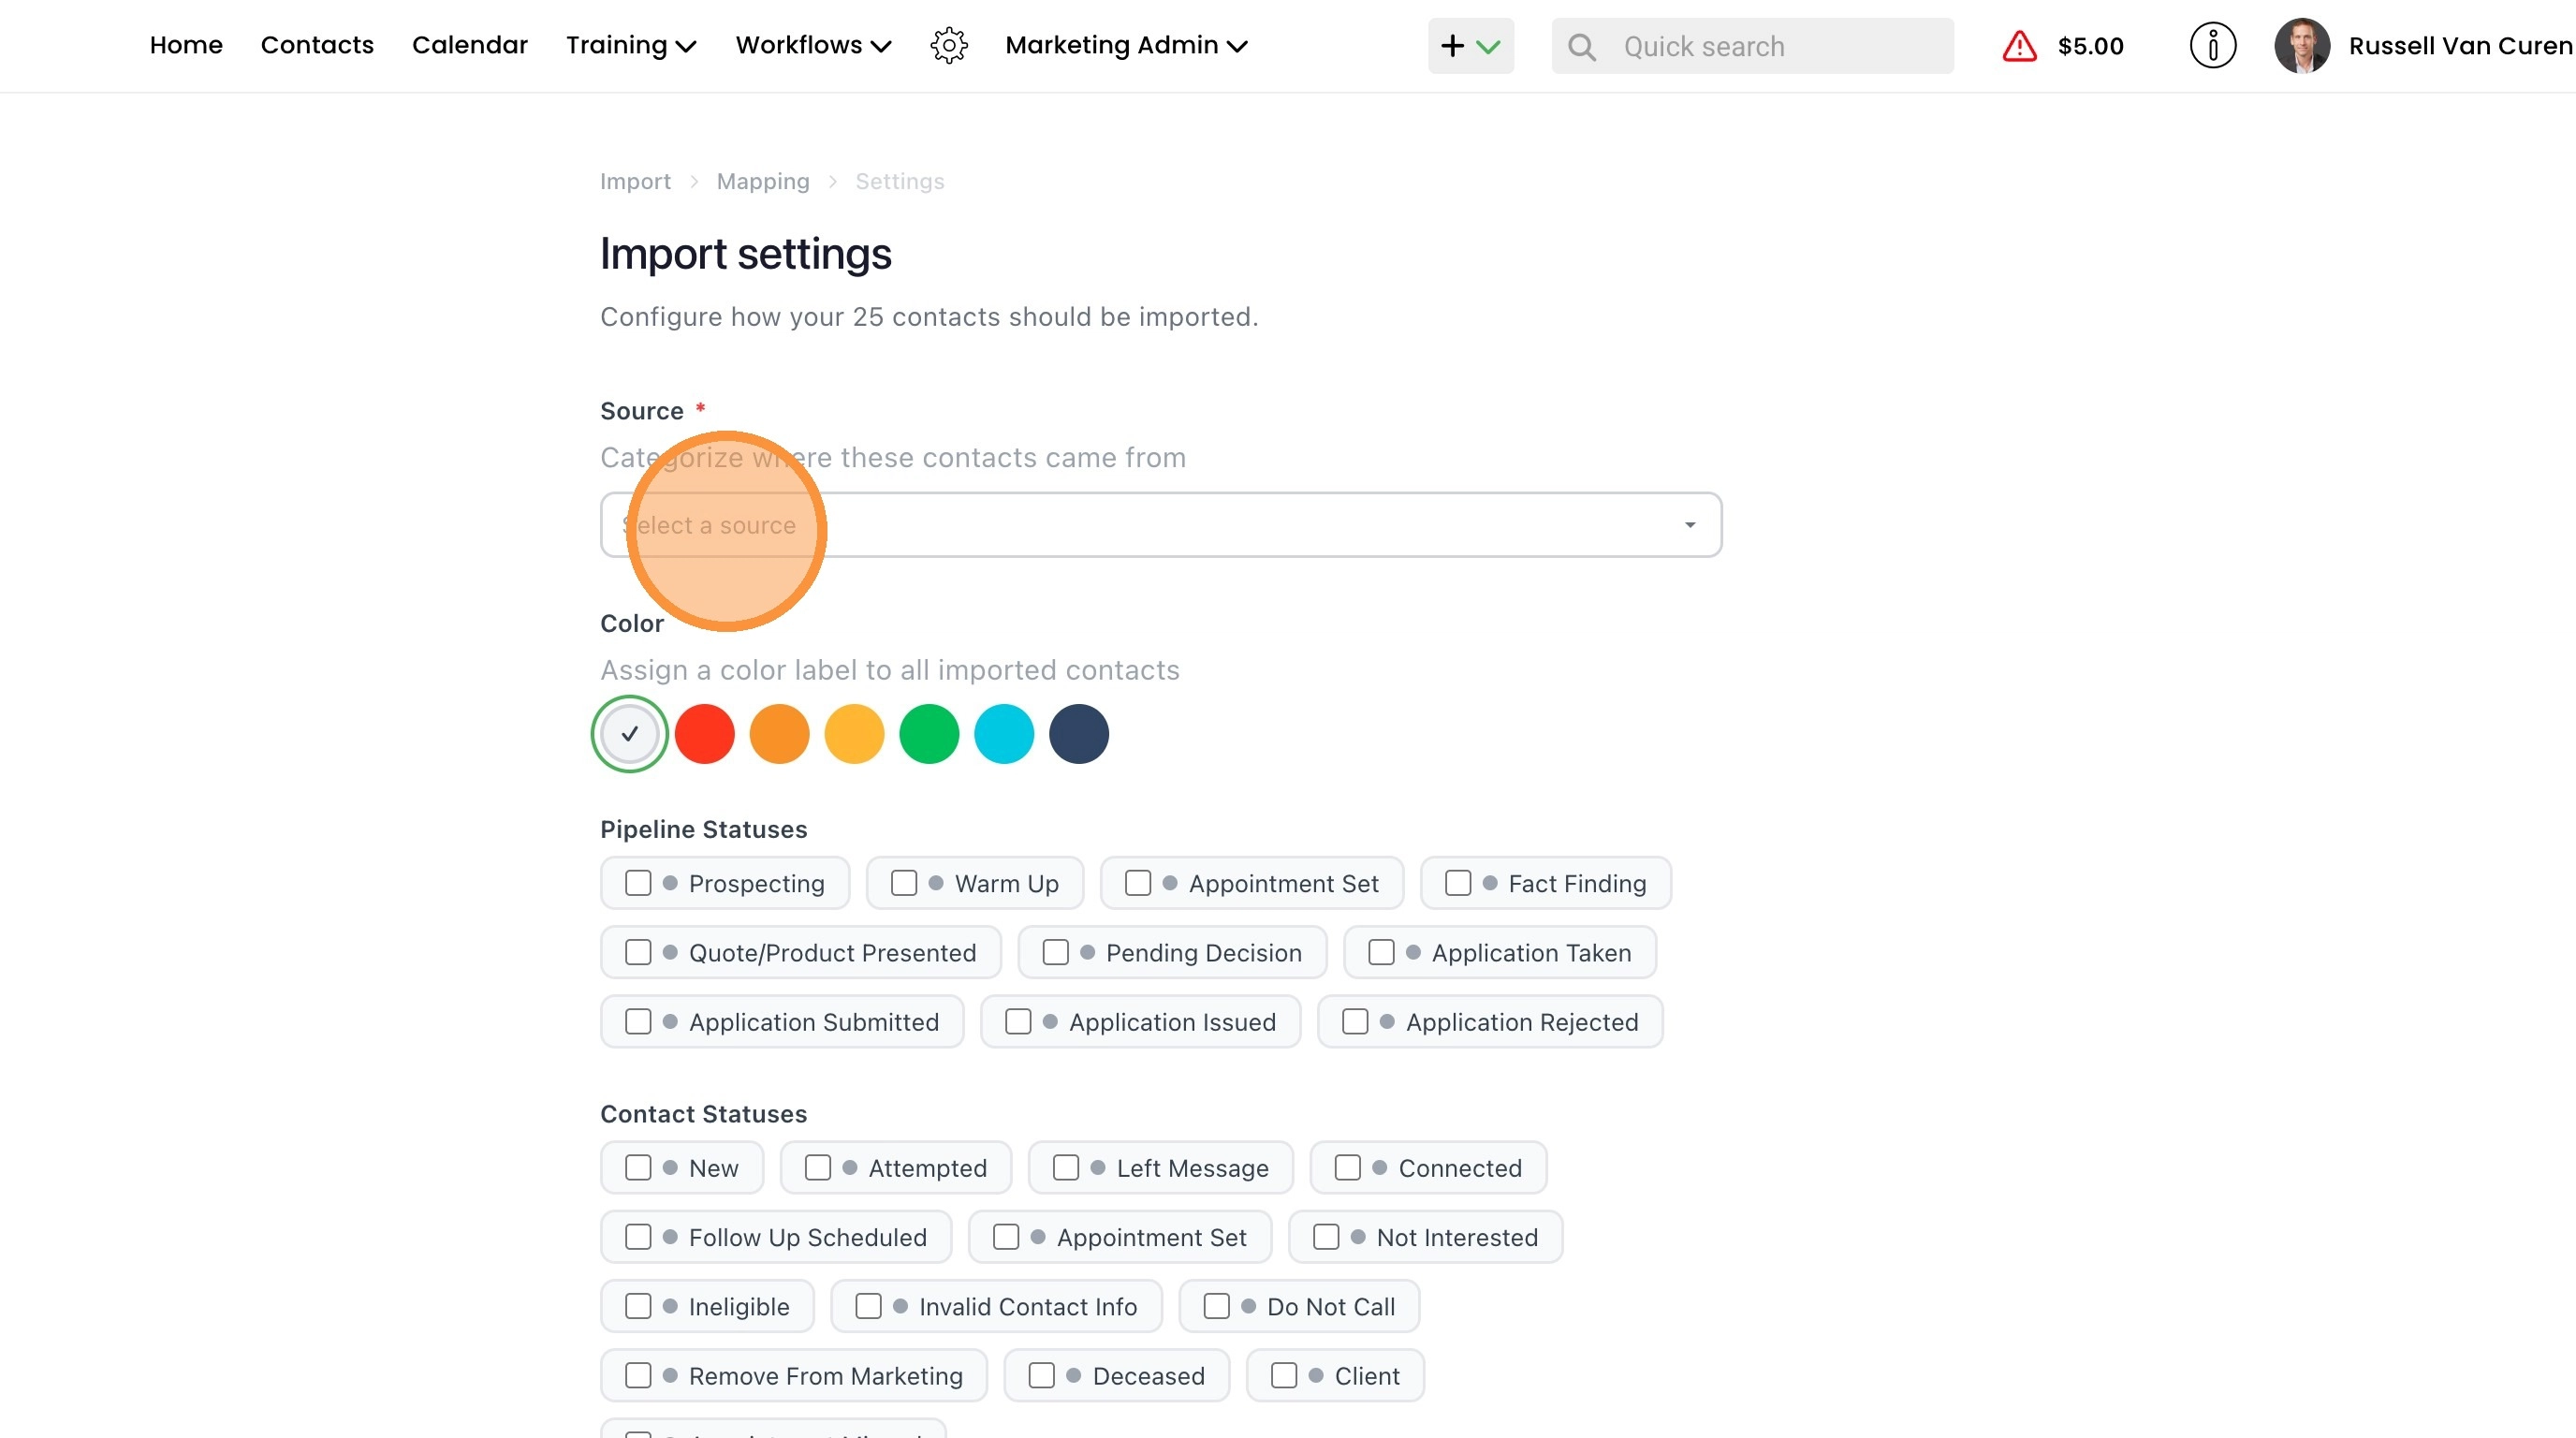
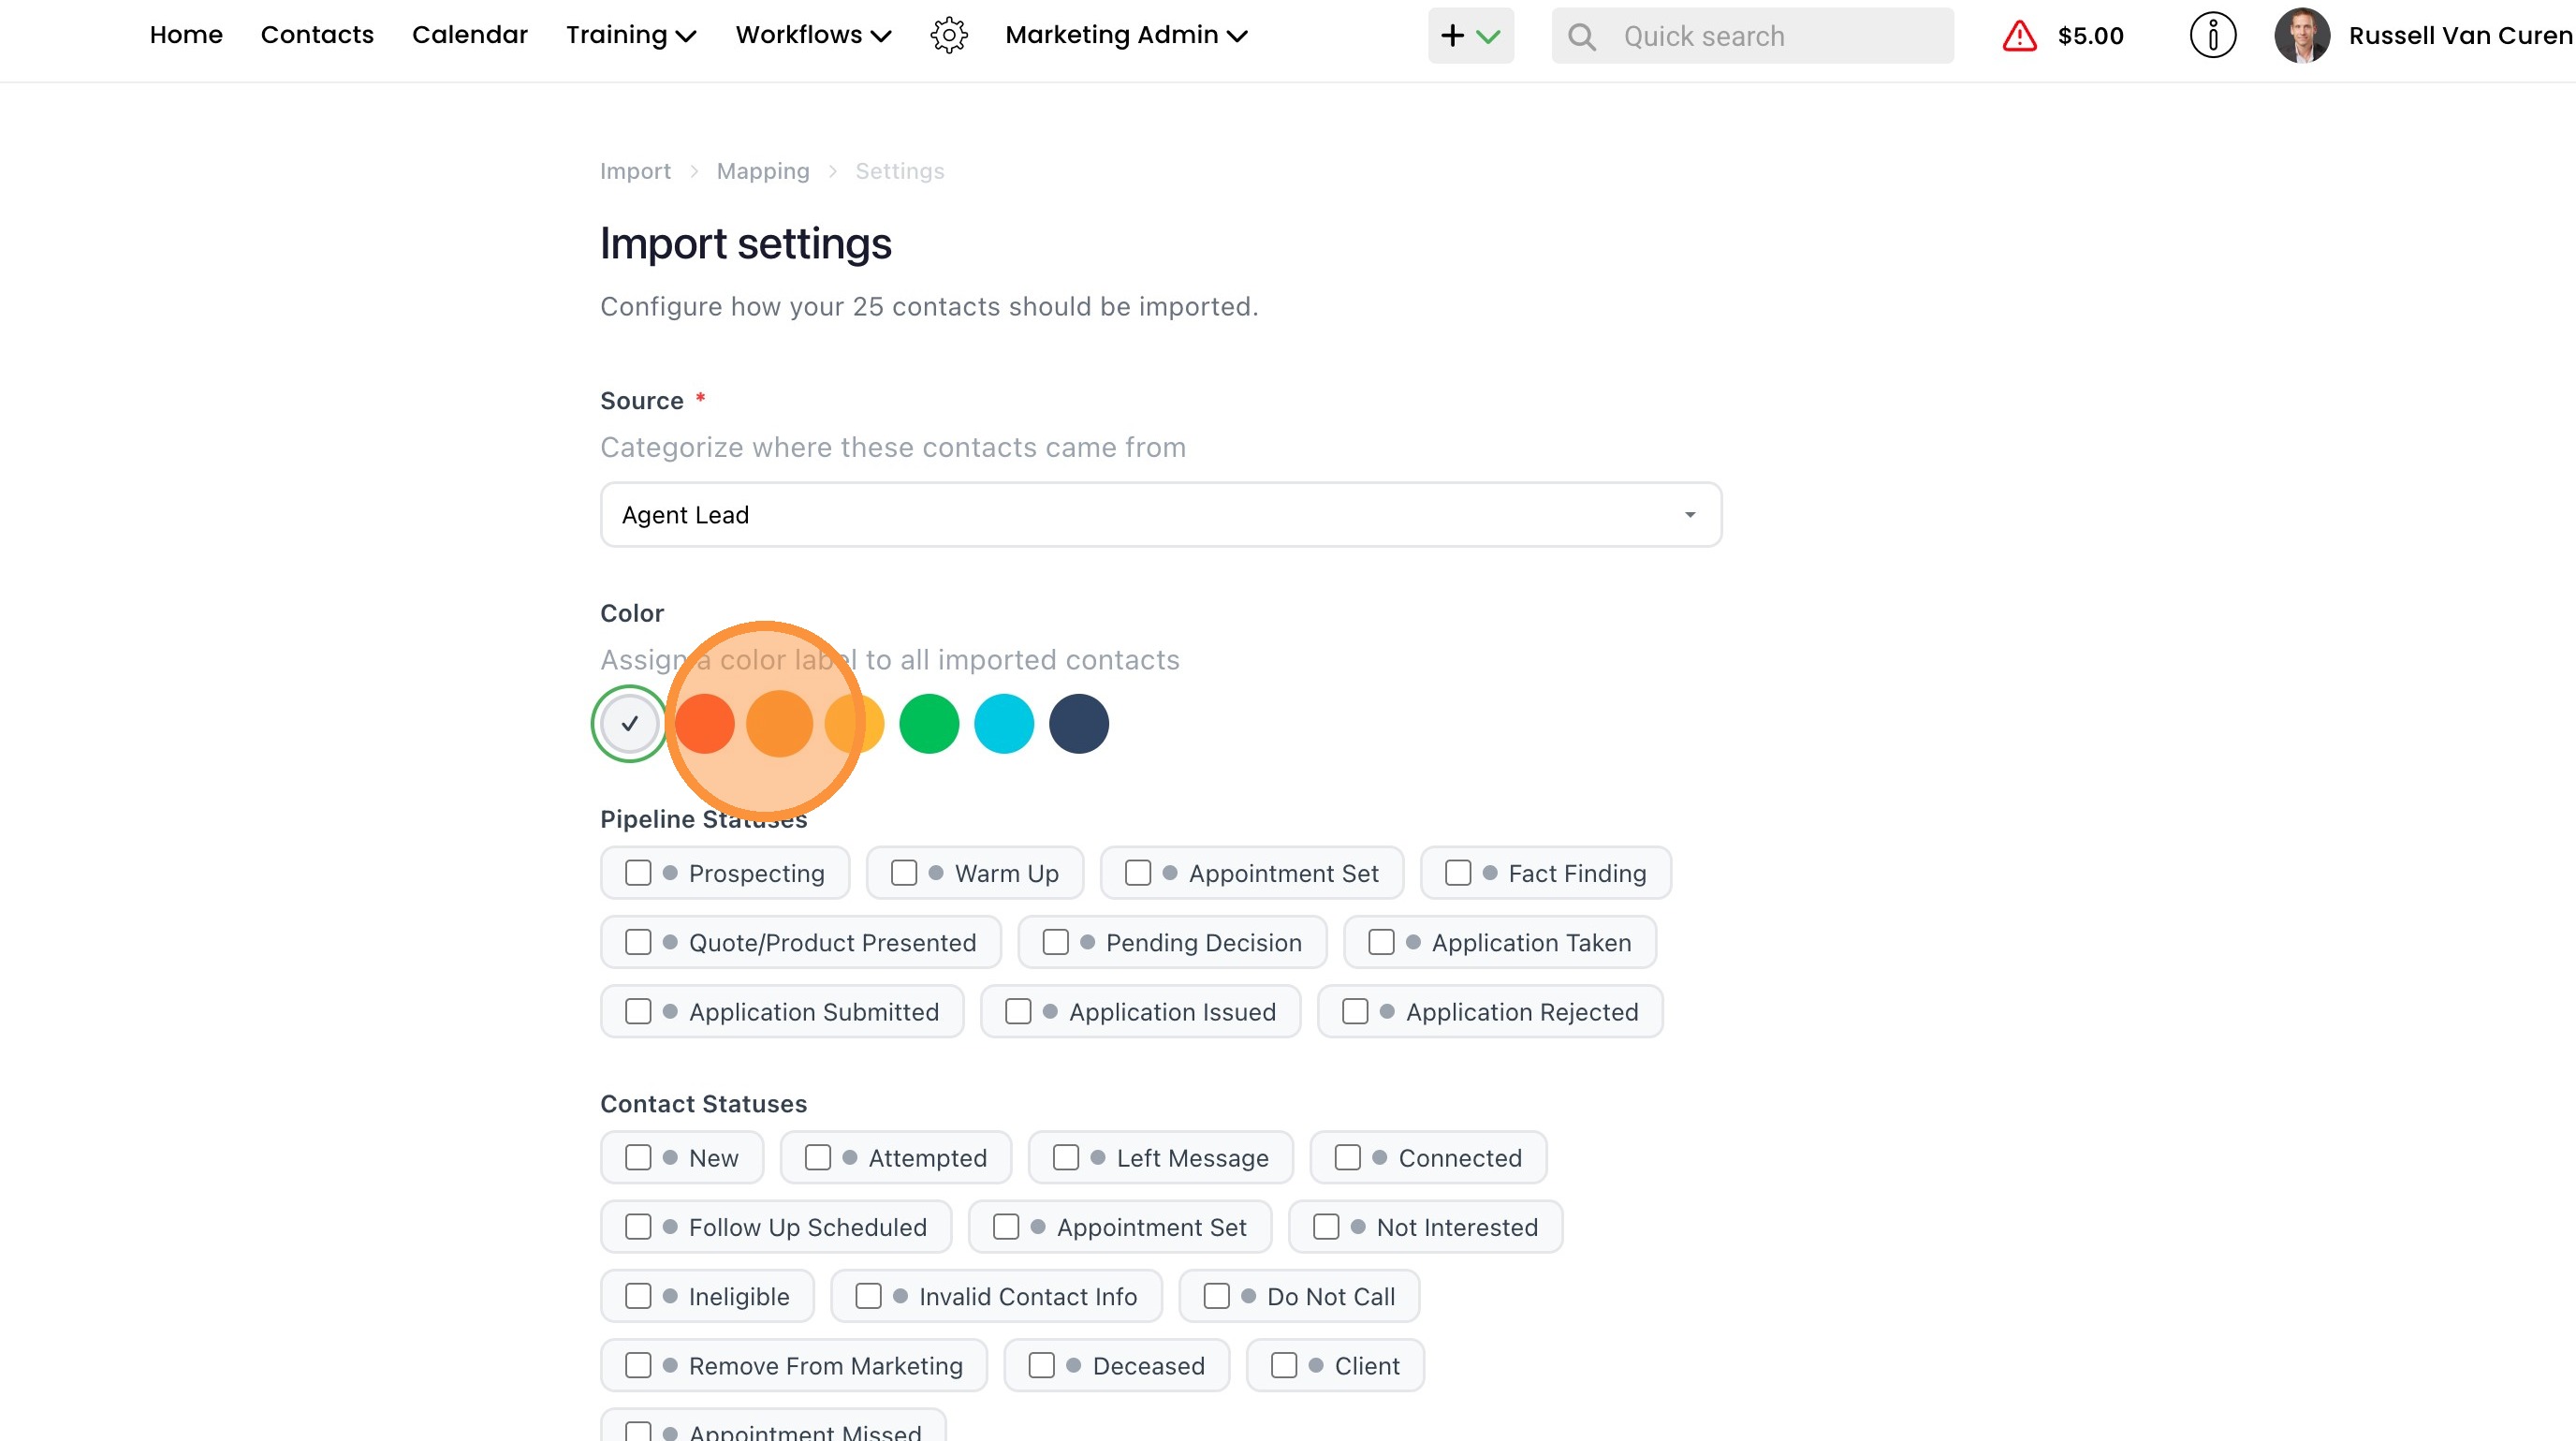
12. You can assign a color to the imported contacts that will apply to each contact.
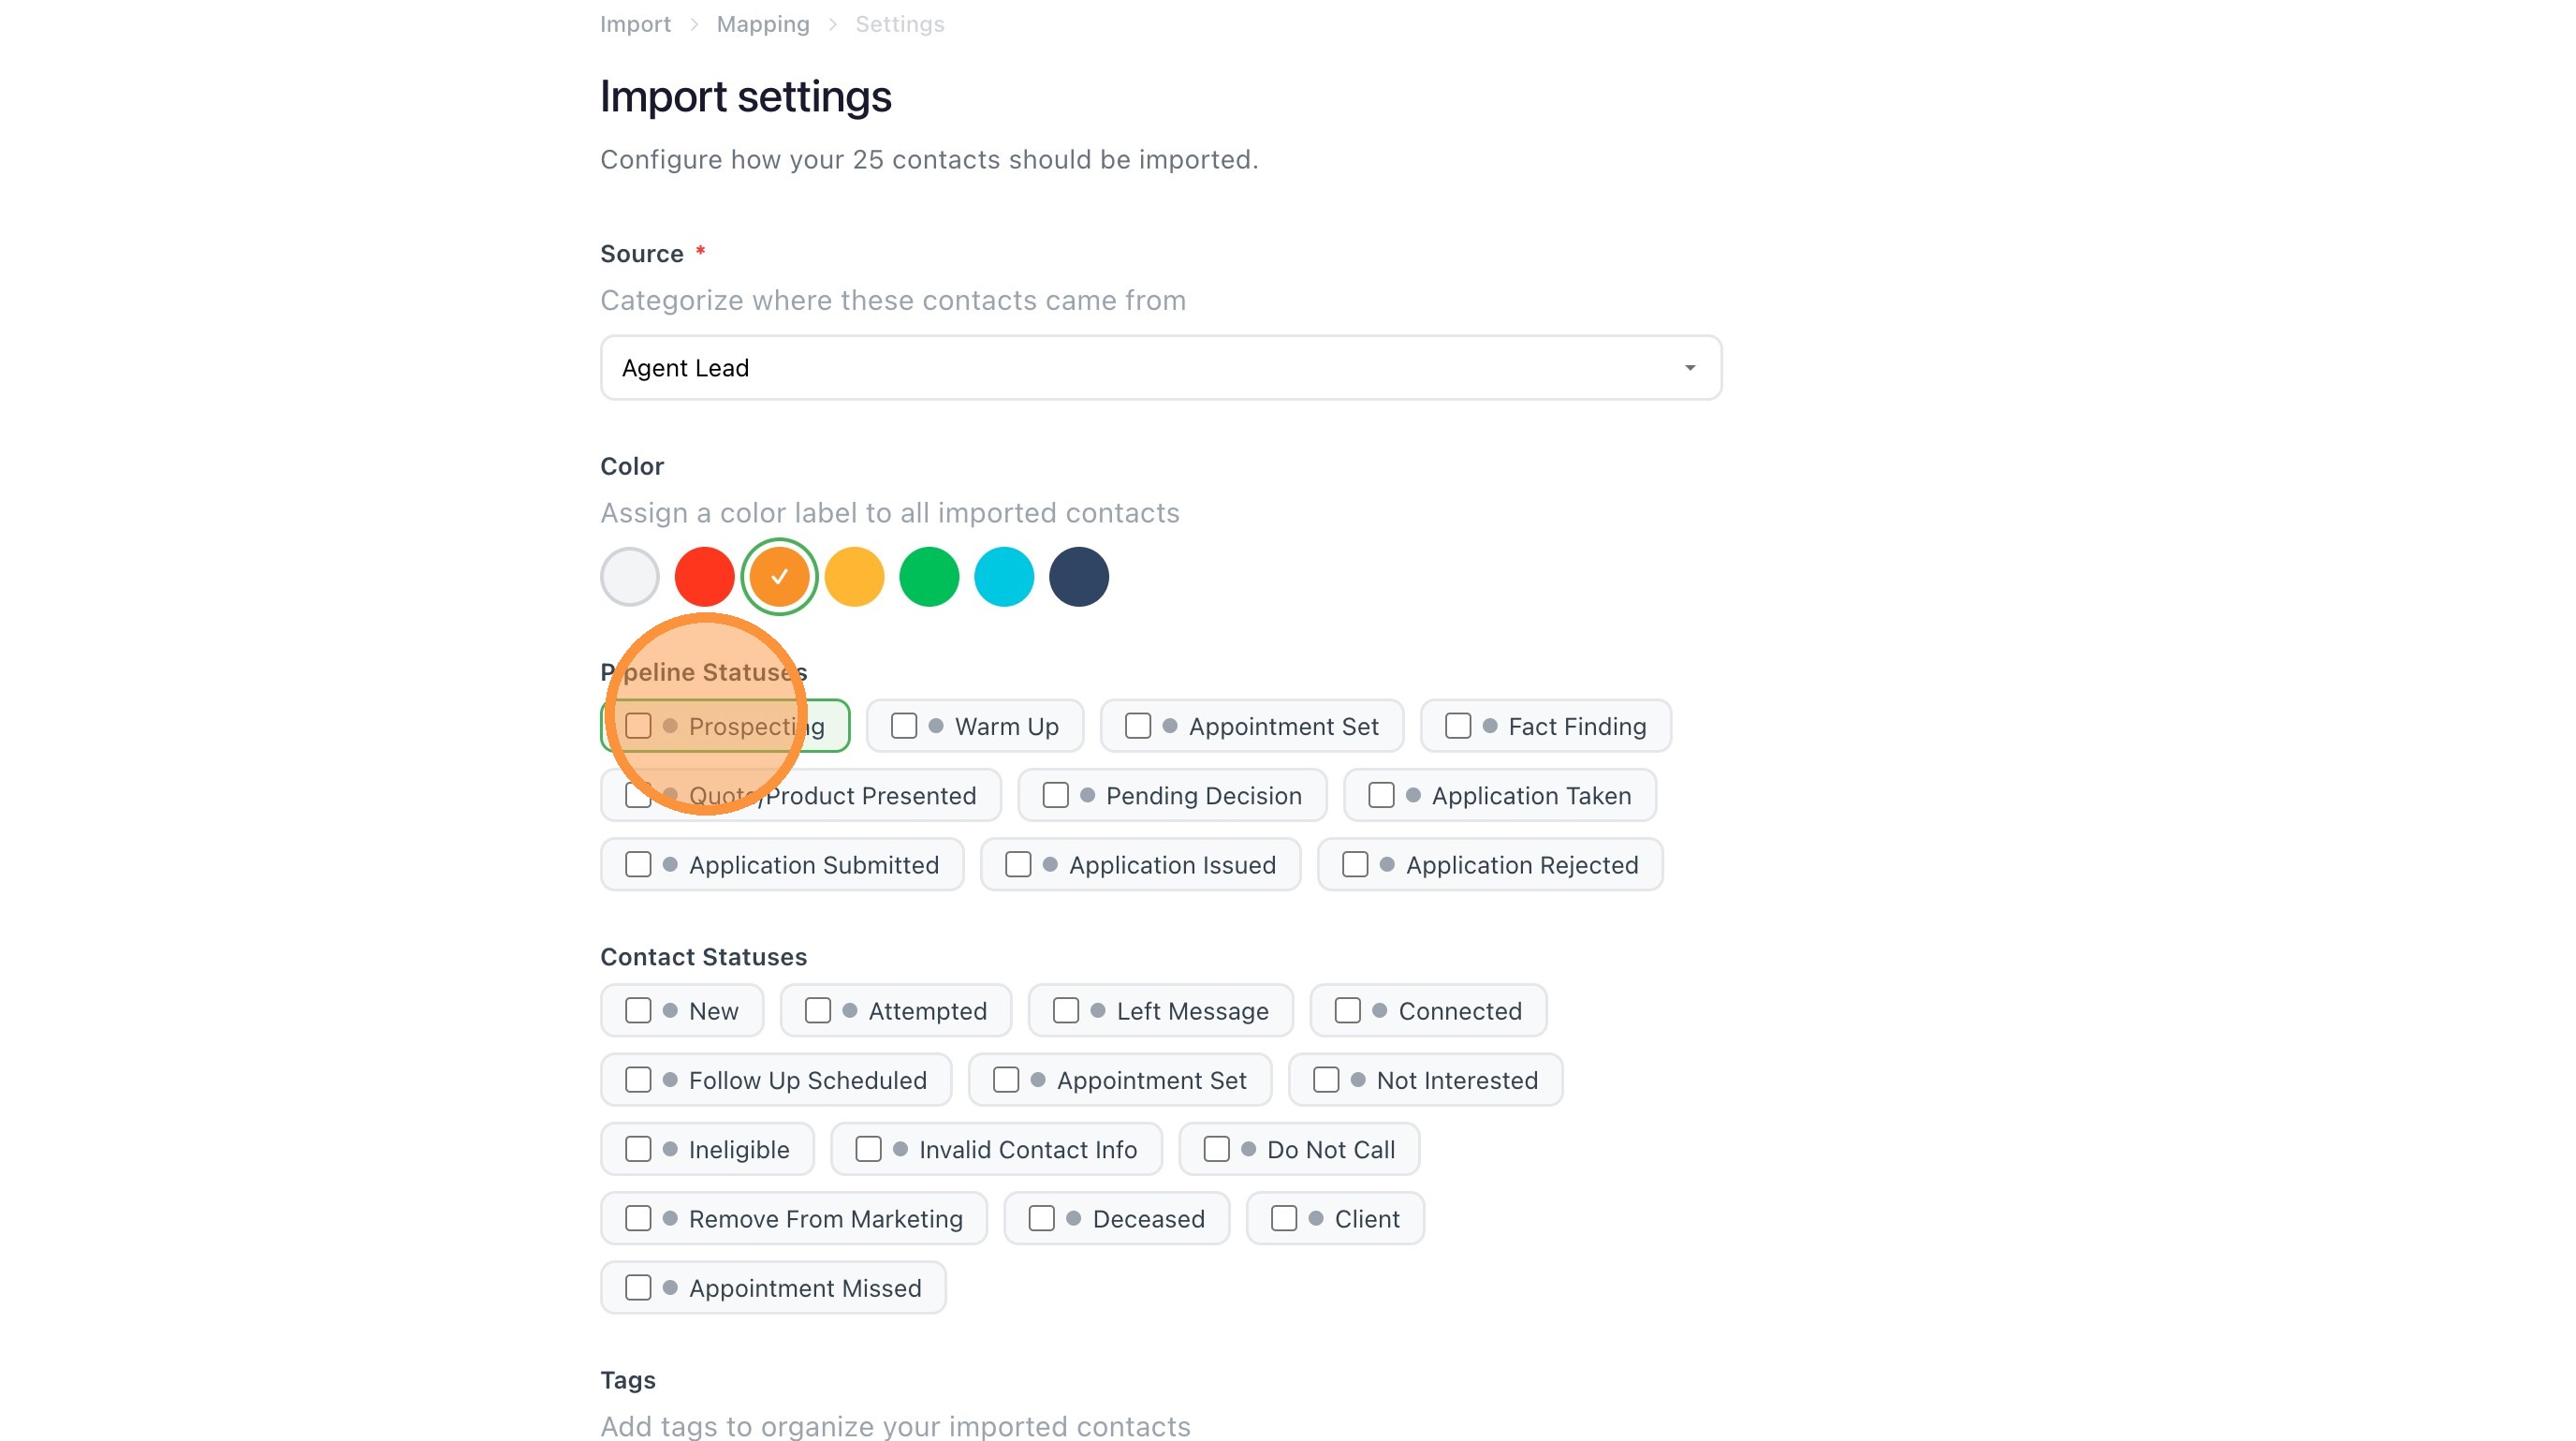
13. You can select both a prospecting and contact status if you want.
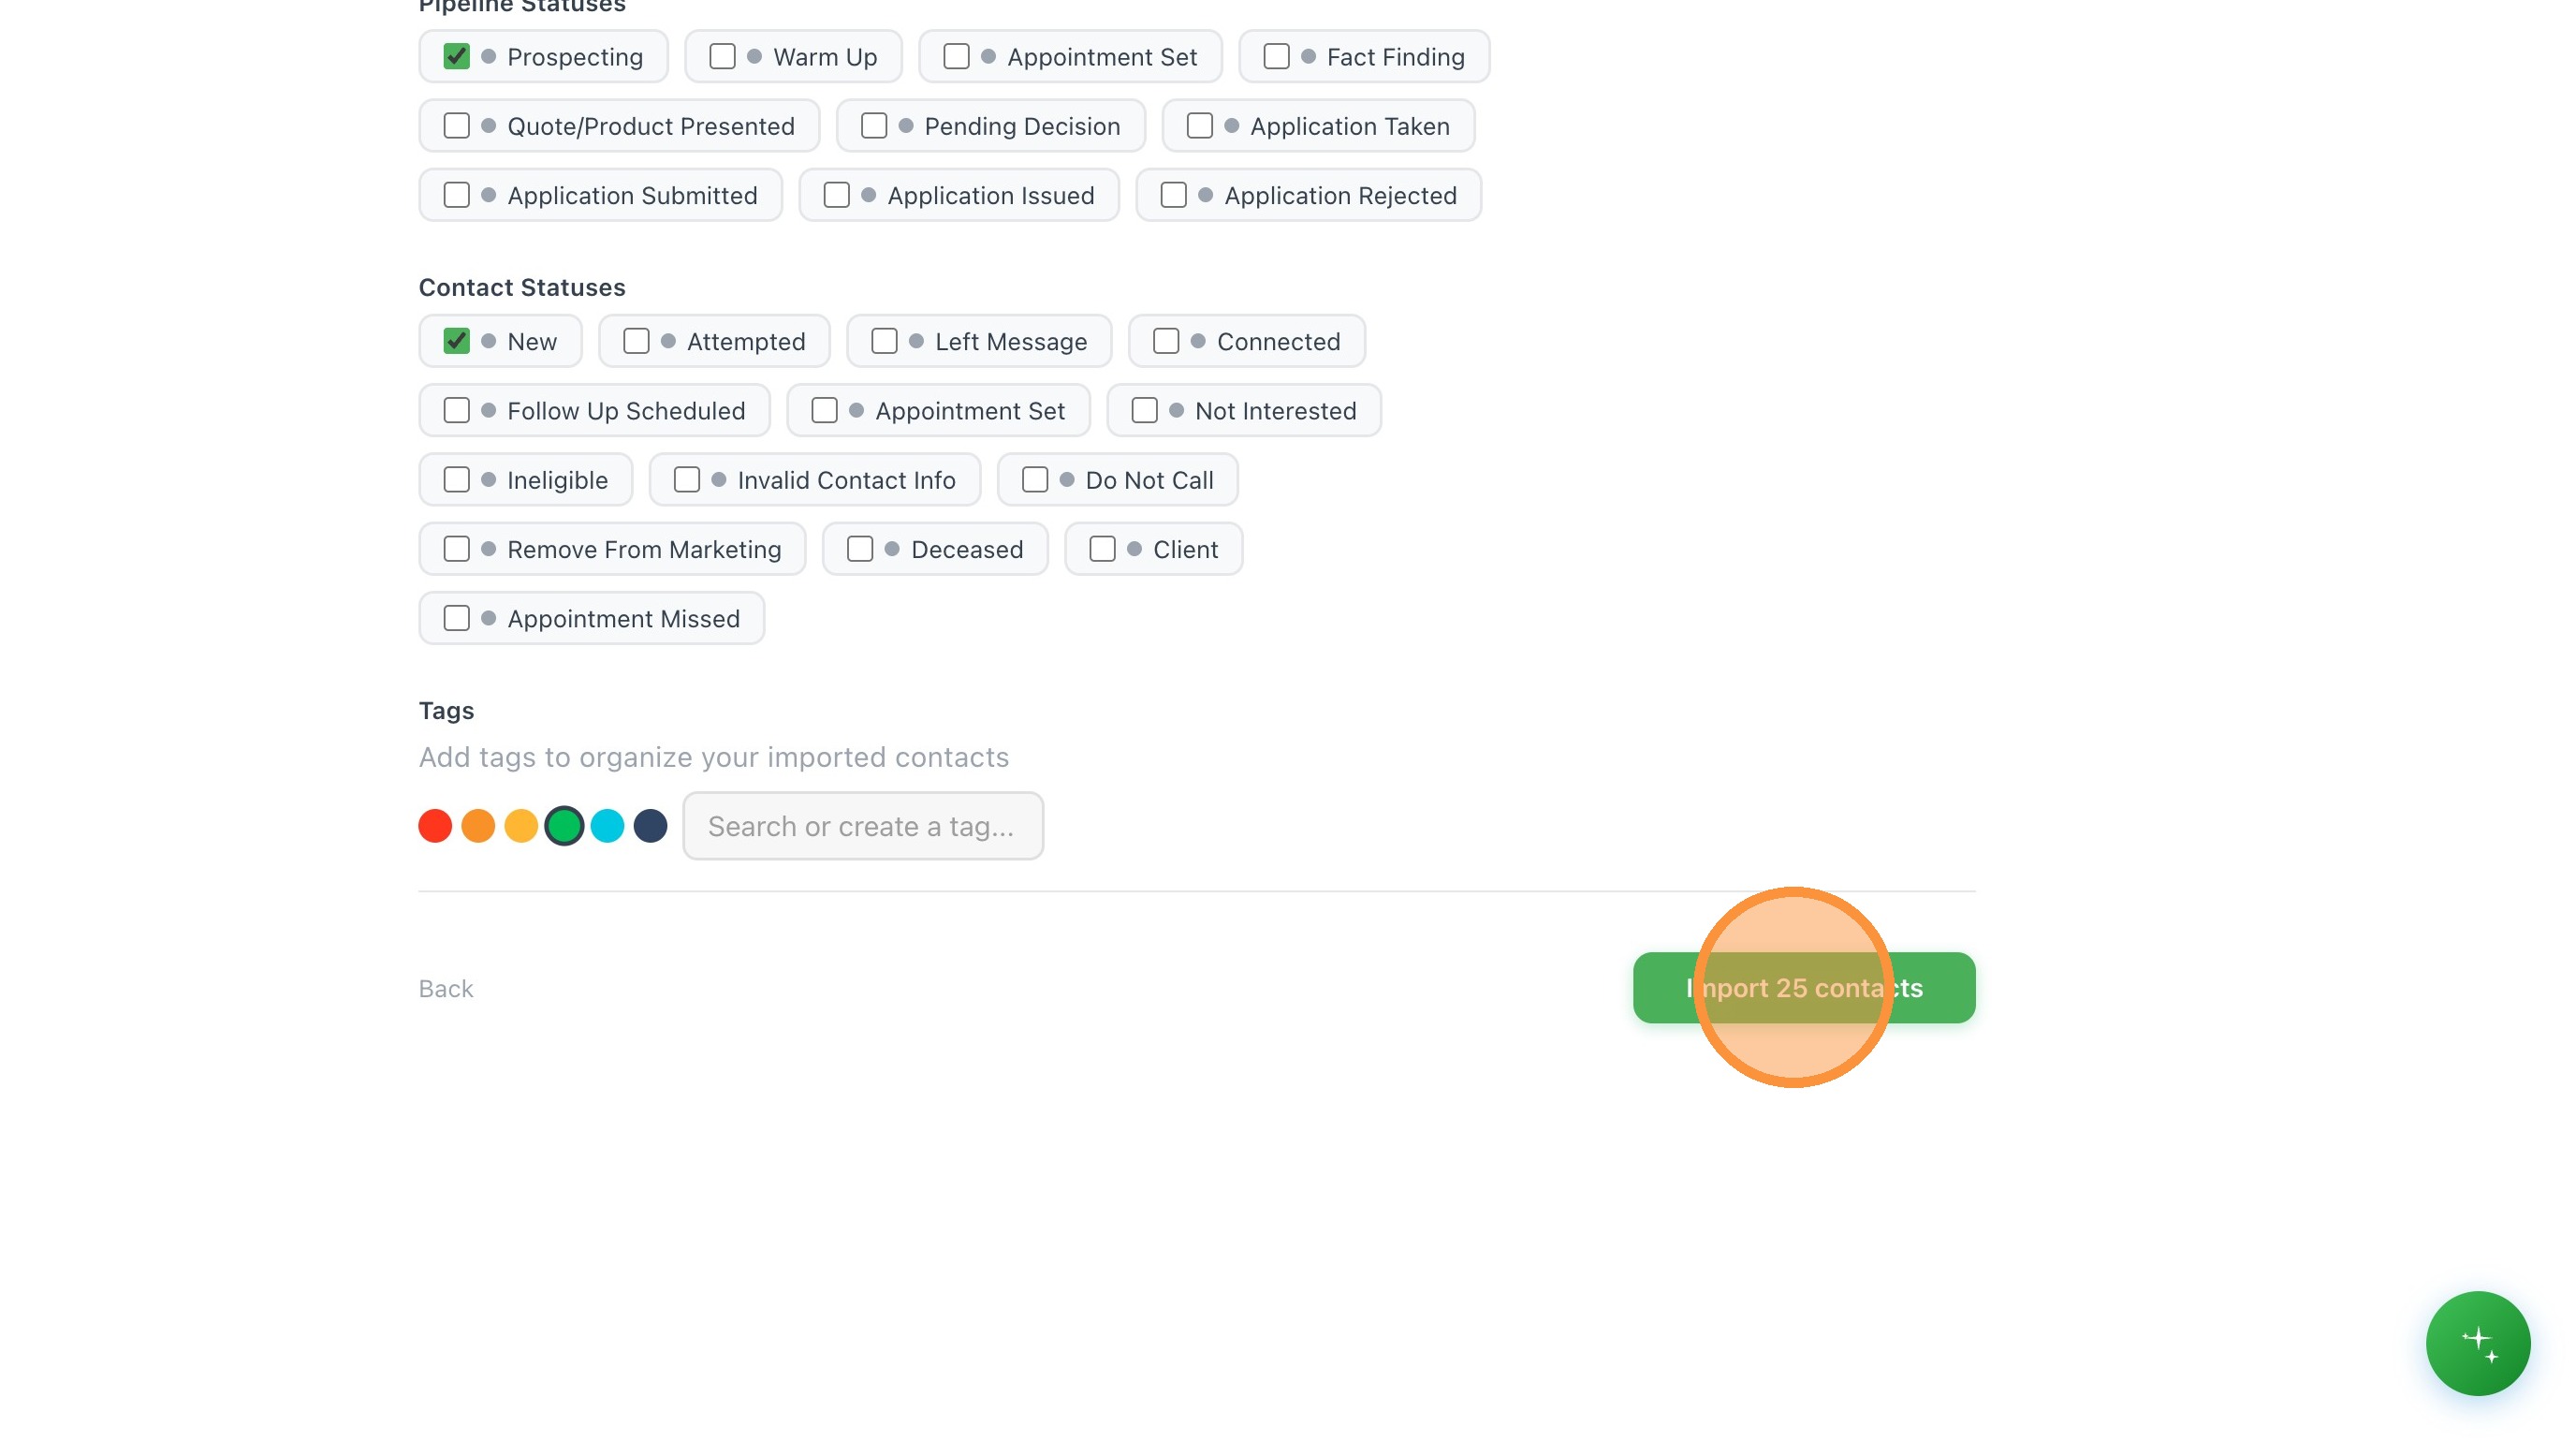
14. Once you've mapped out all fields and configured your import settings you can click the "Import contacts" button. This will indicate how many contacts will be imported.
Completion and Review
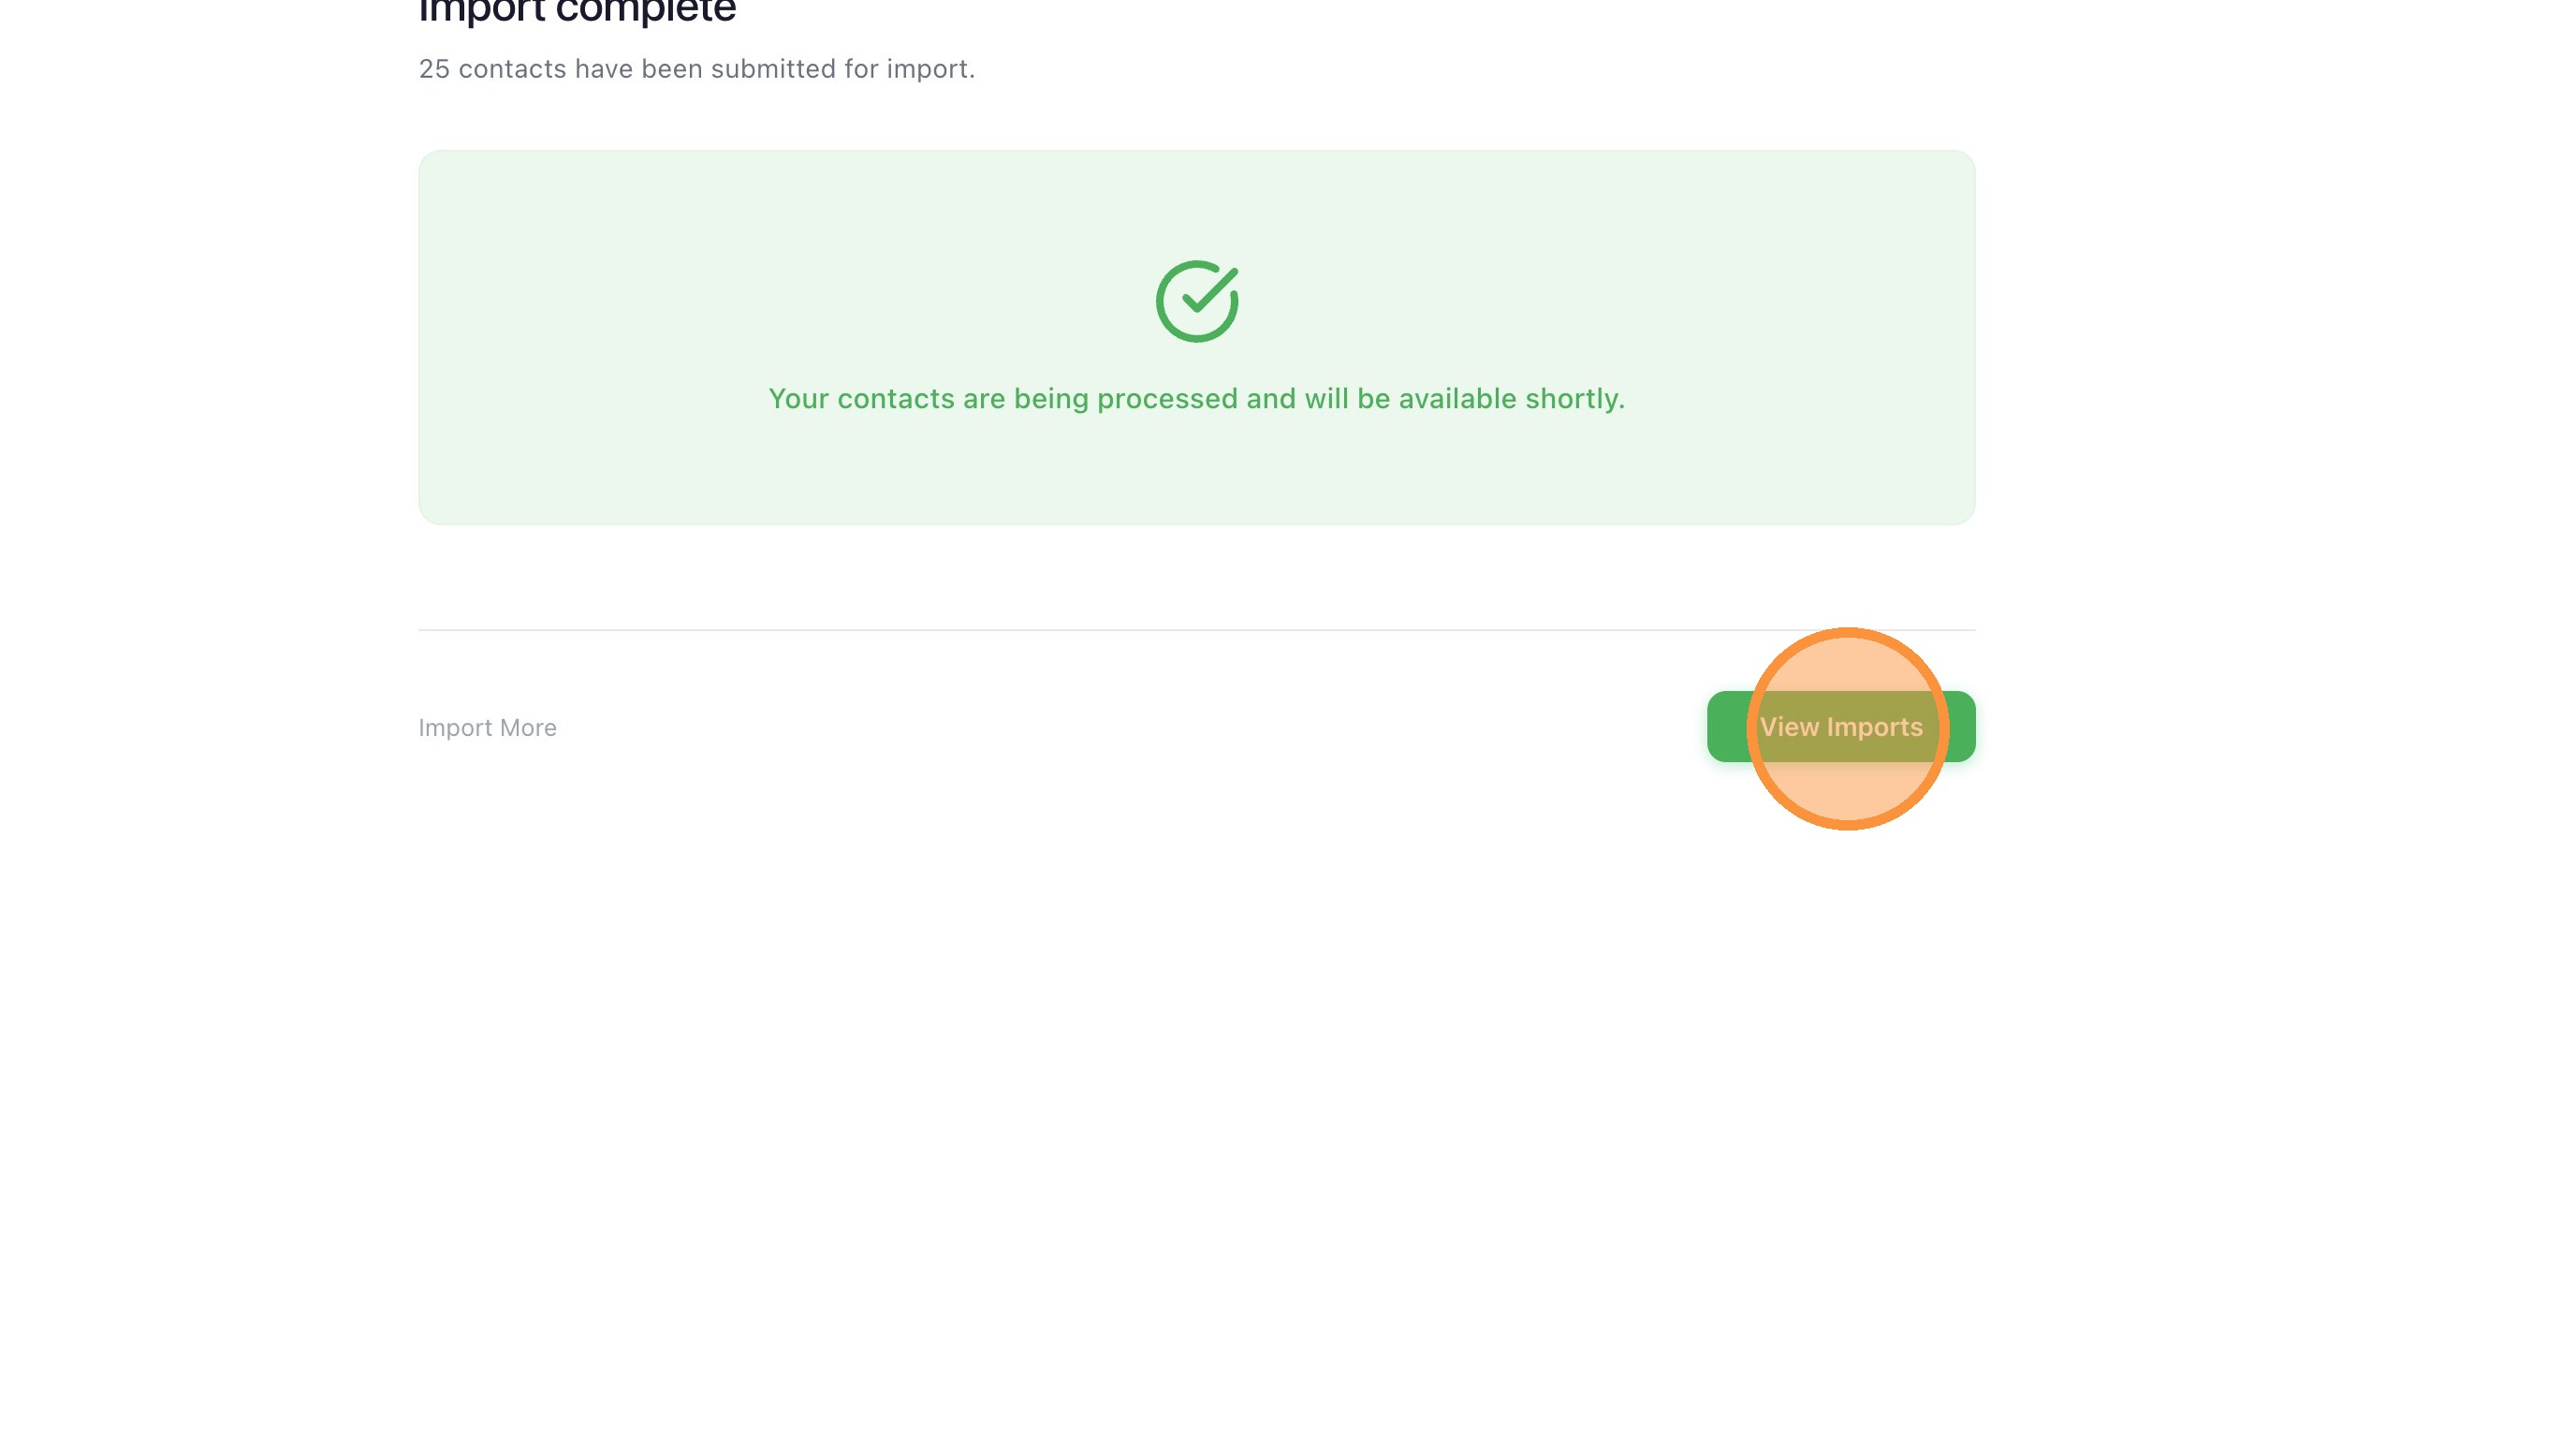
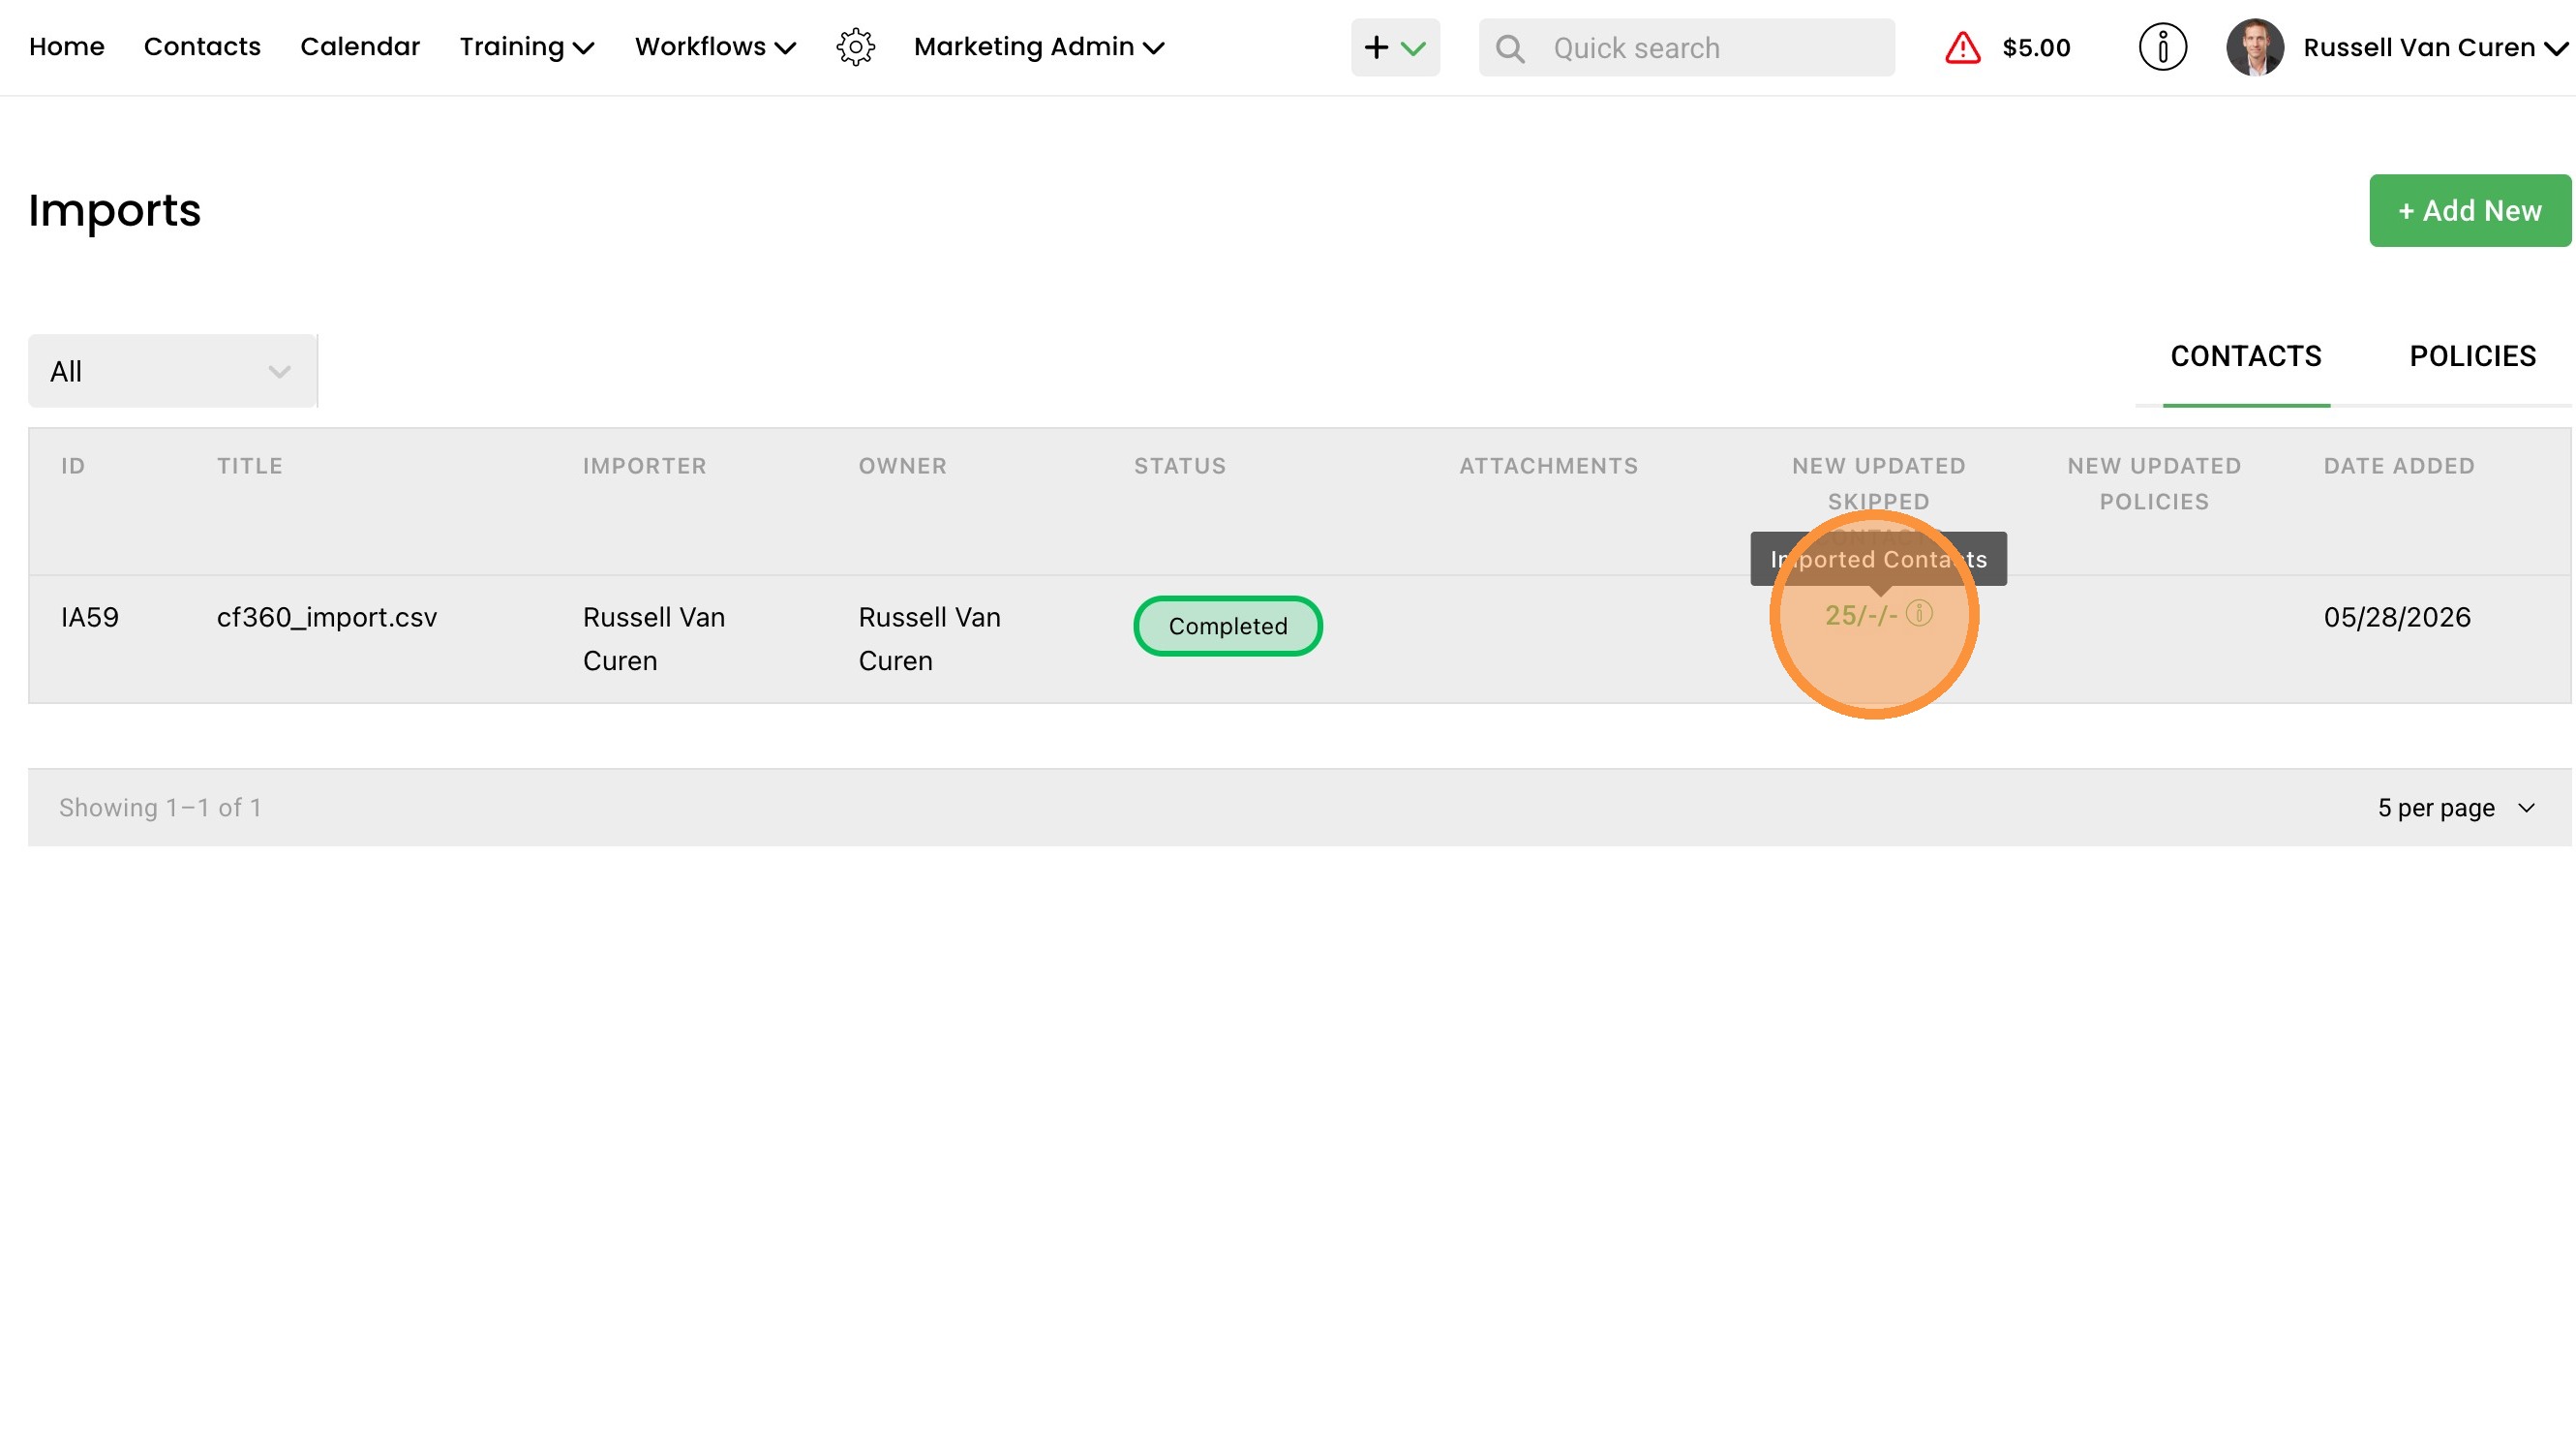
15. If your import successfully starts you will see a green alert indicating that it's processing. You can click "View Imports" to see additional details about the import job, track status, and view the contacts.
16. You can view the imported contacts by selecting the count displayed in the Imports Table. It will indicate how many contacts were added, updated, or skipped.
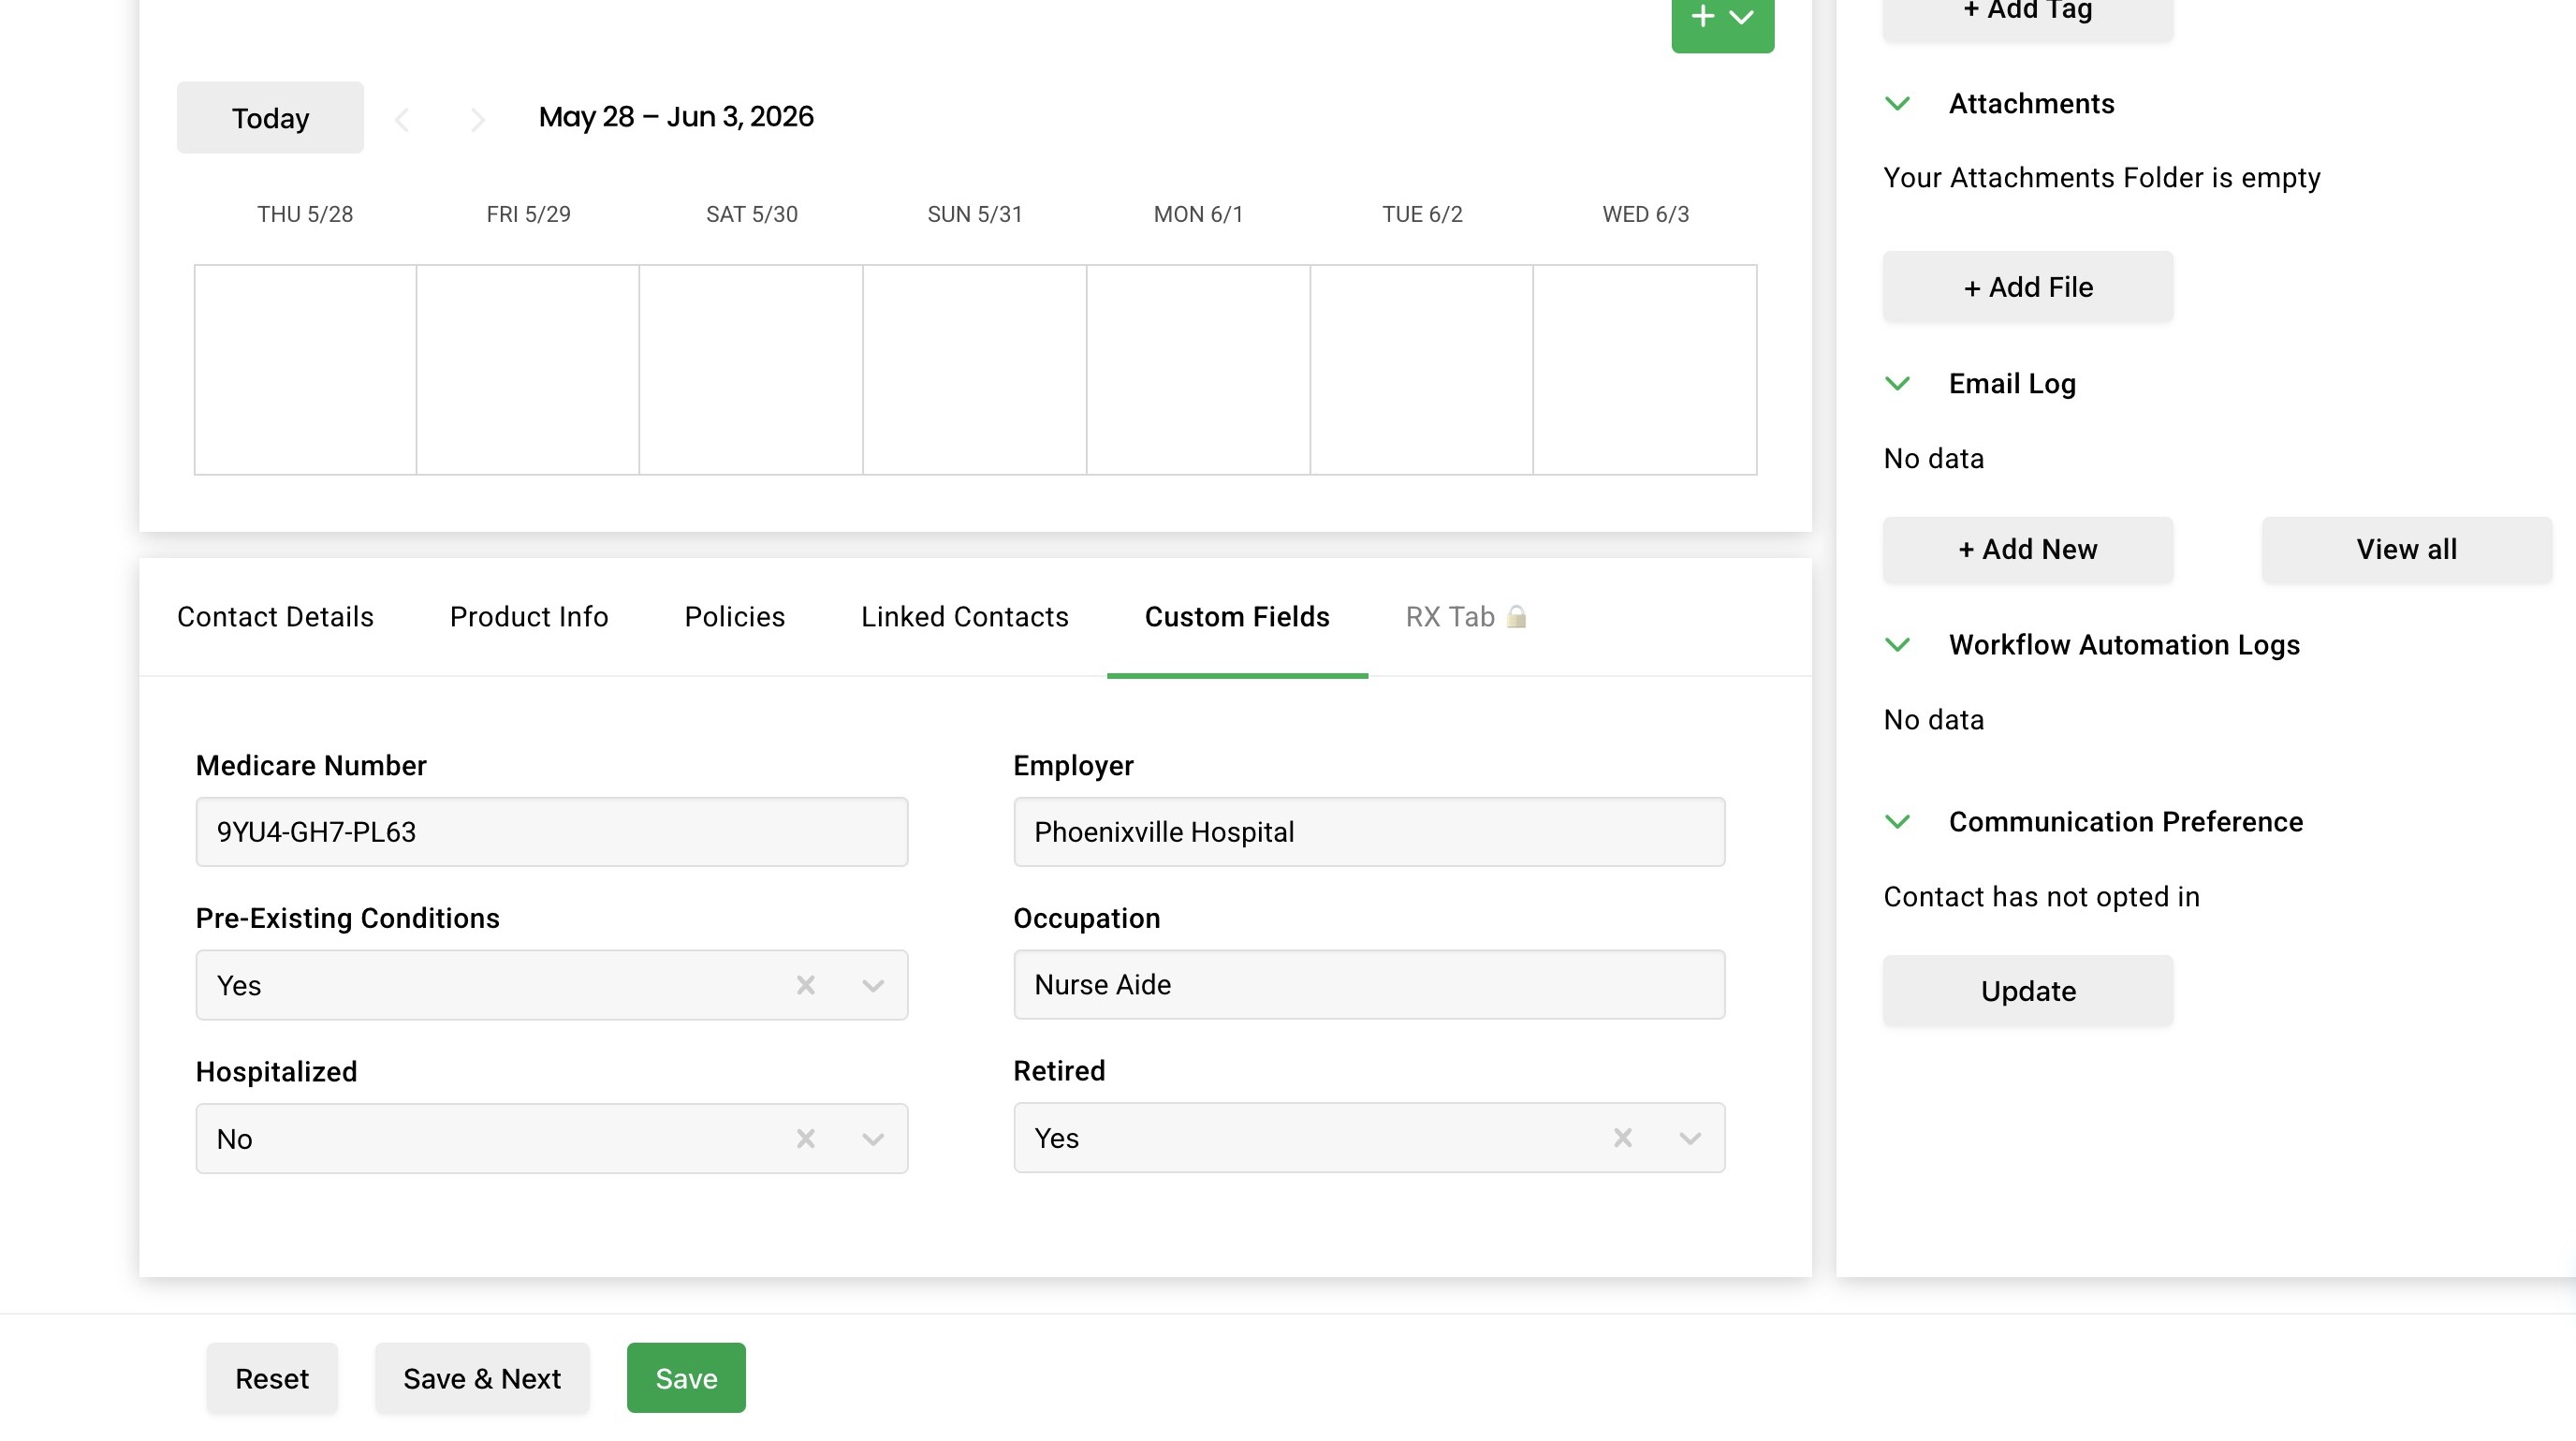
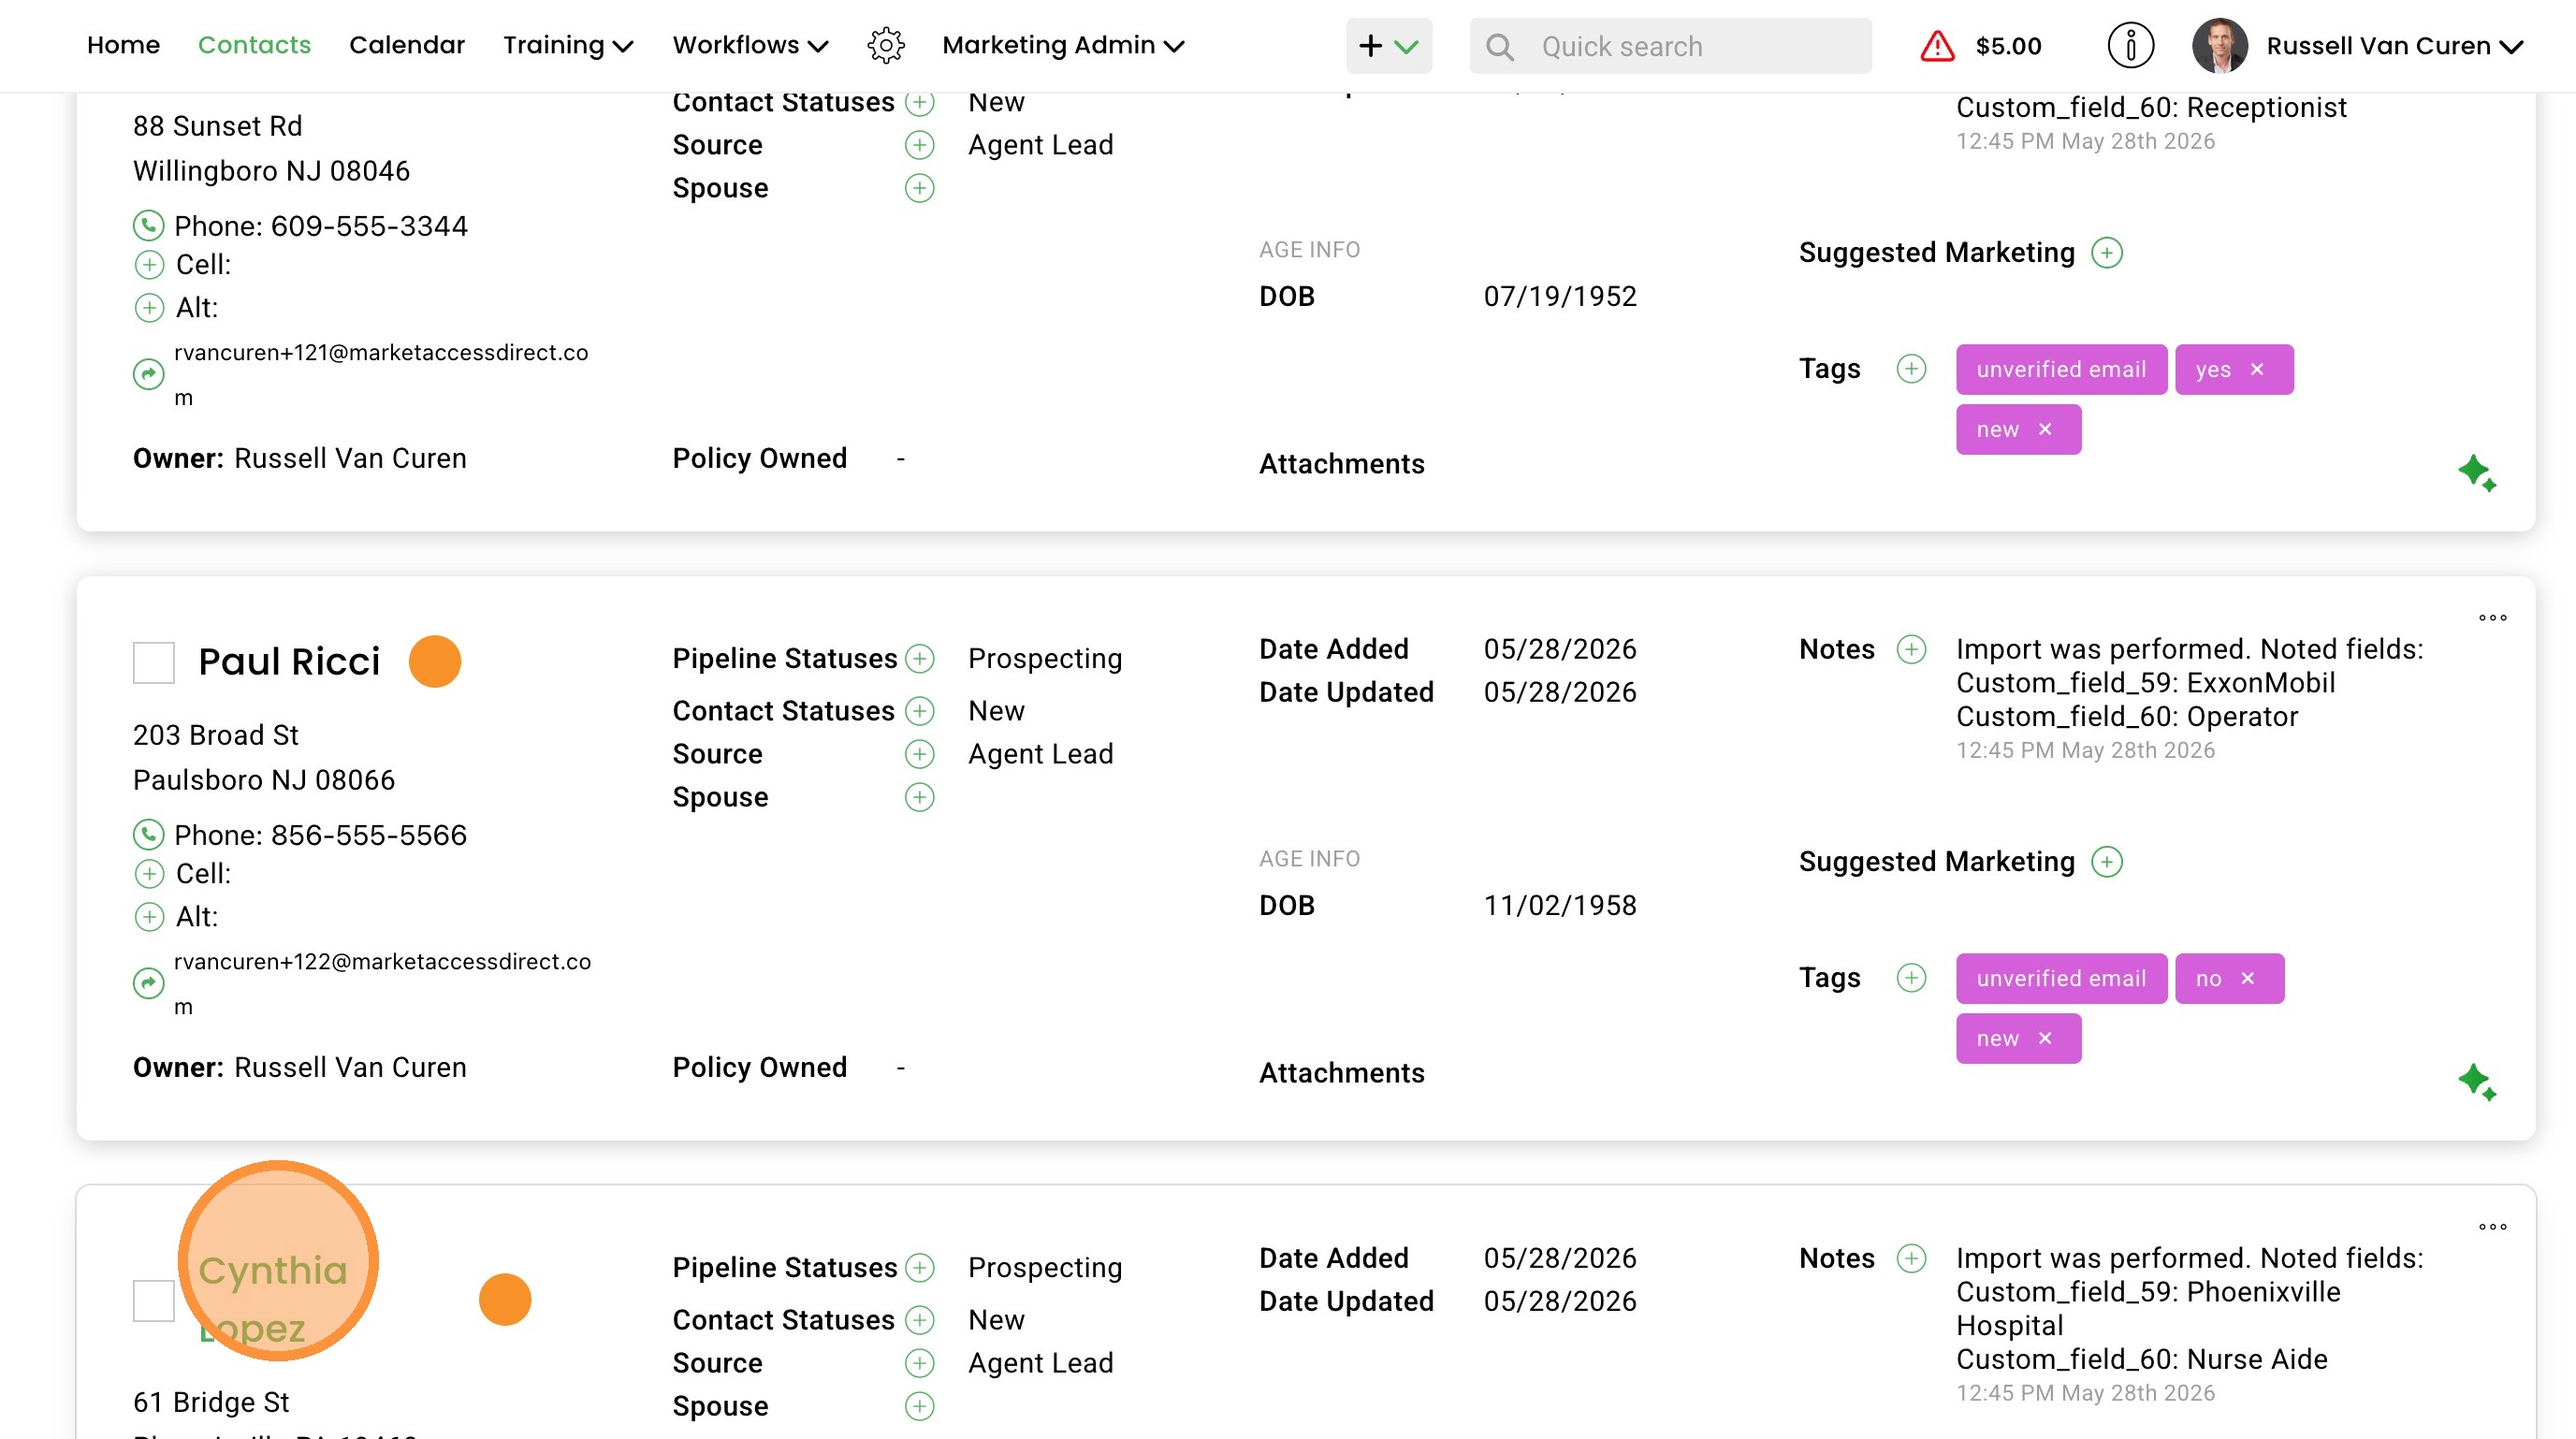
17. If you open one of the contacts you can view the imported data.
18. Here we check the contact details then select Custom Fields
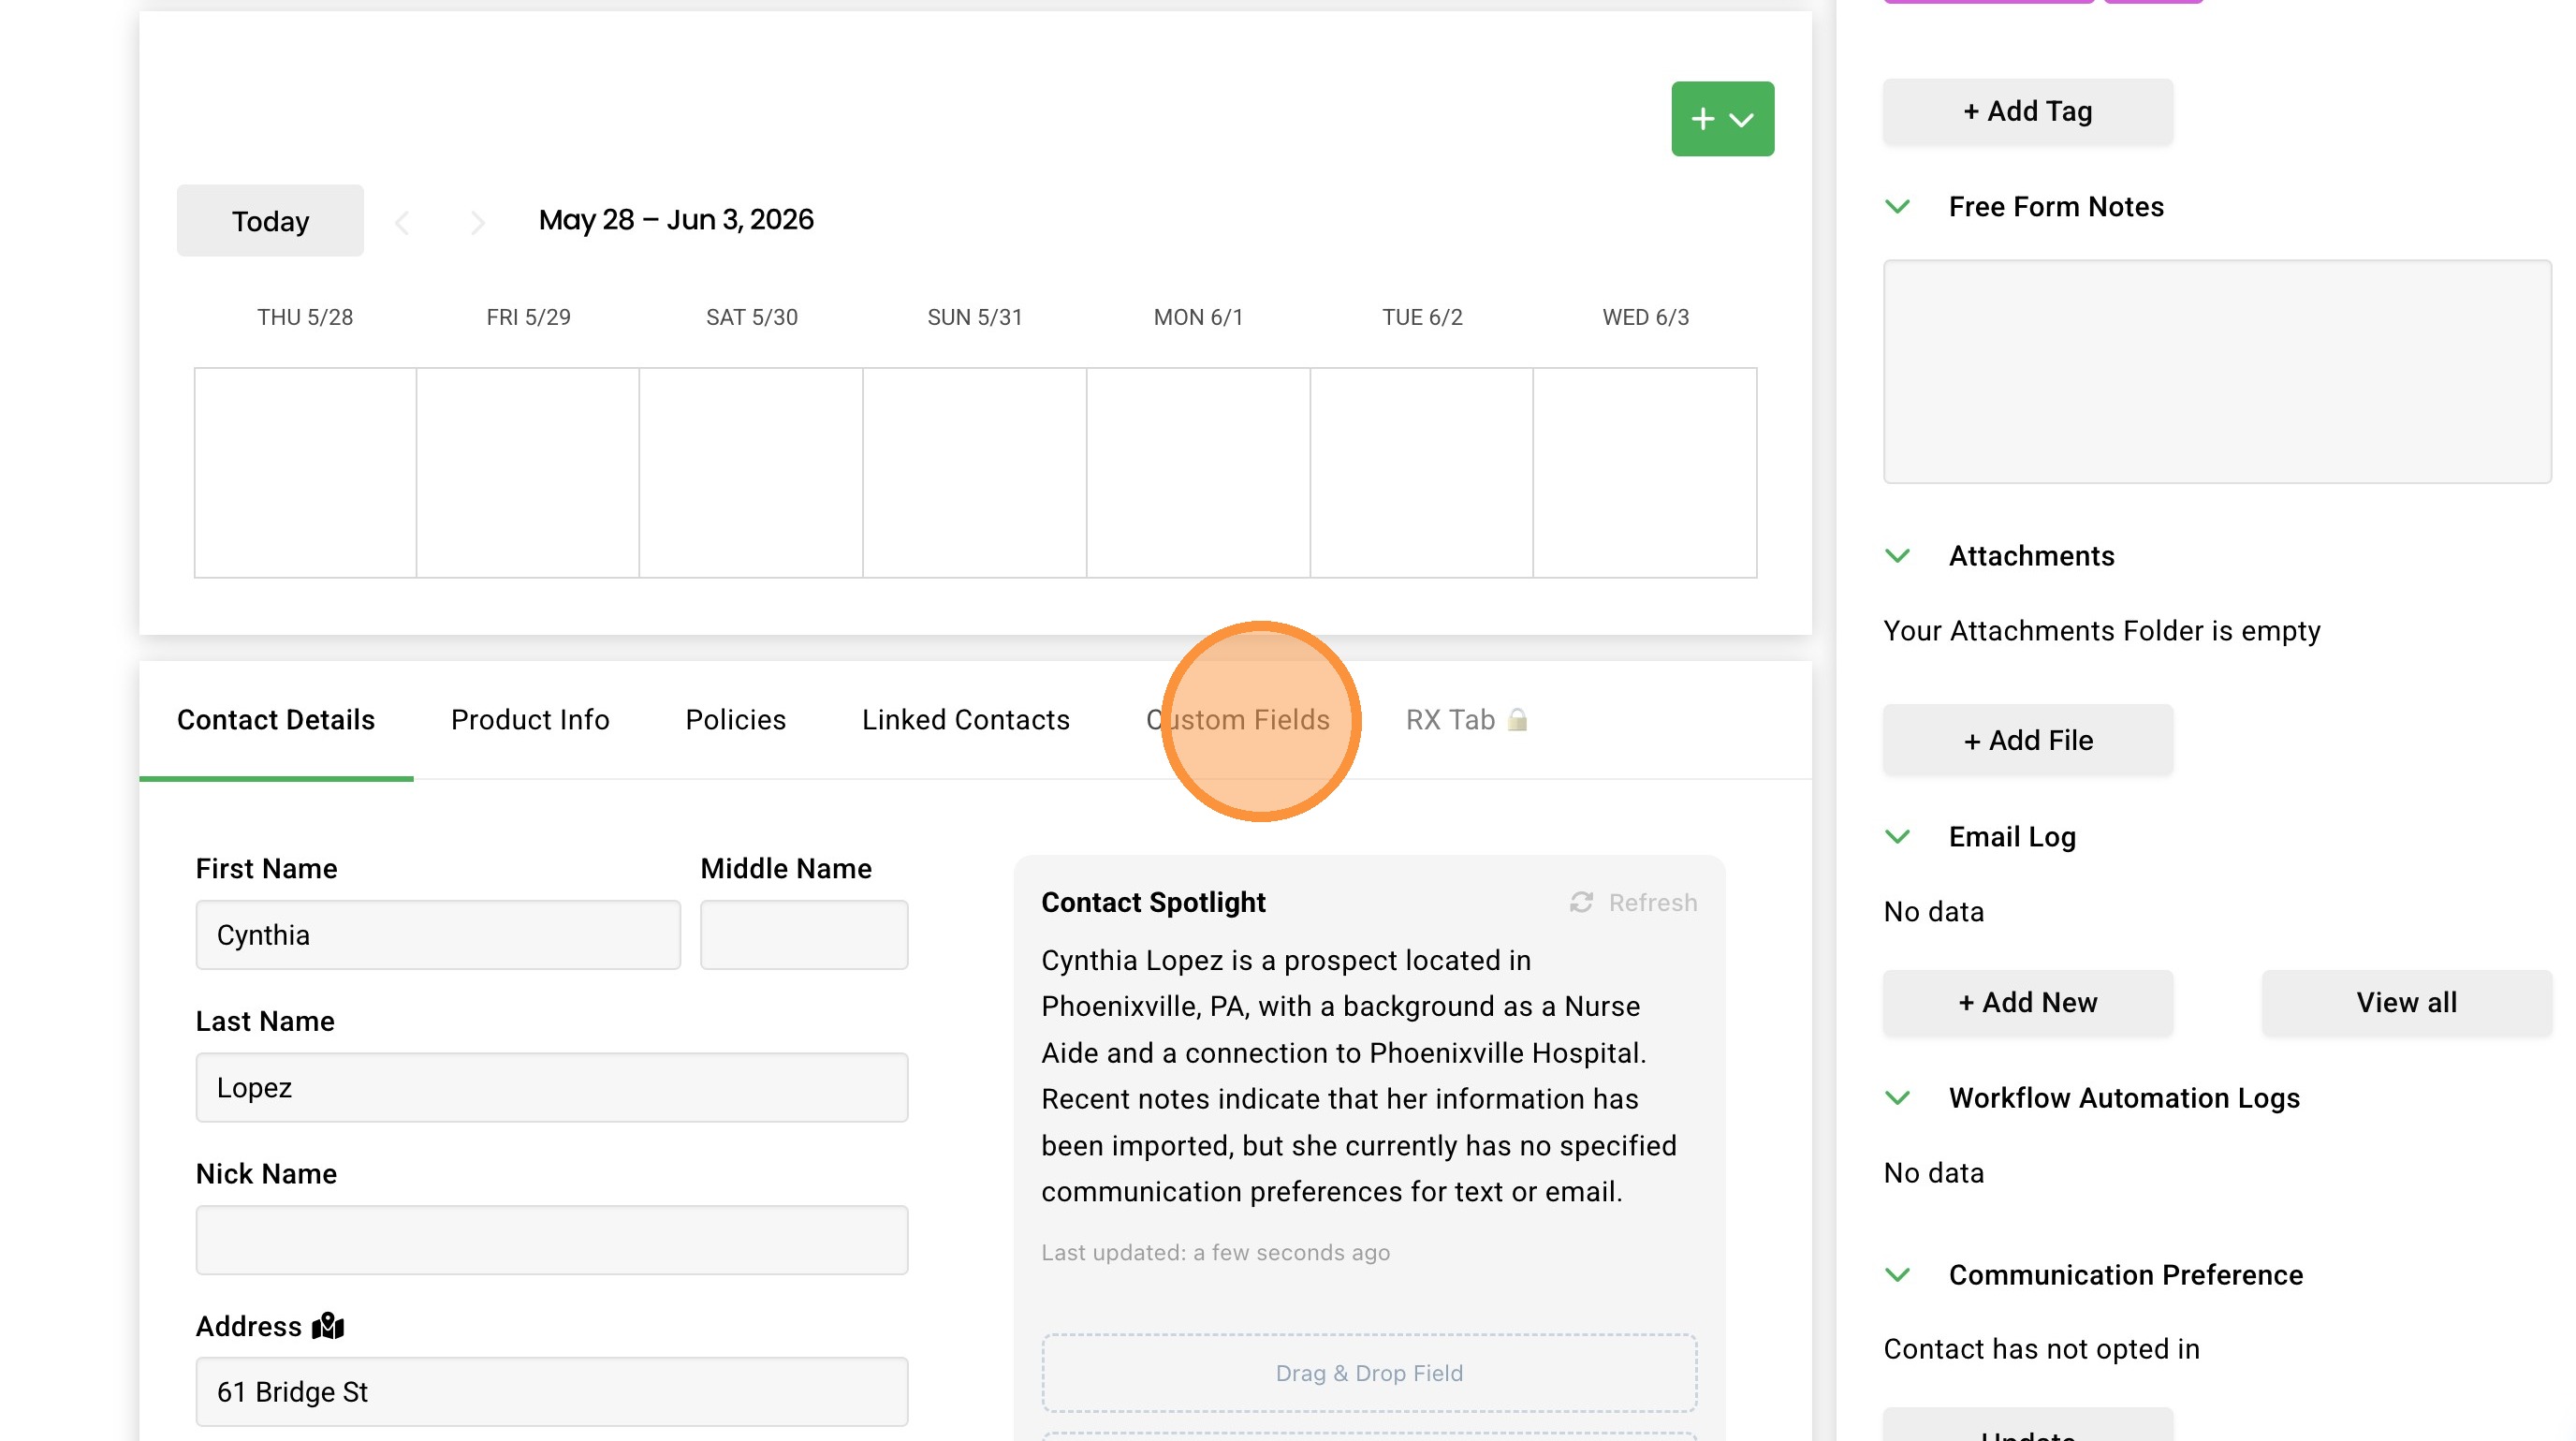
19. Here we can see our custom fields came over as expected.