Getting Started with ClientWave360
Welcome to ClientWave360. This guide walks you through everything you need to go from a brand-new account to a working pipeline with your contacts imported and your first campaign on its way. Most agents finish in under 30 minutes.
You do not need any technical experience. If you can use a spreadsheet, you can set up ClientWave360.
What you'll need before you start
Have these handy so you can move quickly:
- A list of your contacts (a CSV export from your current CRM, AMS, or a spreadsheet works perfectly)
- Your agency name and contact details
- A few minutes of uninterrupted time
That's it. Everything else happens inside the platform.
Step 1: Set up your agency profile
The first thing to do after logging in is complete your agency profile. This is what appears on your outbound emails and texts, so it's worth getting right.
Head to Settings → Agency Profile and fill in your agency name, reply-to email, and phone number. These details are used to keep your messaging compliant and to make sure replies land in the right inbox.
Once your profile is saved, your account is ready to hold contacts.
Step 2: Import your contacts
ClientWave360 supports one-click import from Salesforce, HubSpot, Zoho, GoHighLevel, and Google Sheets, plus standard CSV upload.
To import:
- Go to Contacts → Import
- Choose your source (or upload a CSV)
- Map your columns to ClientWave360 fields — the importer auto-matches most of them for you
- Review and confirm
Your contacts will appear in the platform within a minute or two, fully searchable and ready to organize.
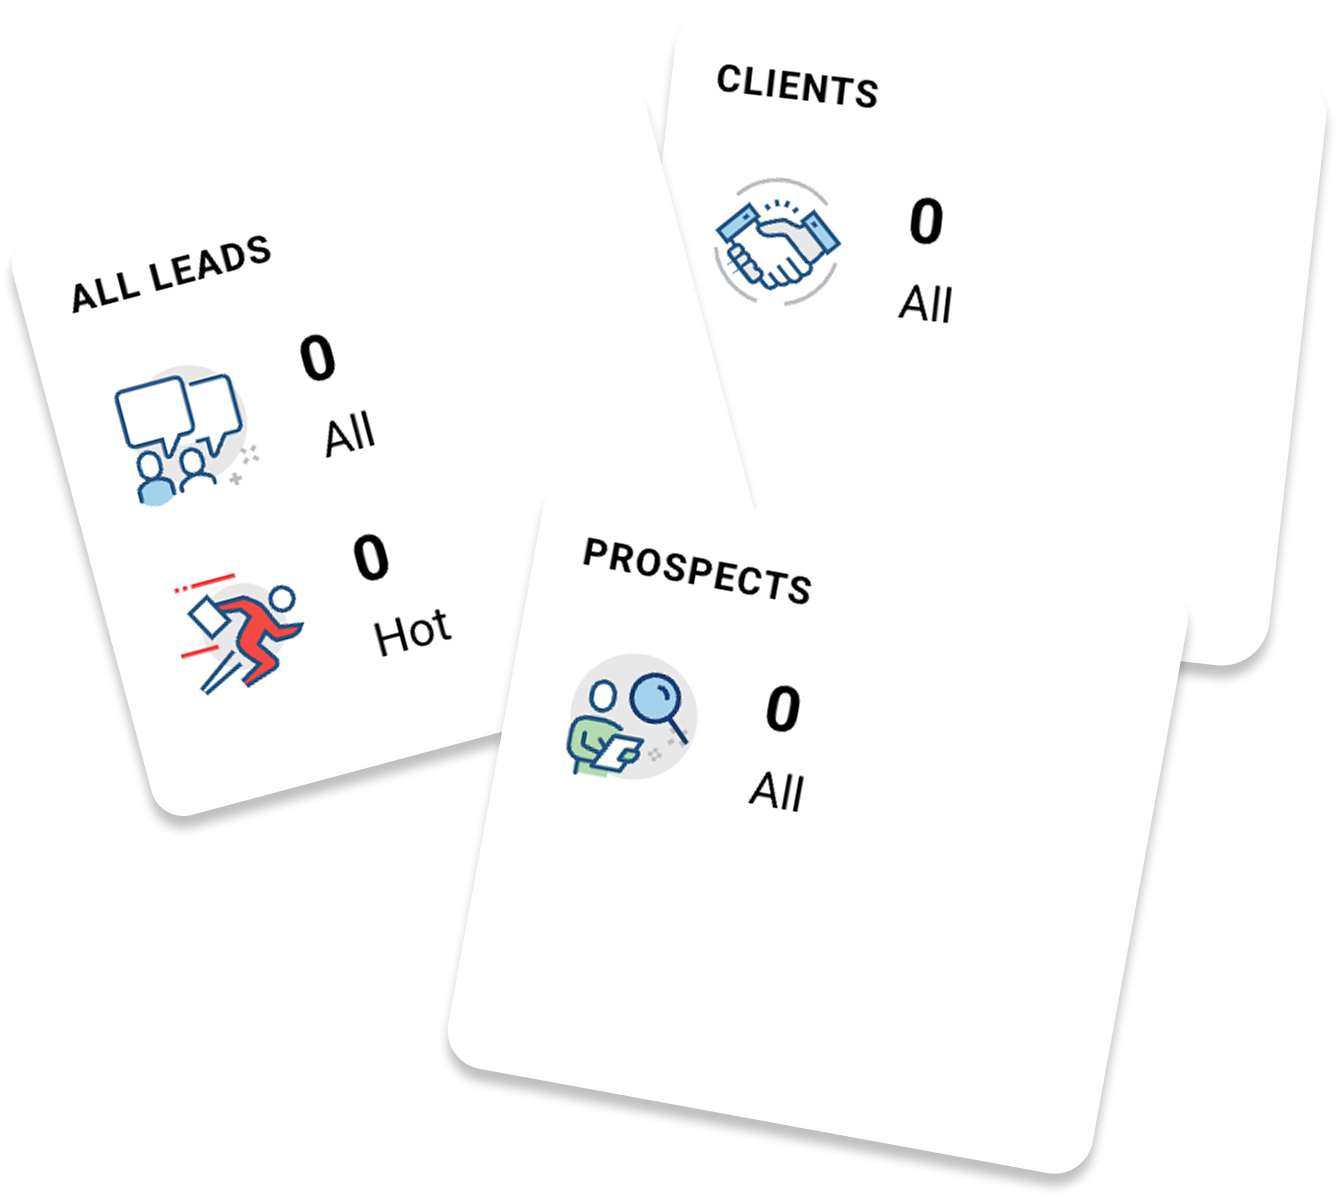
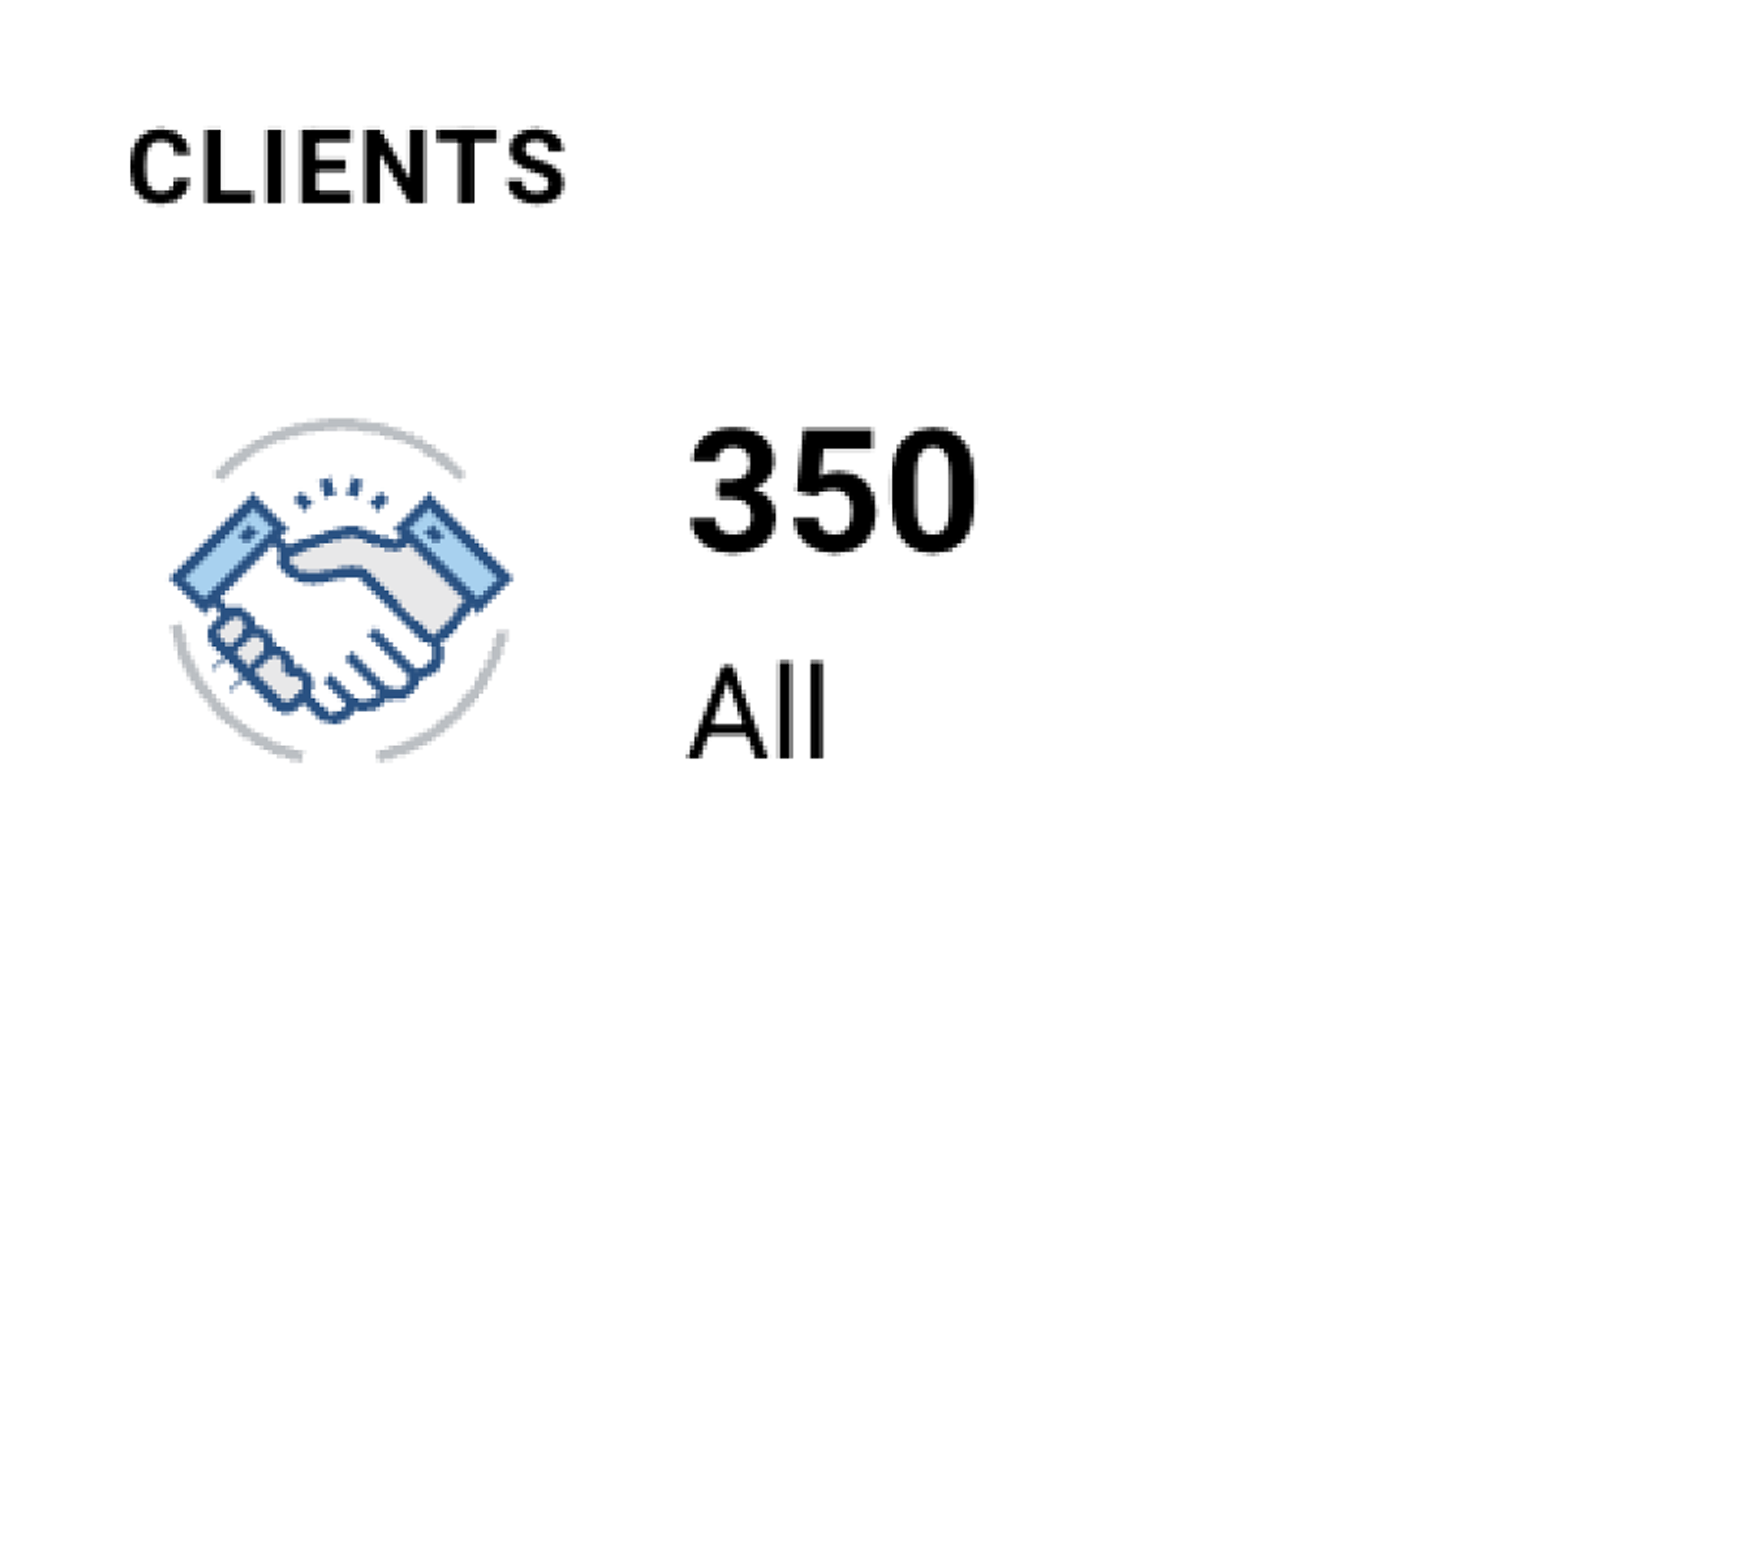
Step 3: Organize leads, prospects, and clients
ClientWave360 separates your book into leads, prospects, and clients so your follow-up always matches where someone is in their journey.
- Leads are new, unqualified contacts
- Prospects are people you're actively working
- Clients are bound policyholders
You can move a contact between stages with a single click, and every stage can trigger its own automated follow-up.
Step 4: Send your first campaign
Now the fun part. Go to Marketing → Campaigns → New Campaign. Pick a contact segment (try starting with a small group), choose email or SMS, and either write your message or let MAX.AI draft one for you.
Preview it, send yourself a test, and hit send. Congratulations — you've just launched your first ClientWave360 campaign.
Where to go next
You now have a working account with contacts imported and a campaign out the door. From here, explore building automated workflows so your follow-up runs on its own, and connect your lead vendors so new leads flow straight into your pipeline.
Each of those has its own guide in this library. Work through them at your own pace.