Adding A New Contact In ClientWave360
Learn how add new contacts in ClientWave360 including contact information, demographic details, and custom tags. This guide will help you navigate the data entry process to ensure your CRM remains organized and up to date.
Navigation and Access
1. Navigate to https://clientwave360.com/
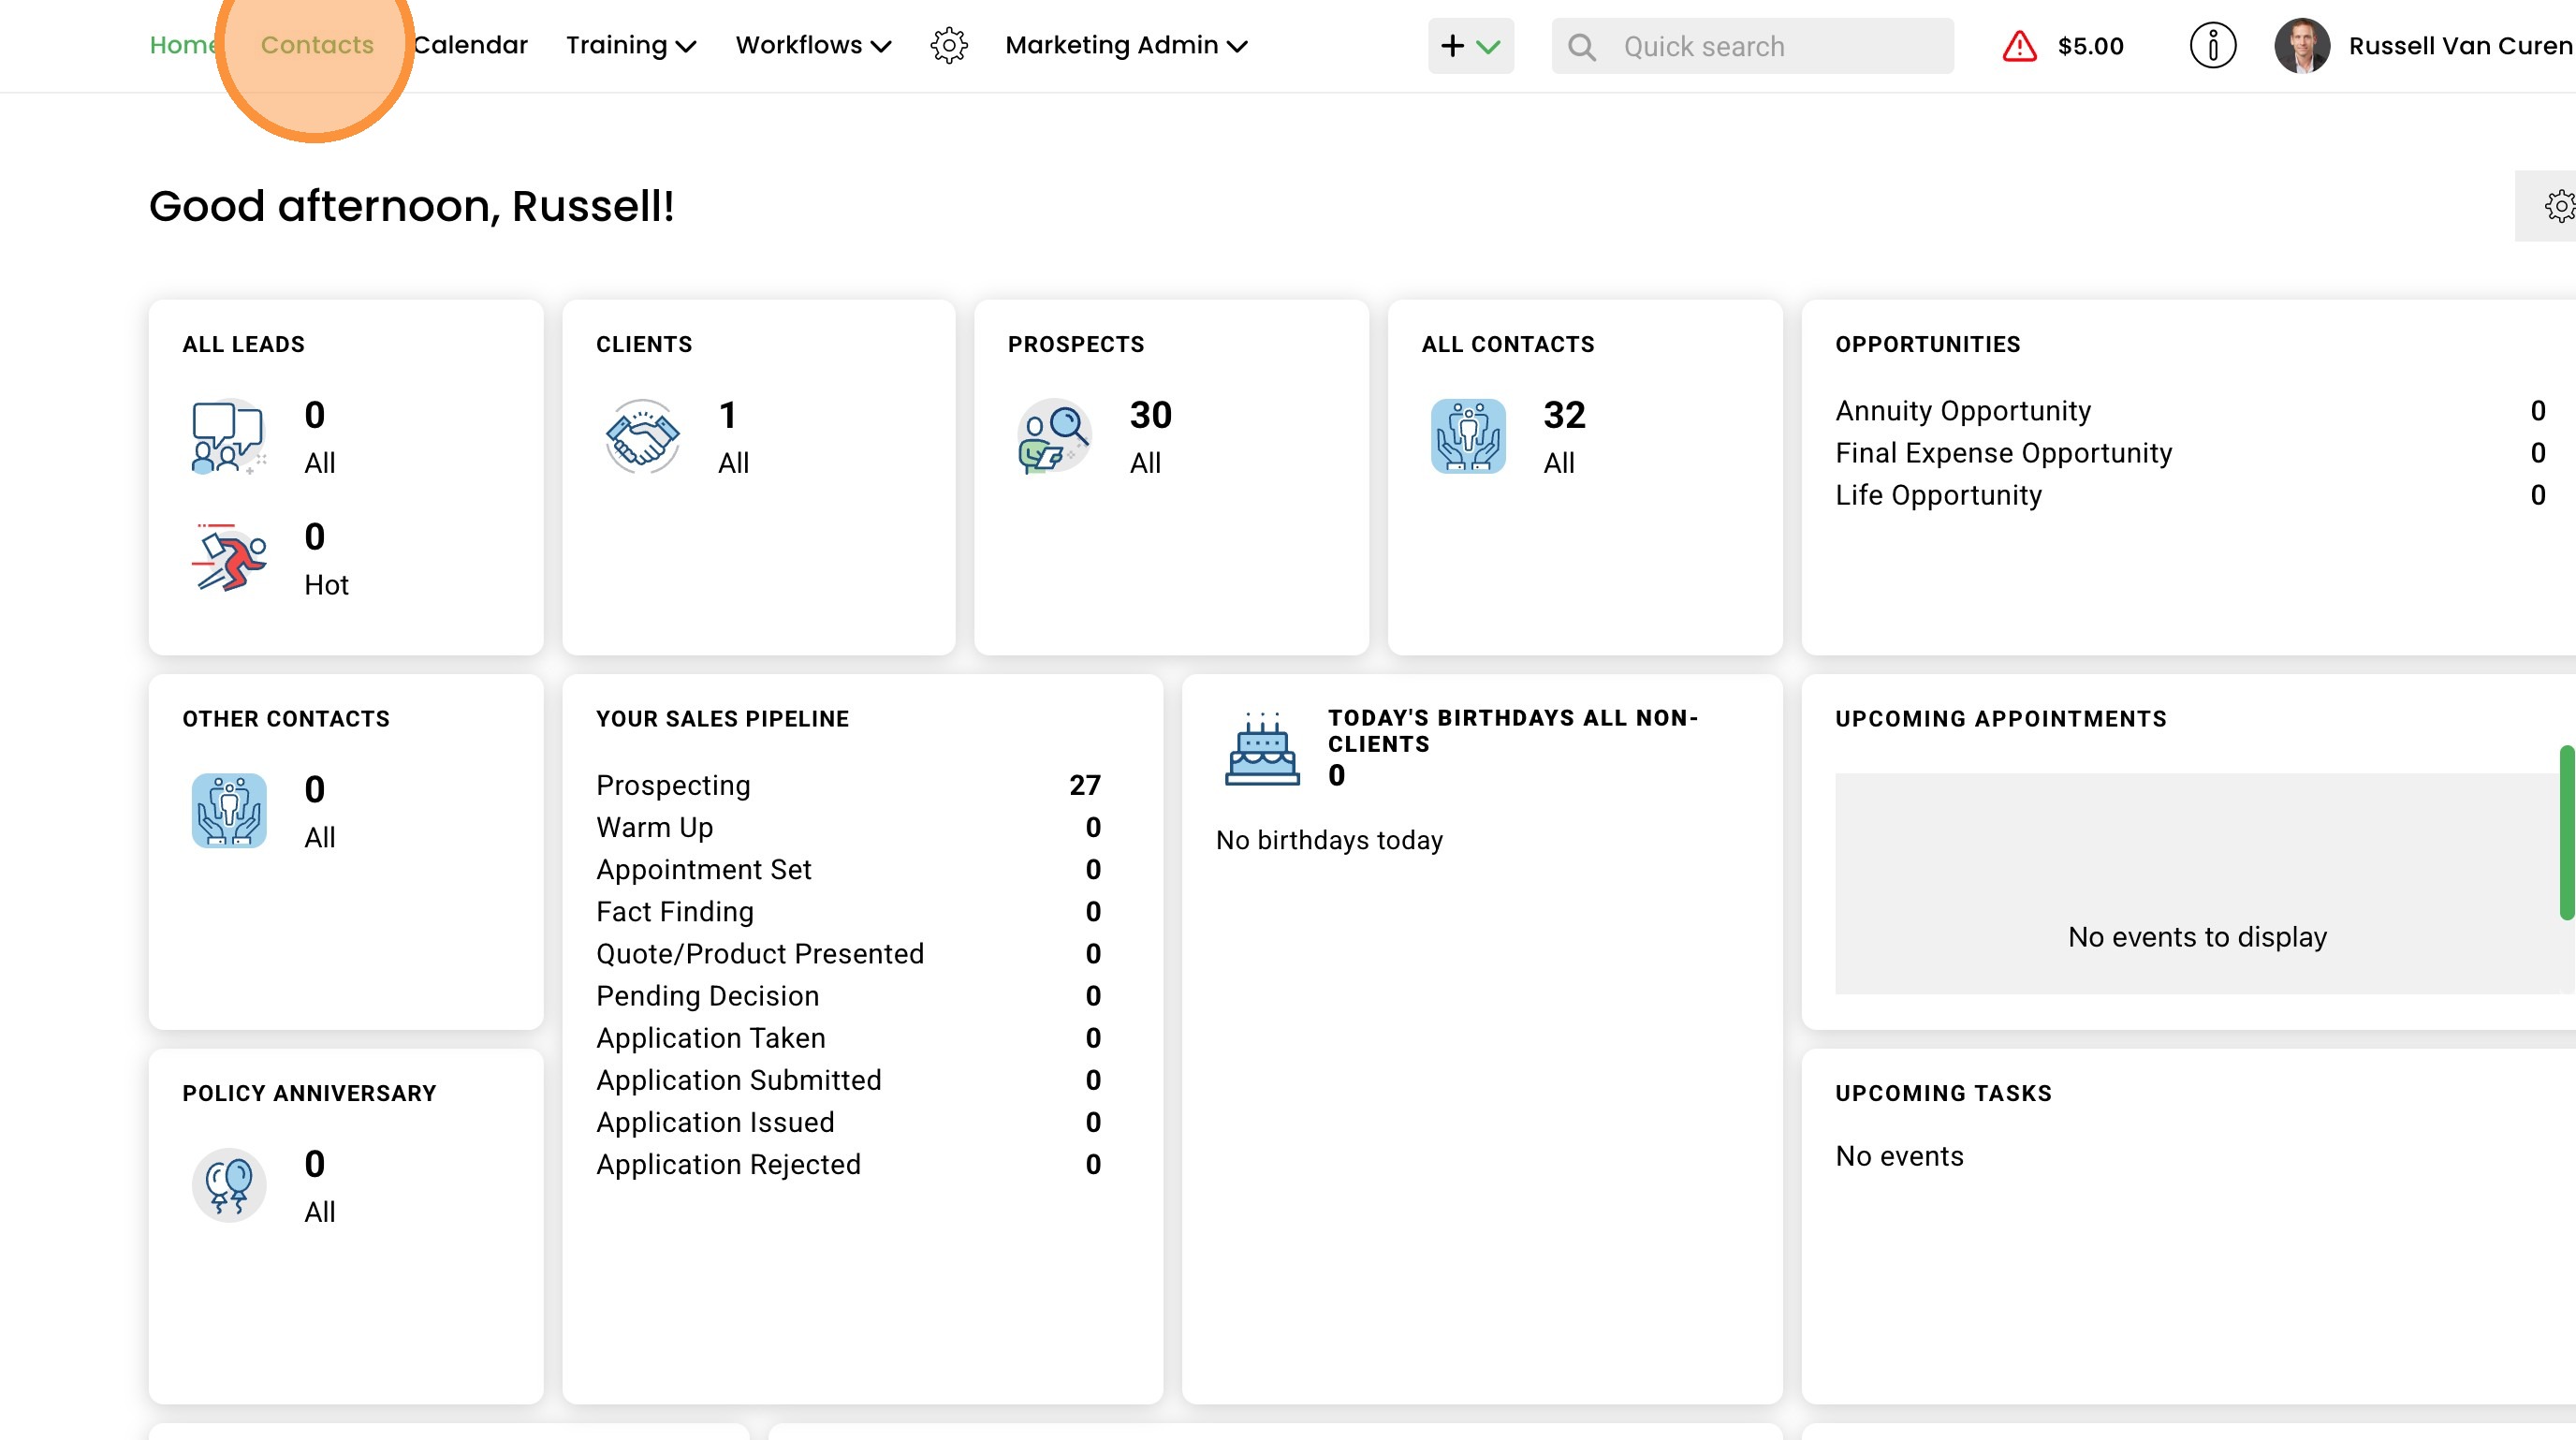
2. Click the "Contacts" menu option in the top navigation menu
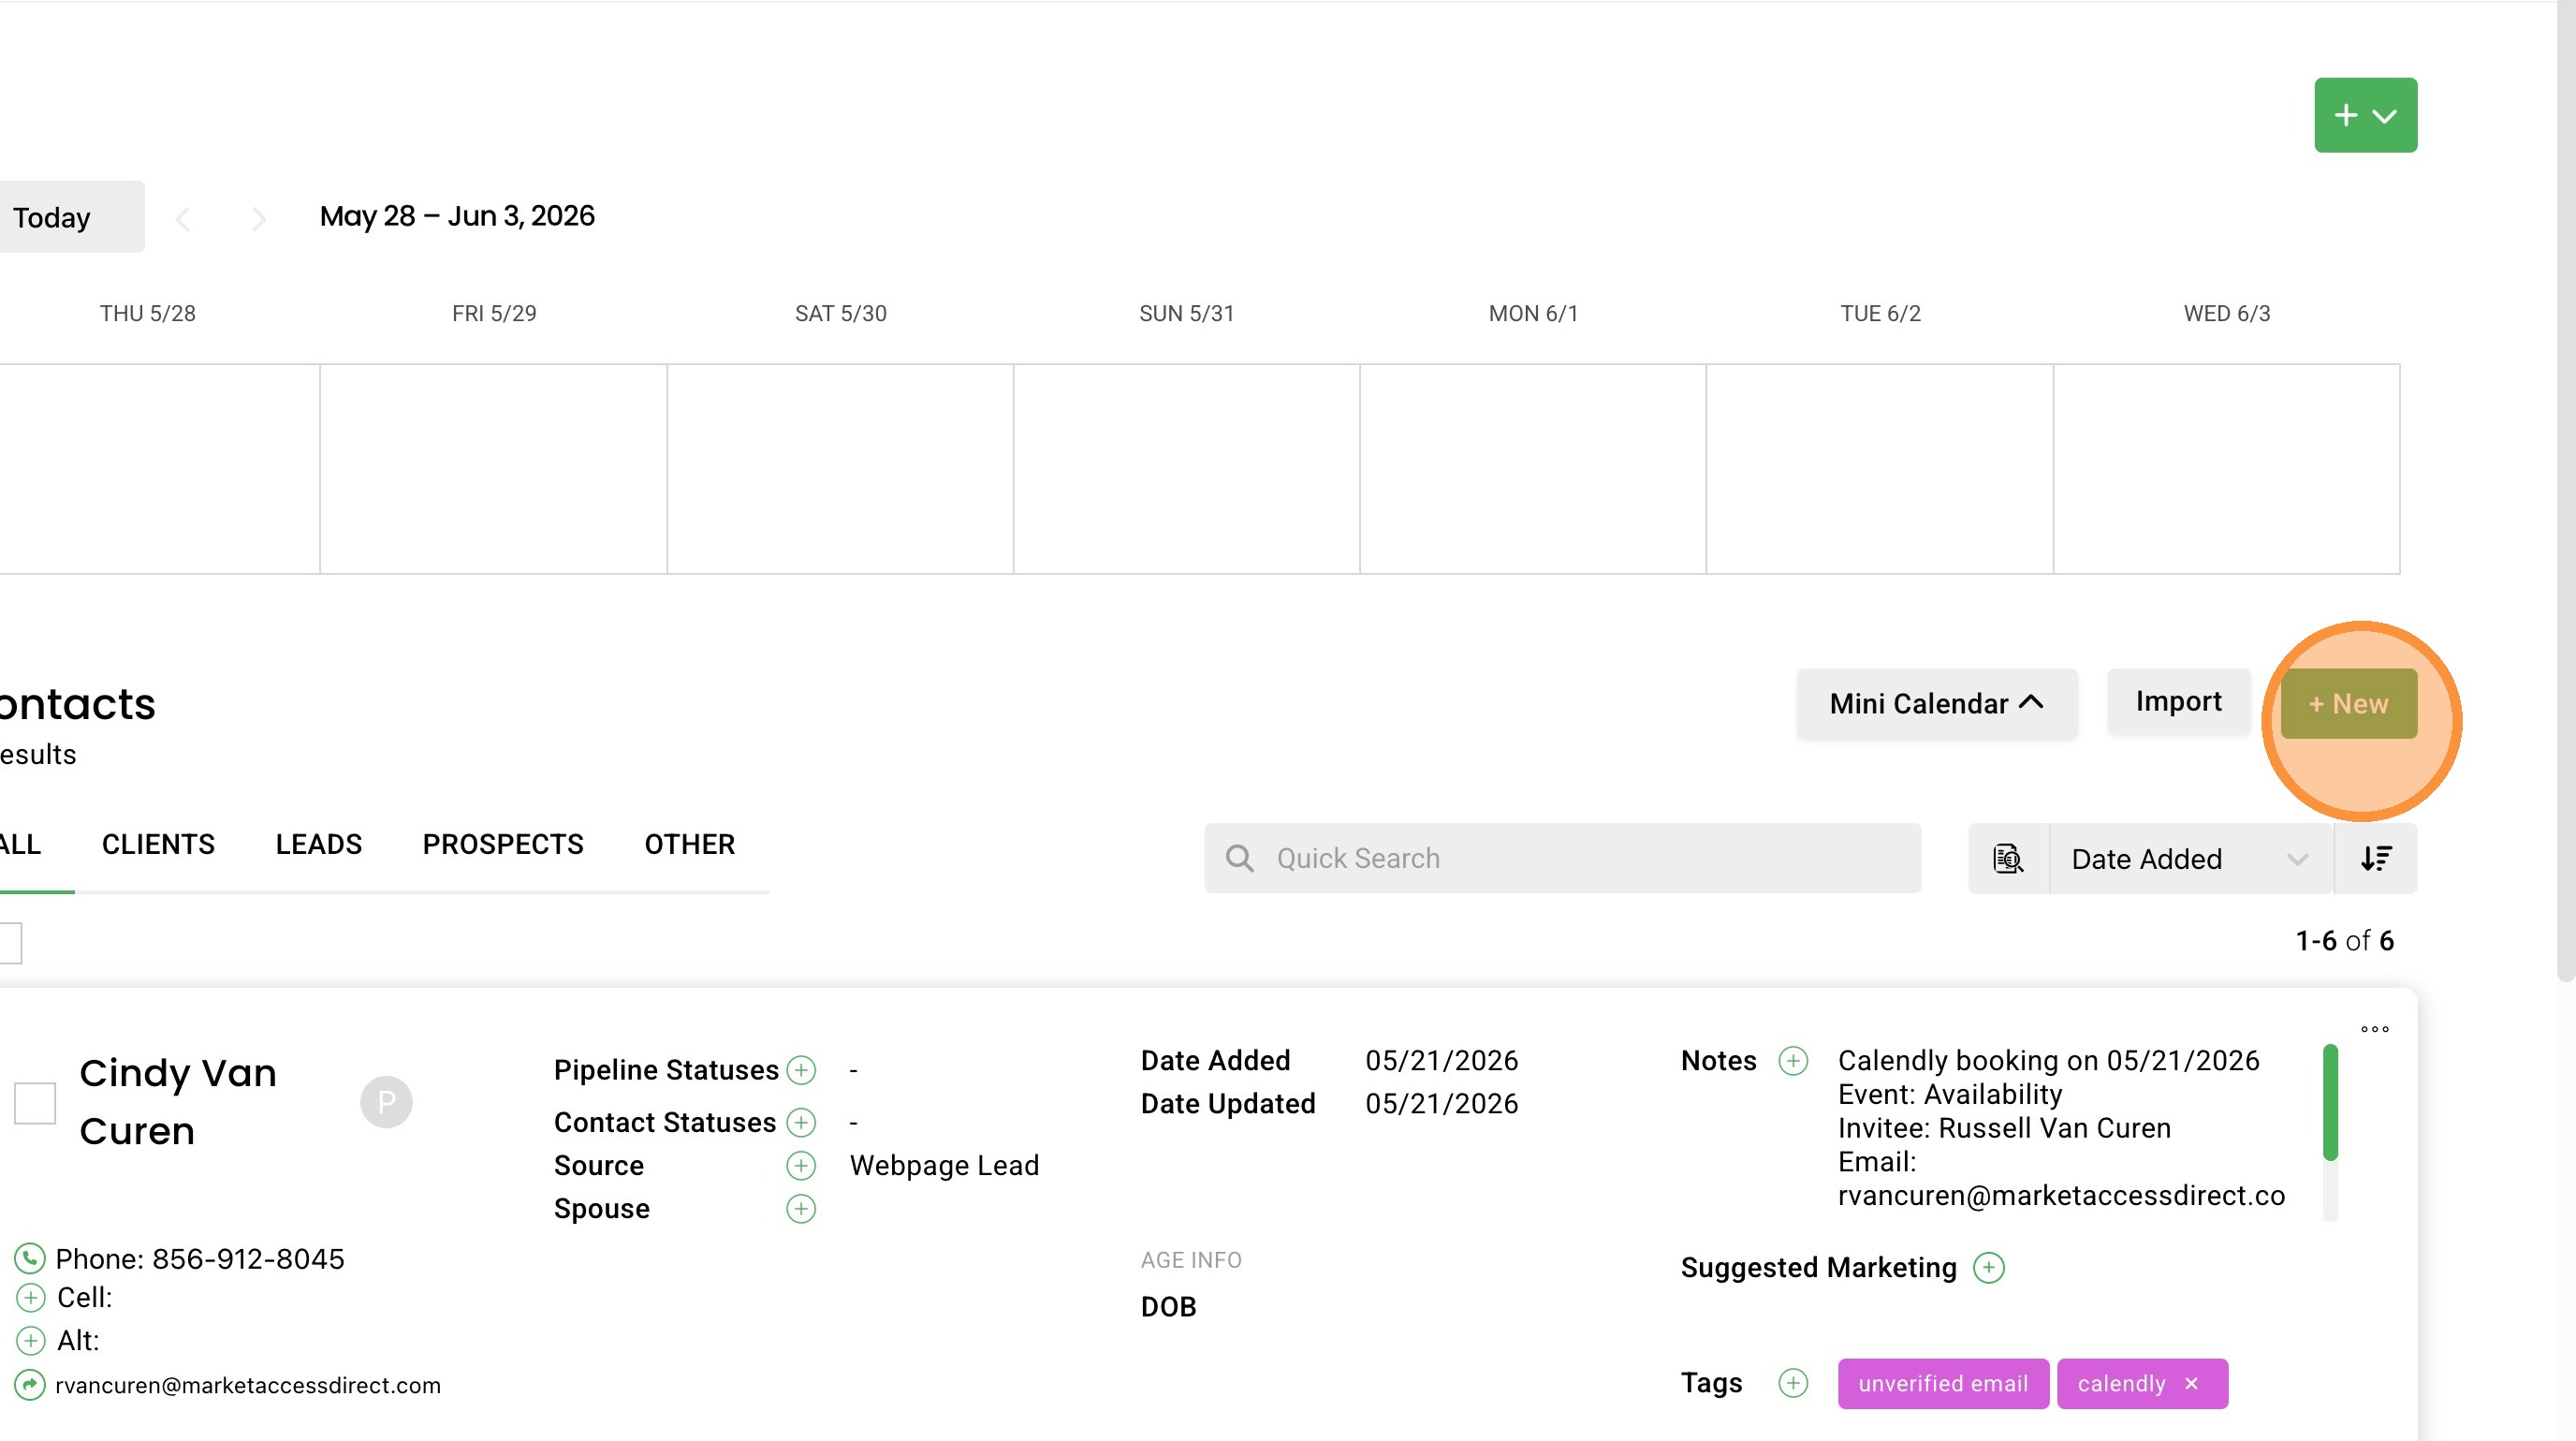
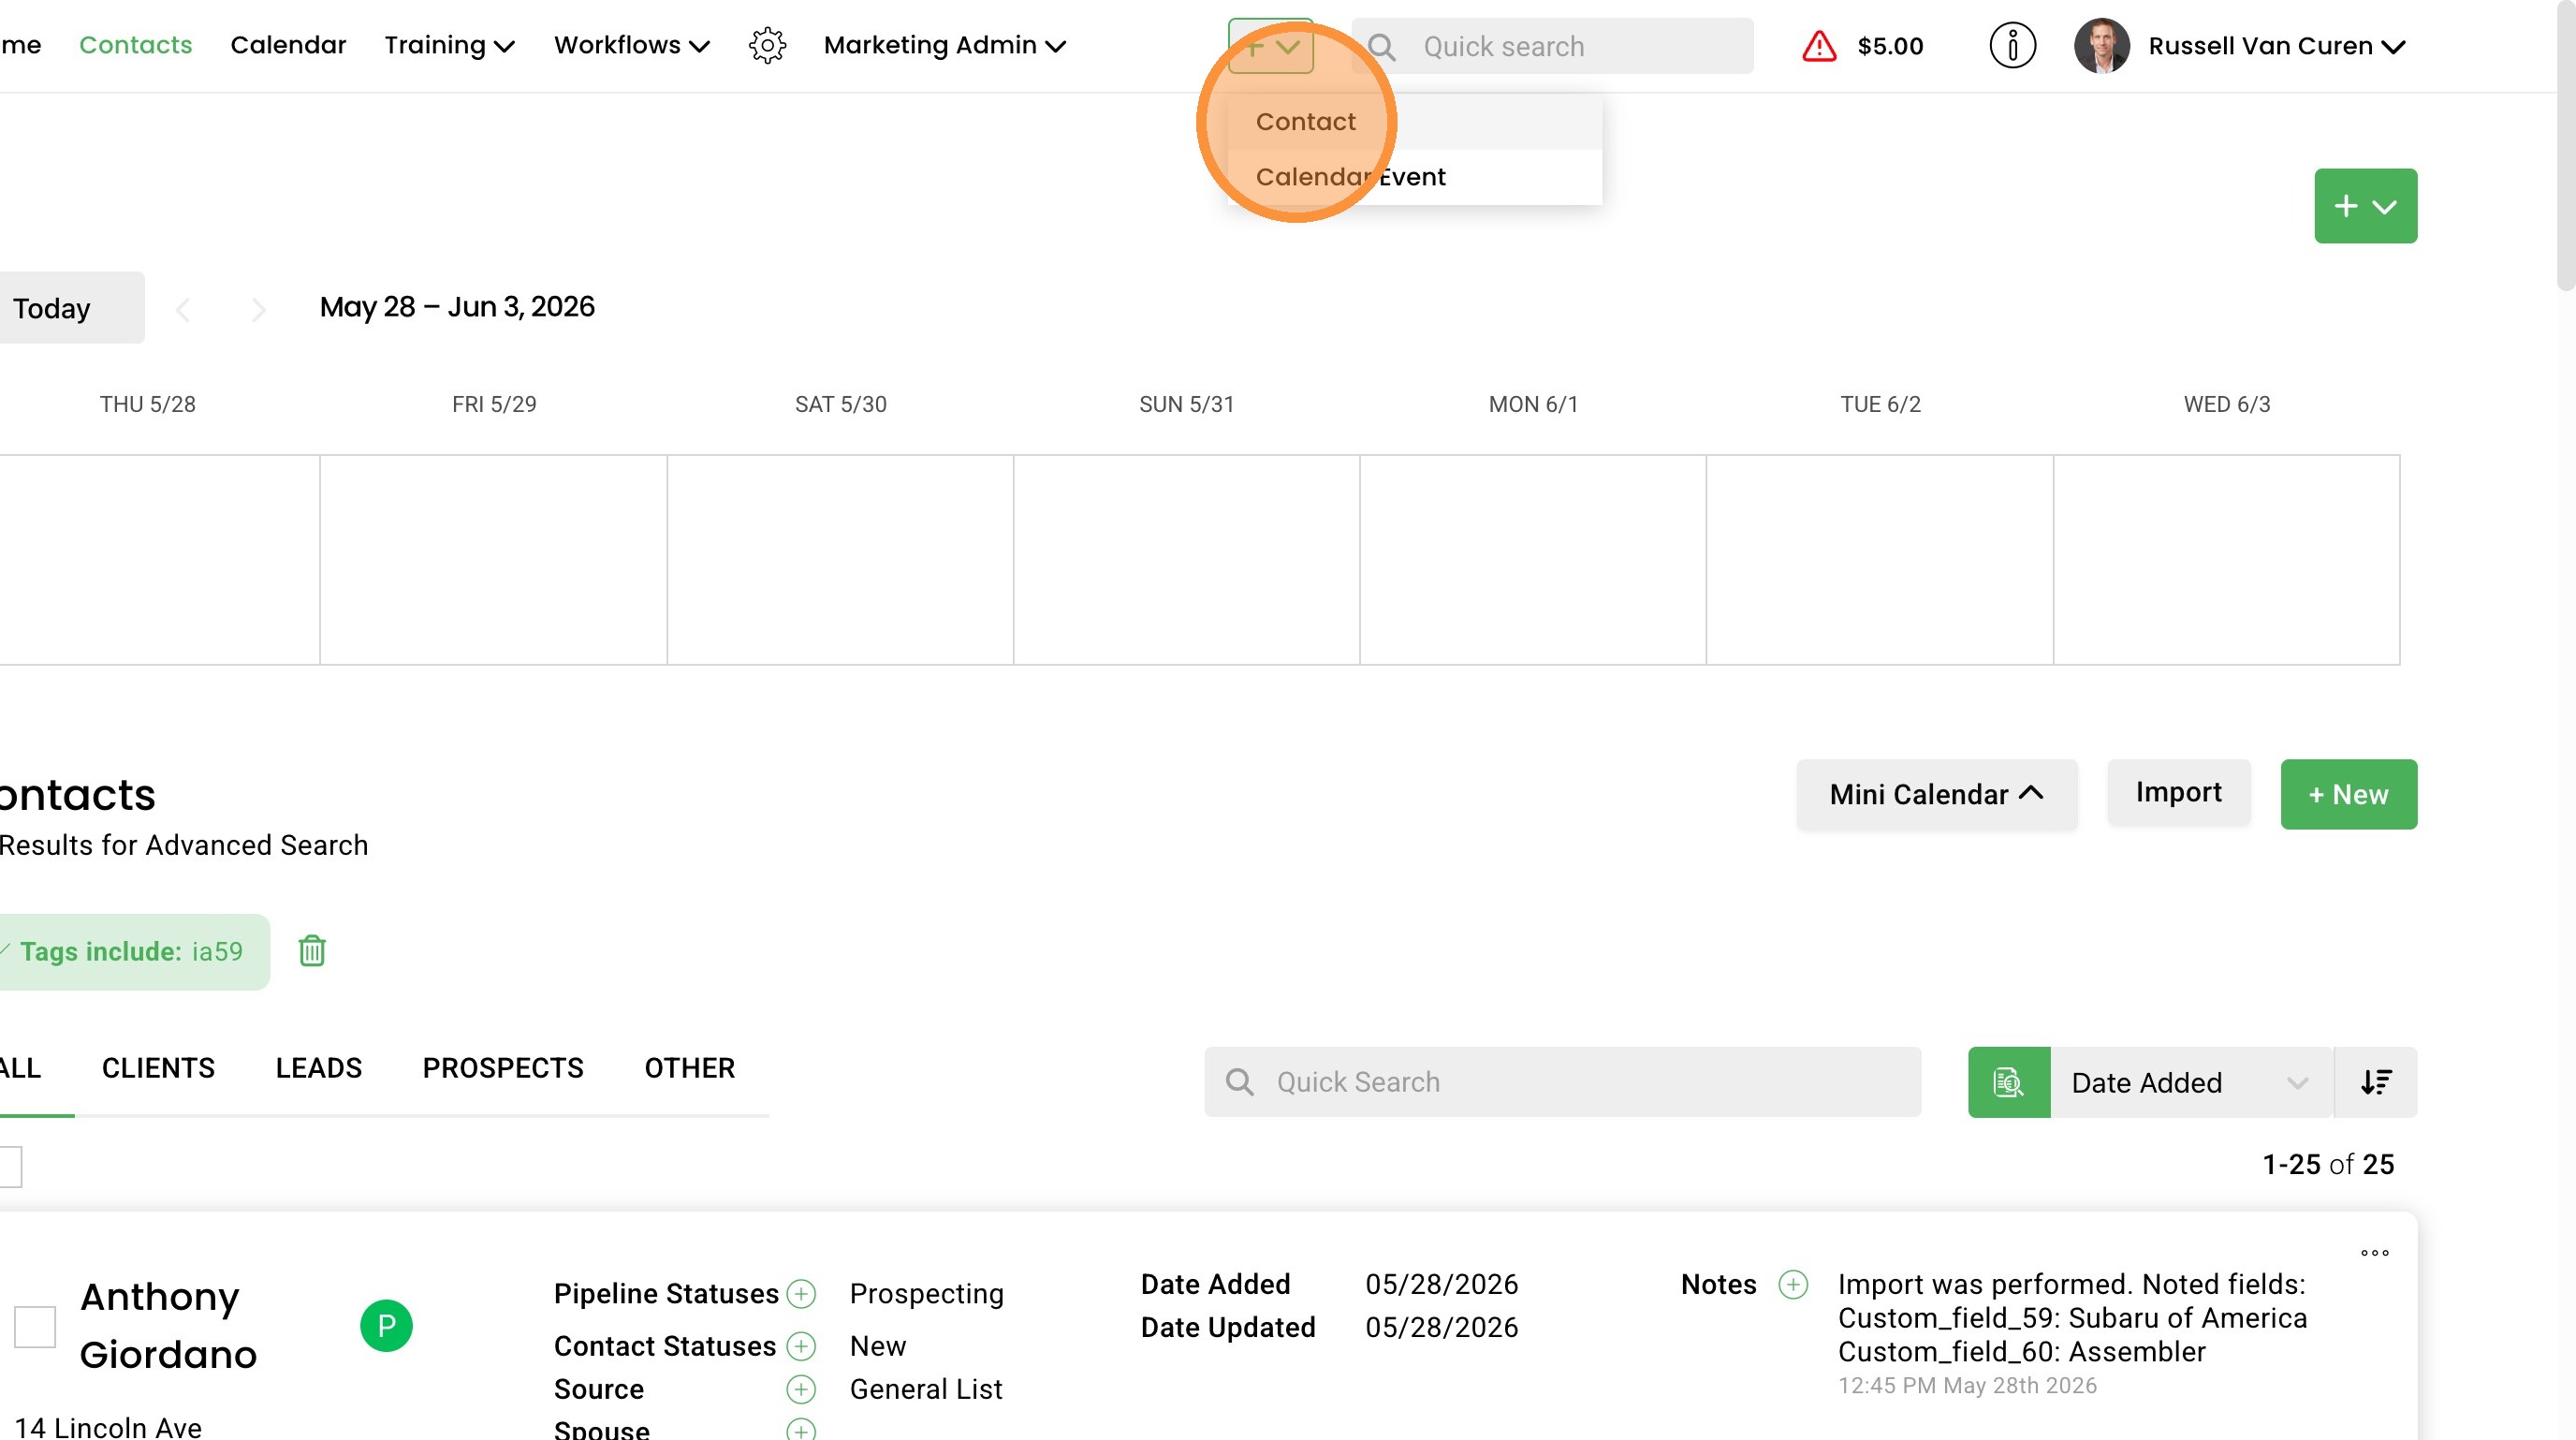
3. Click '+ New' button to open a new contact form and add a contact.
4. You can also click quick add button at the top of the page by selecting the "+" button in the top navigation menu and then selecting "Contact"
Basic Contact Information
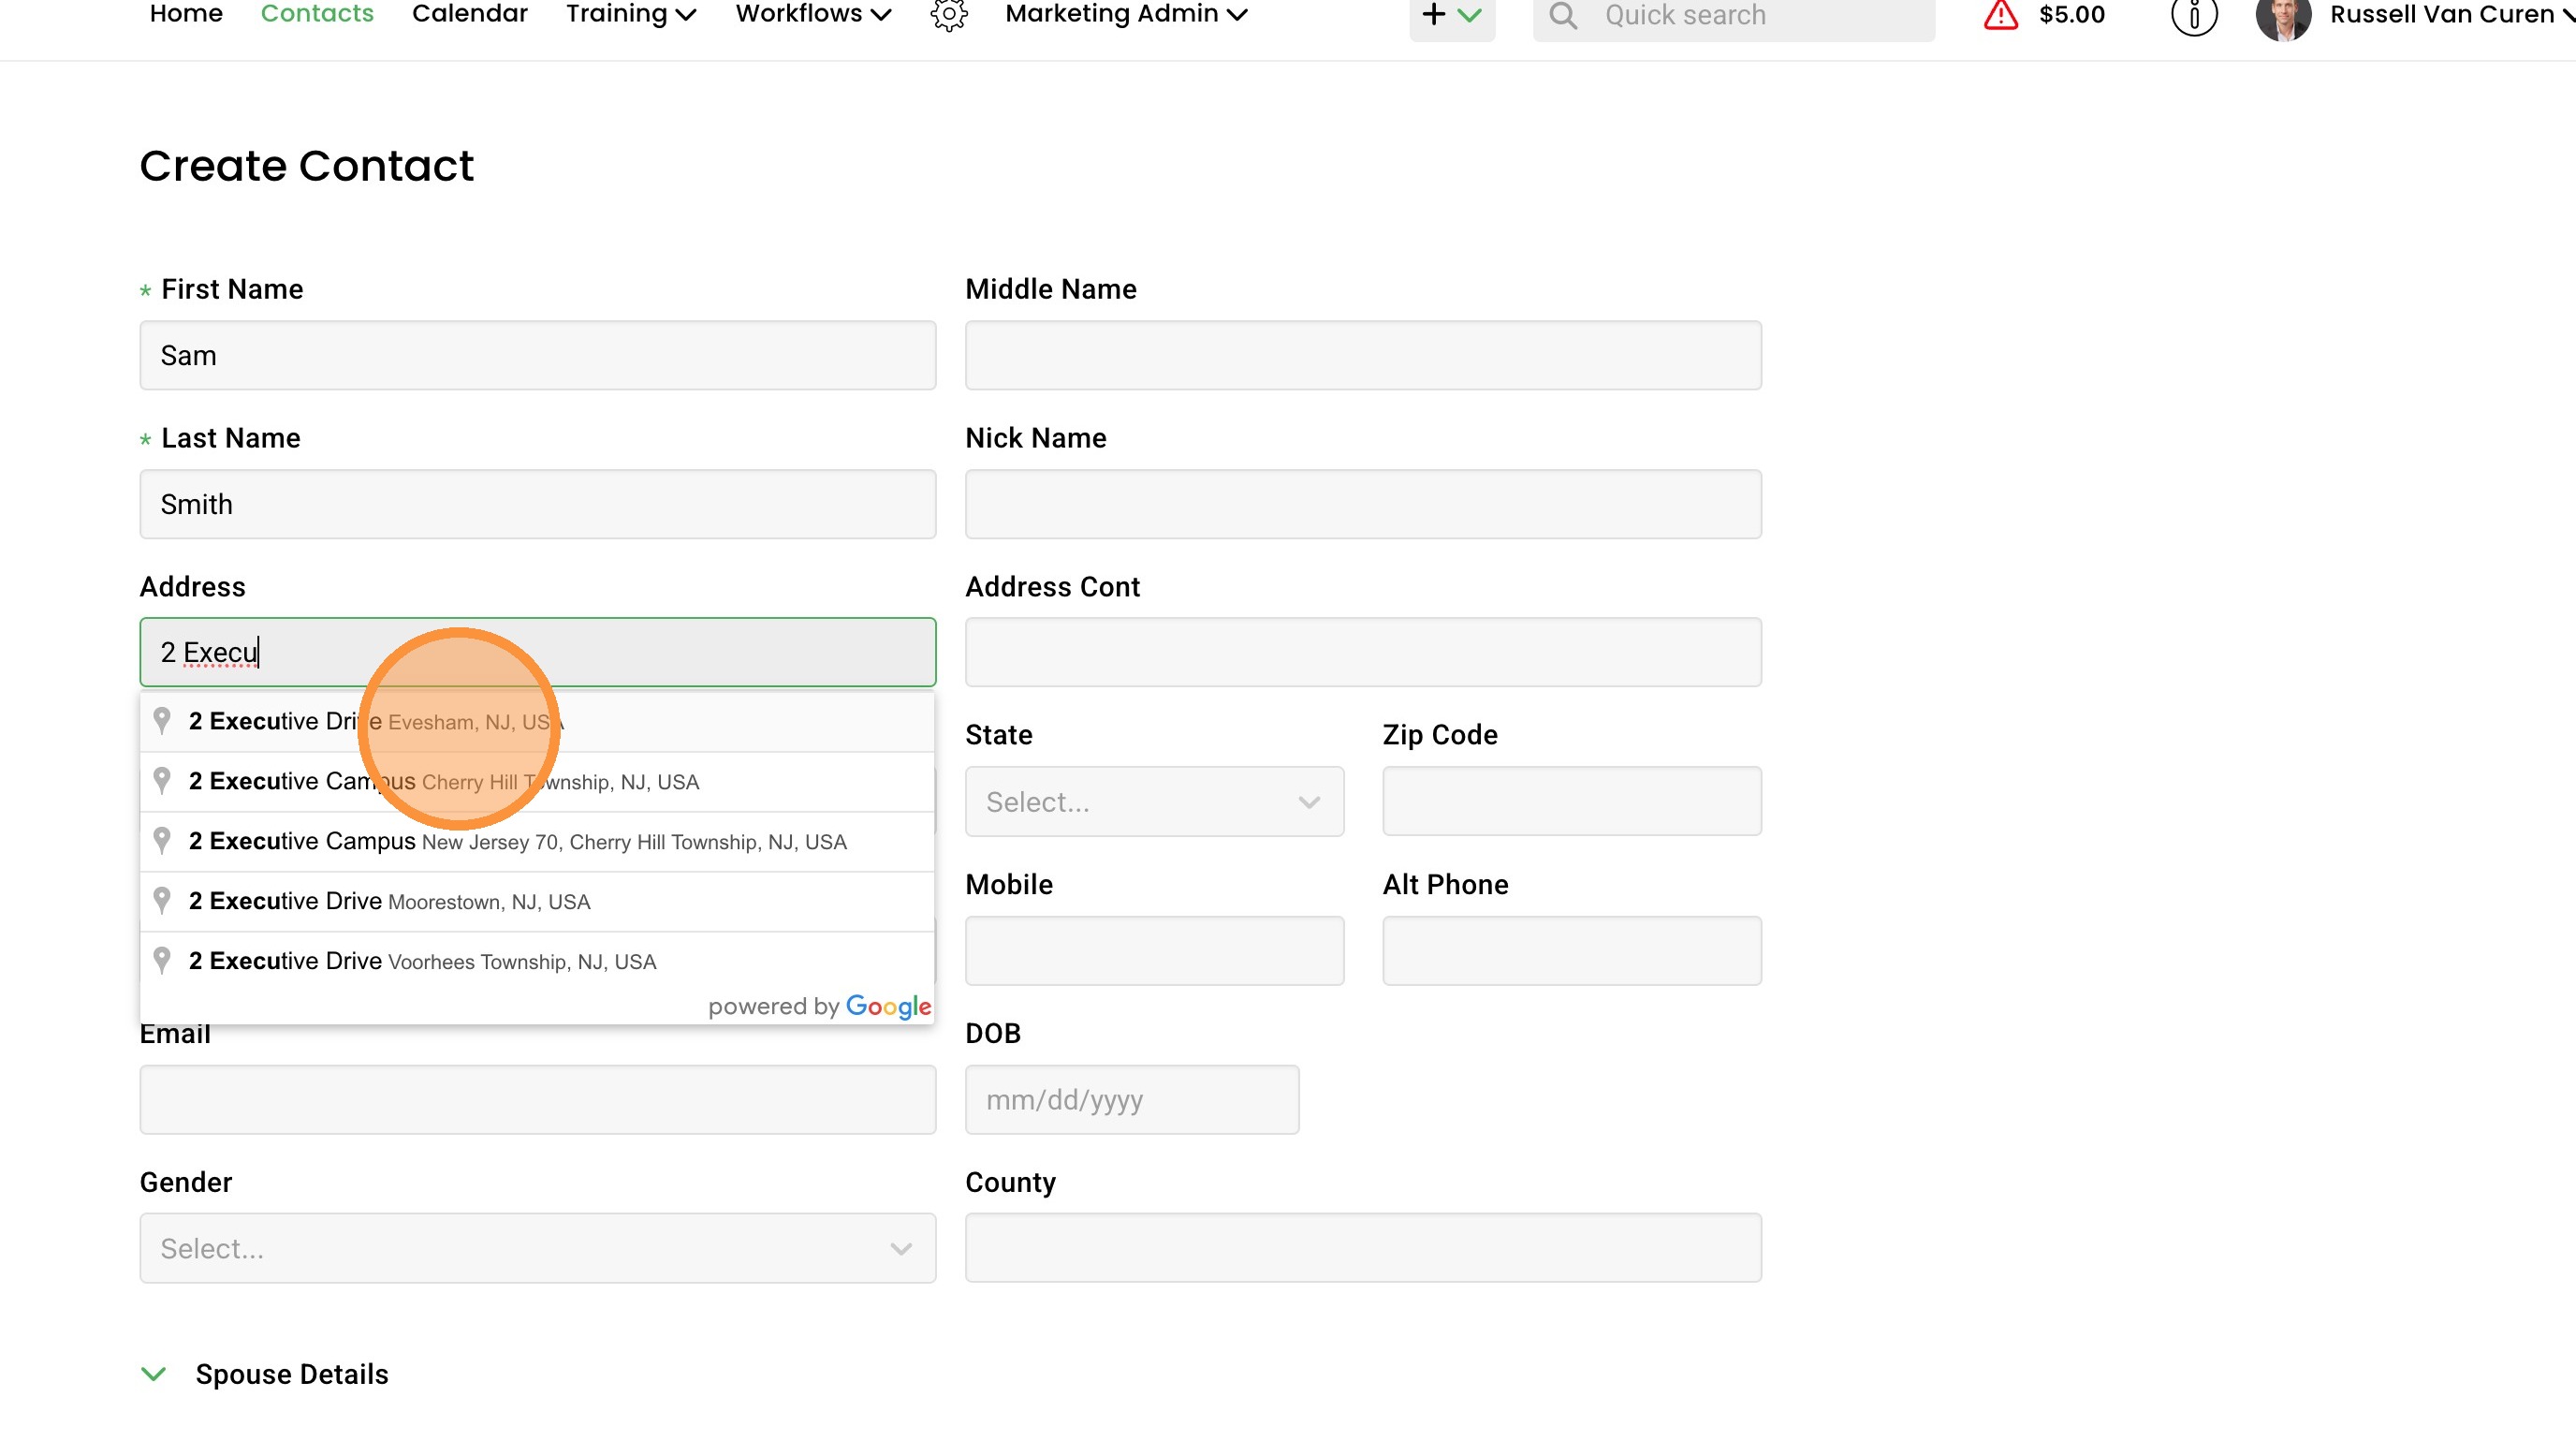
5. Start by filling out the contacts basic information. First and Last name are required along with Source.
6. For the address field you can start typing and Google autocomplete will return results that you can select from. If you select an option provided in the dropdown it will prepopulate City, State, and Zip.
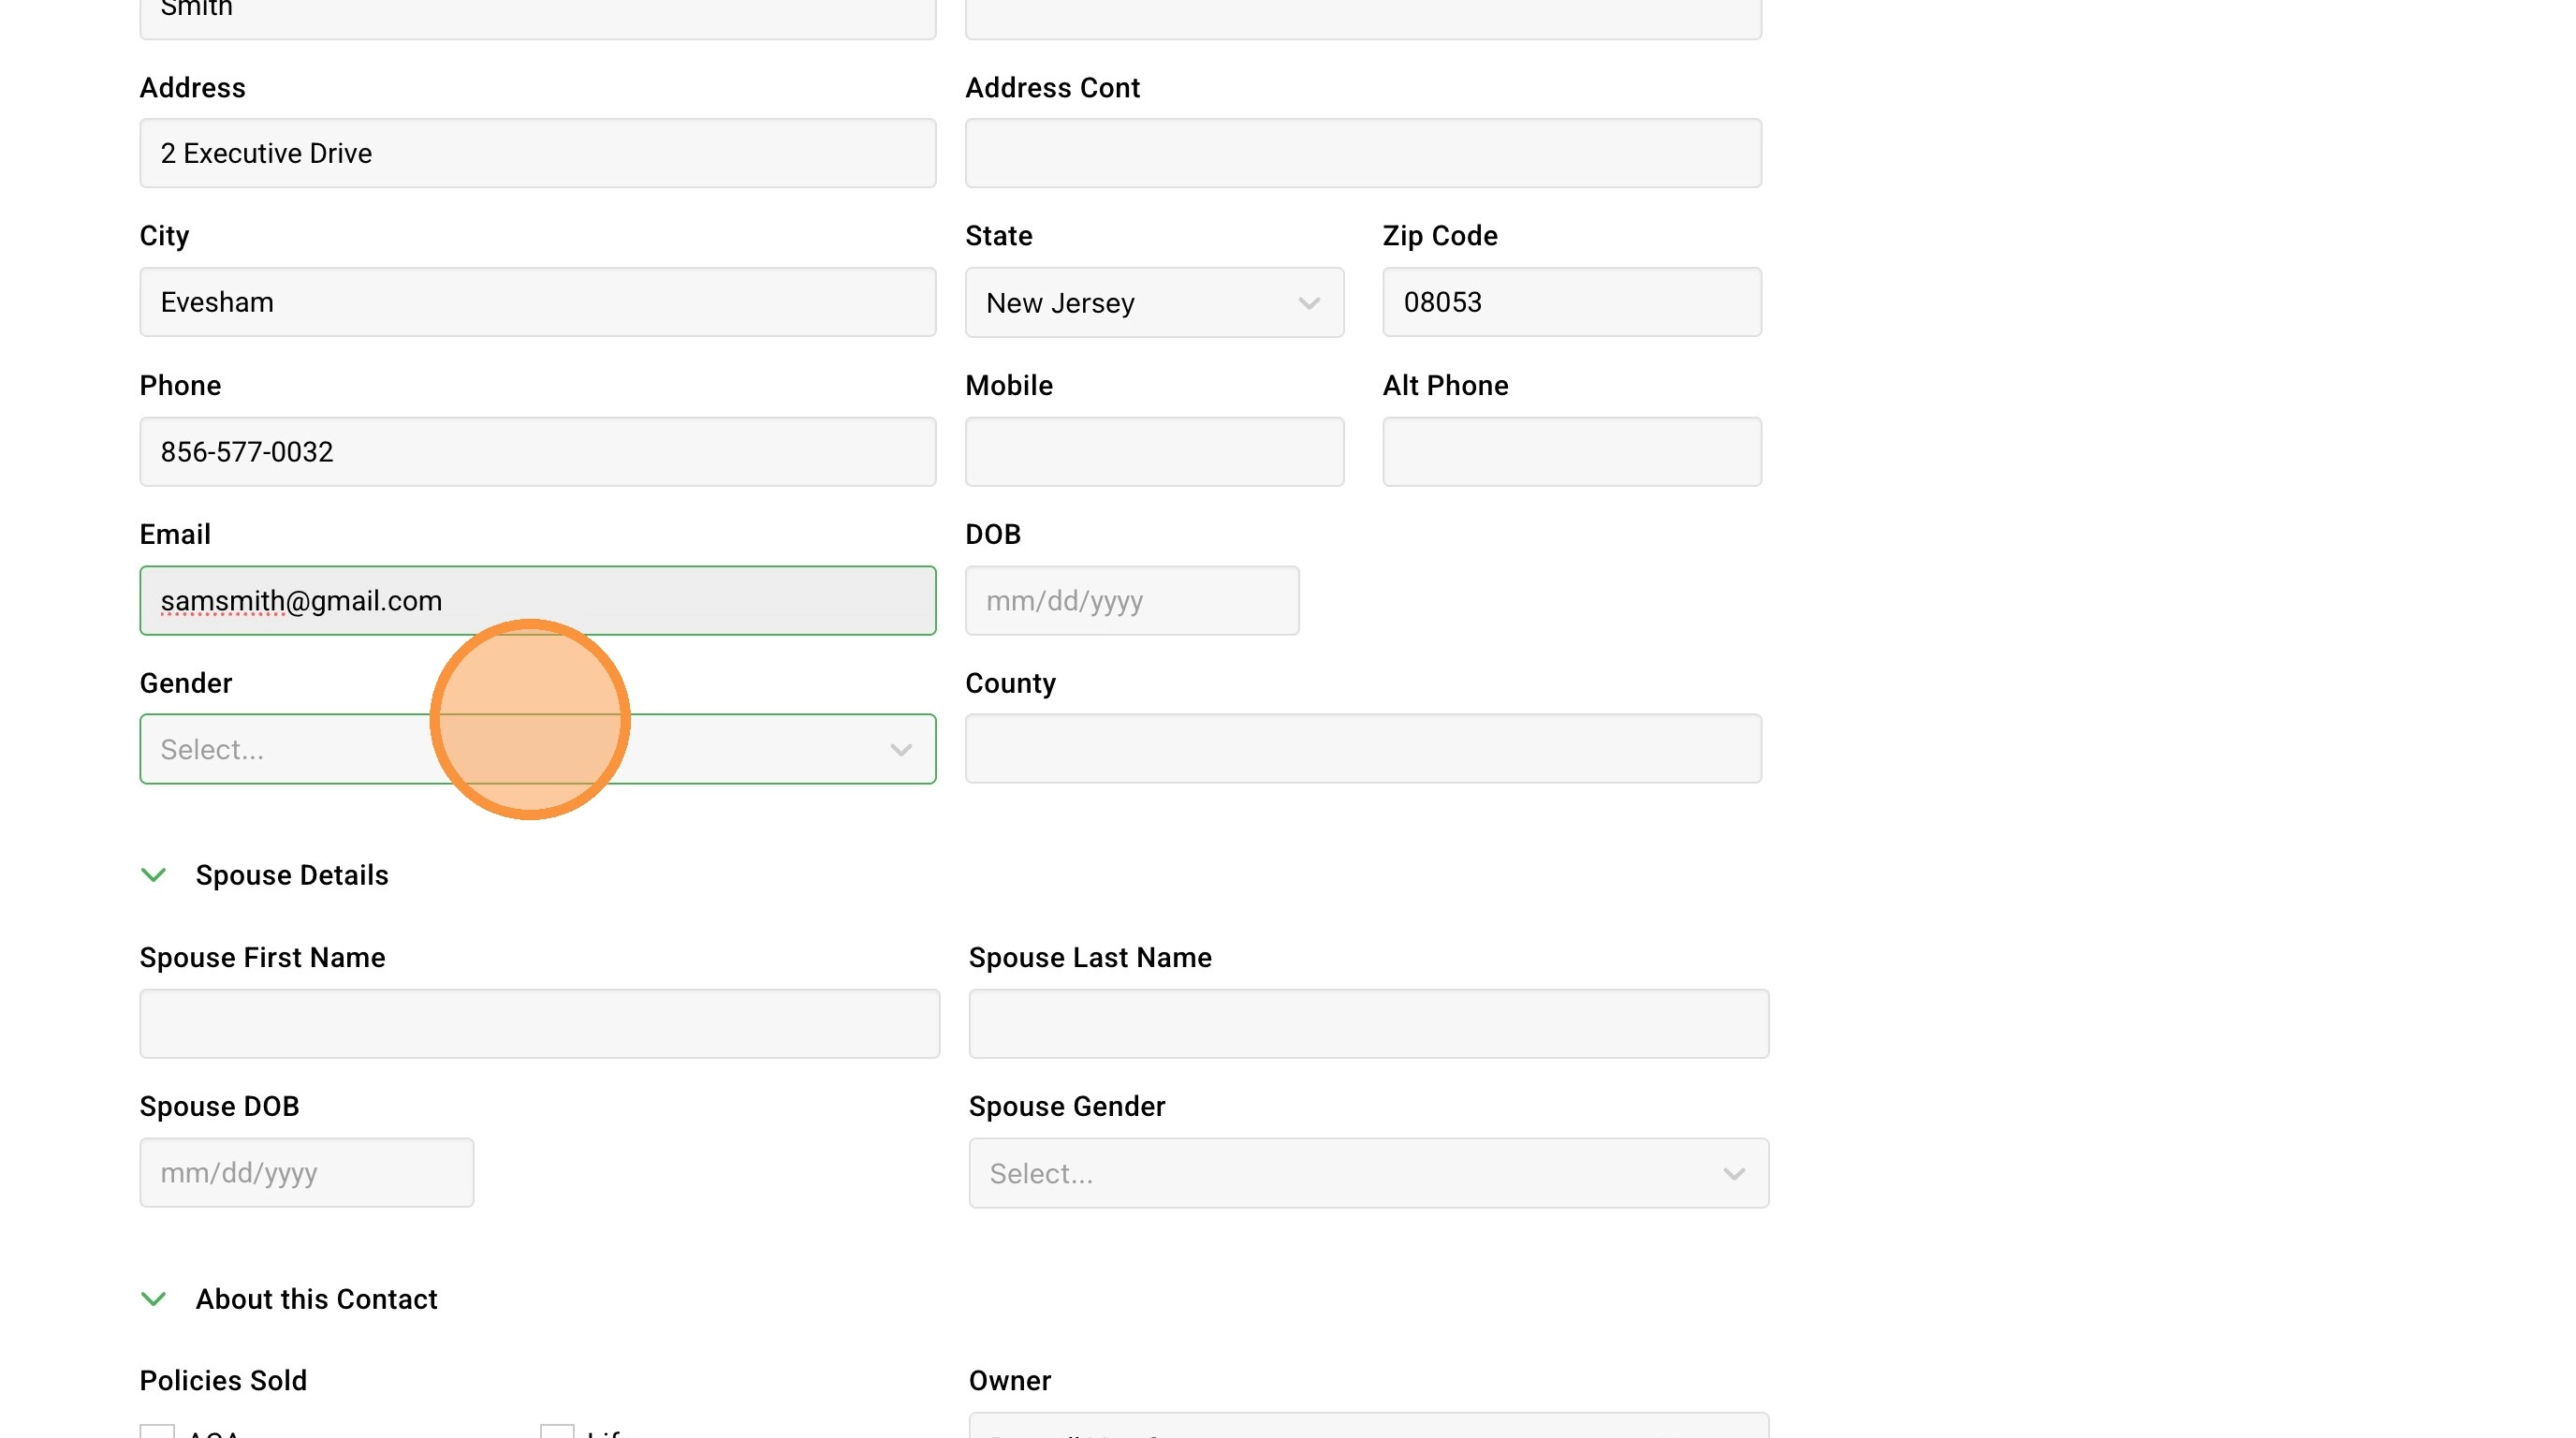
7. If possible including a phone and mobile number will help with marketing. We can also help you verify if the number is active and in service.

8. We can also verify an email address if you have that information available.

9. Continue to fill out the basic information.
10. Select a Source as it is a required field.
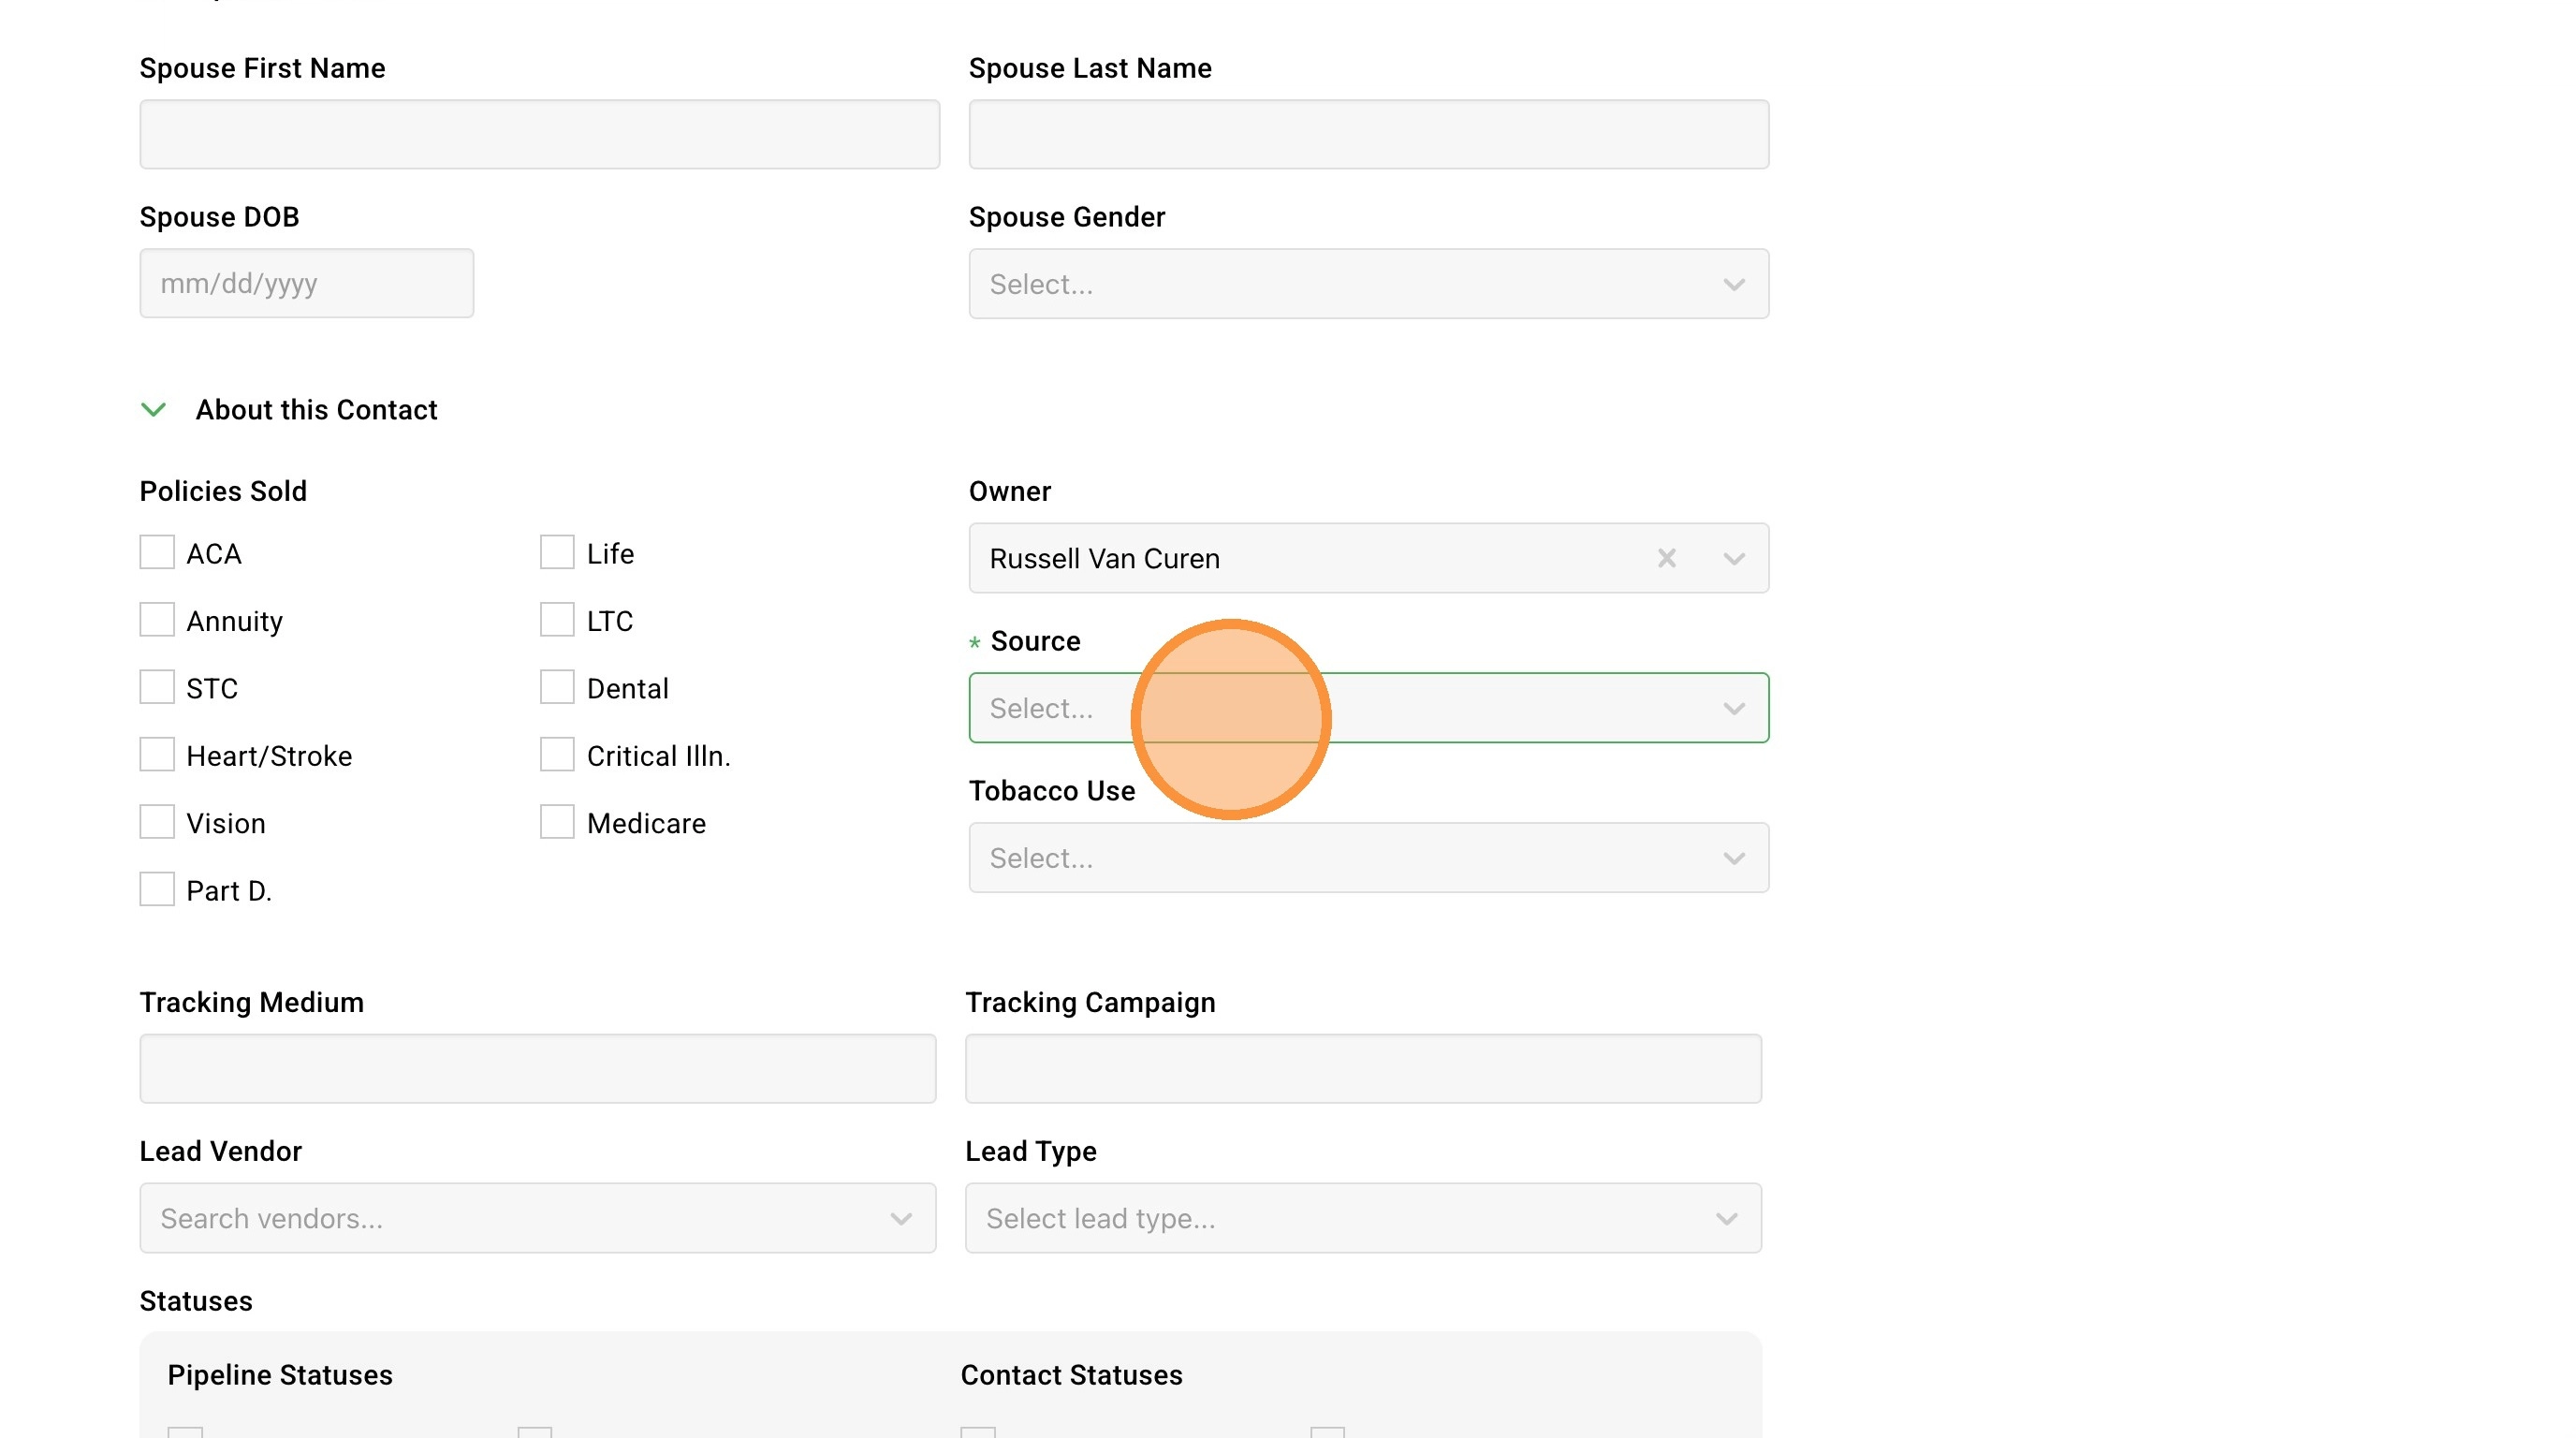
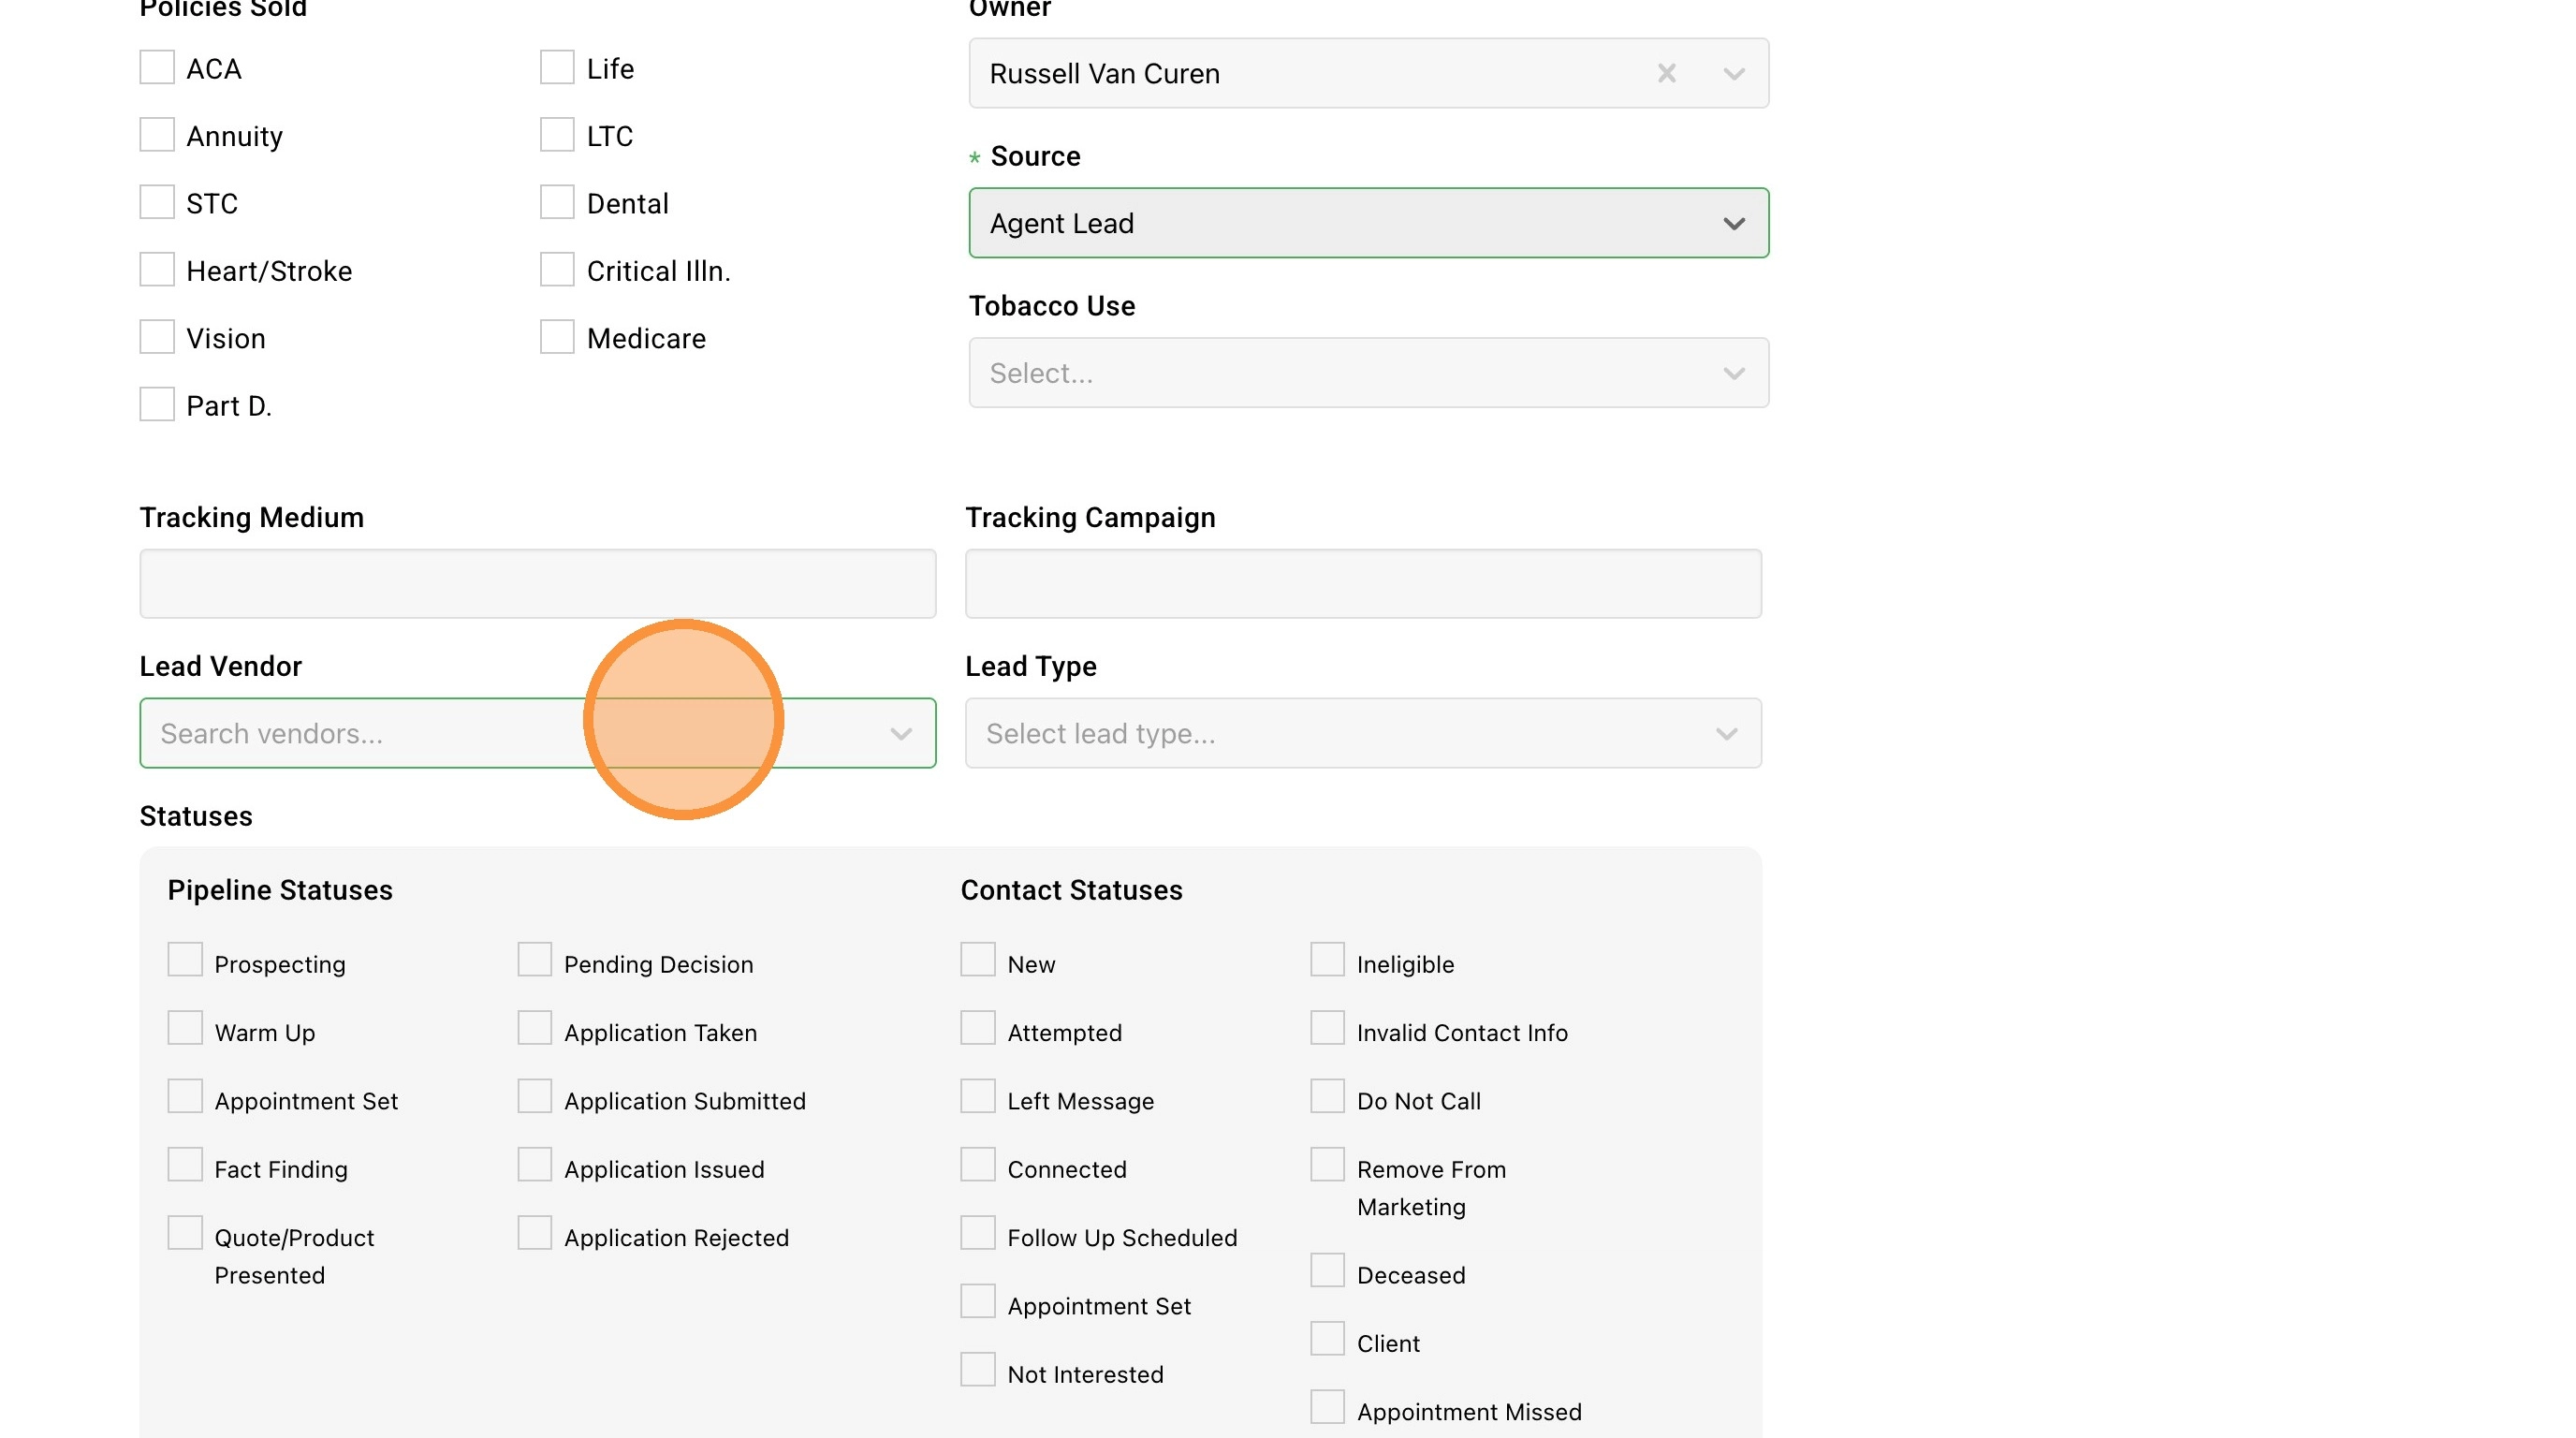
11. If your contact is a lead add the Lead Vendor and Lead Type. If the vendor is not available you can add your own.
Categorization and Status
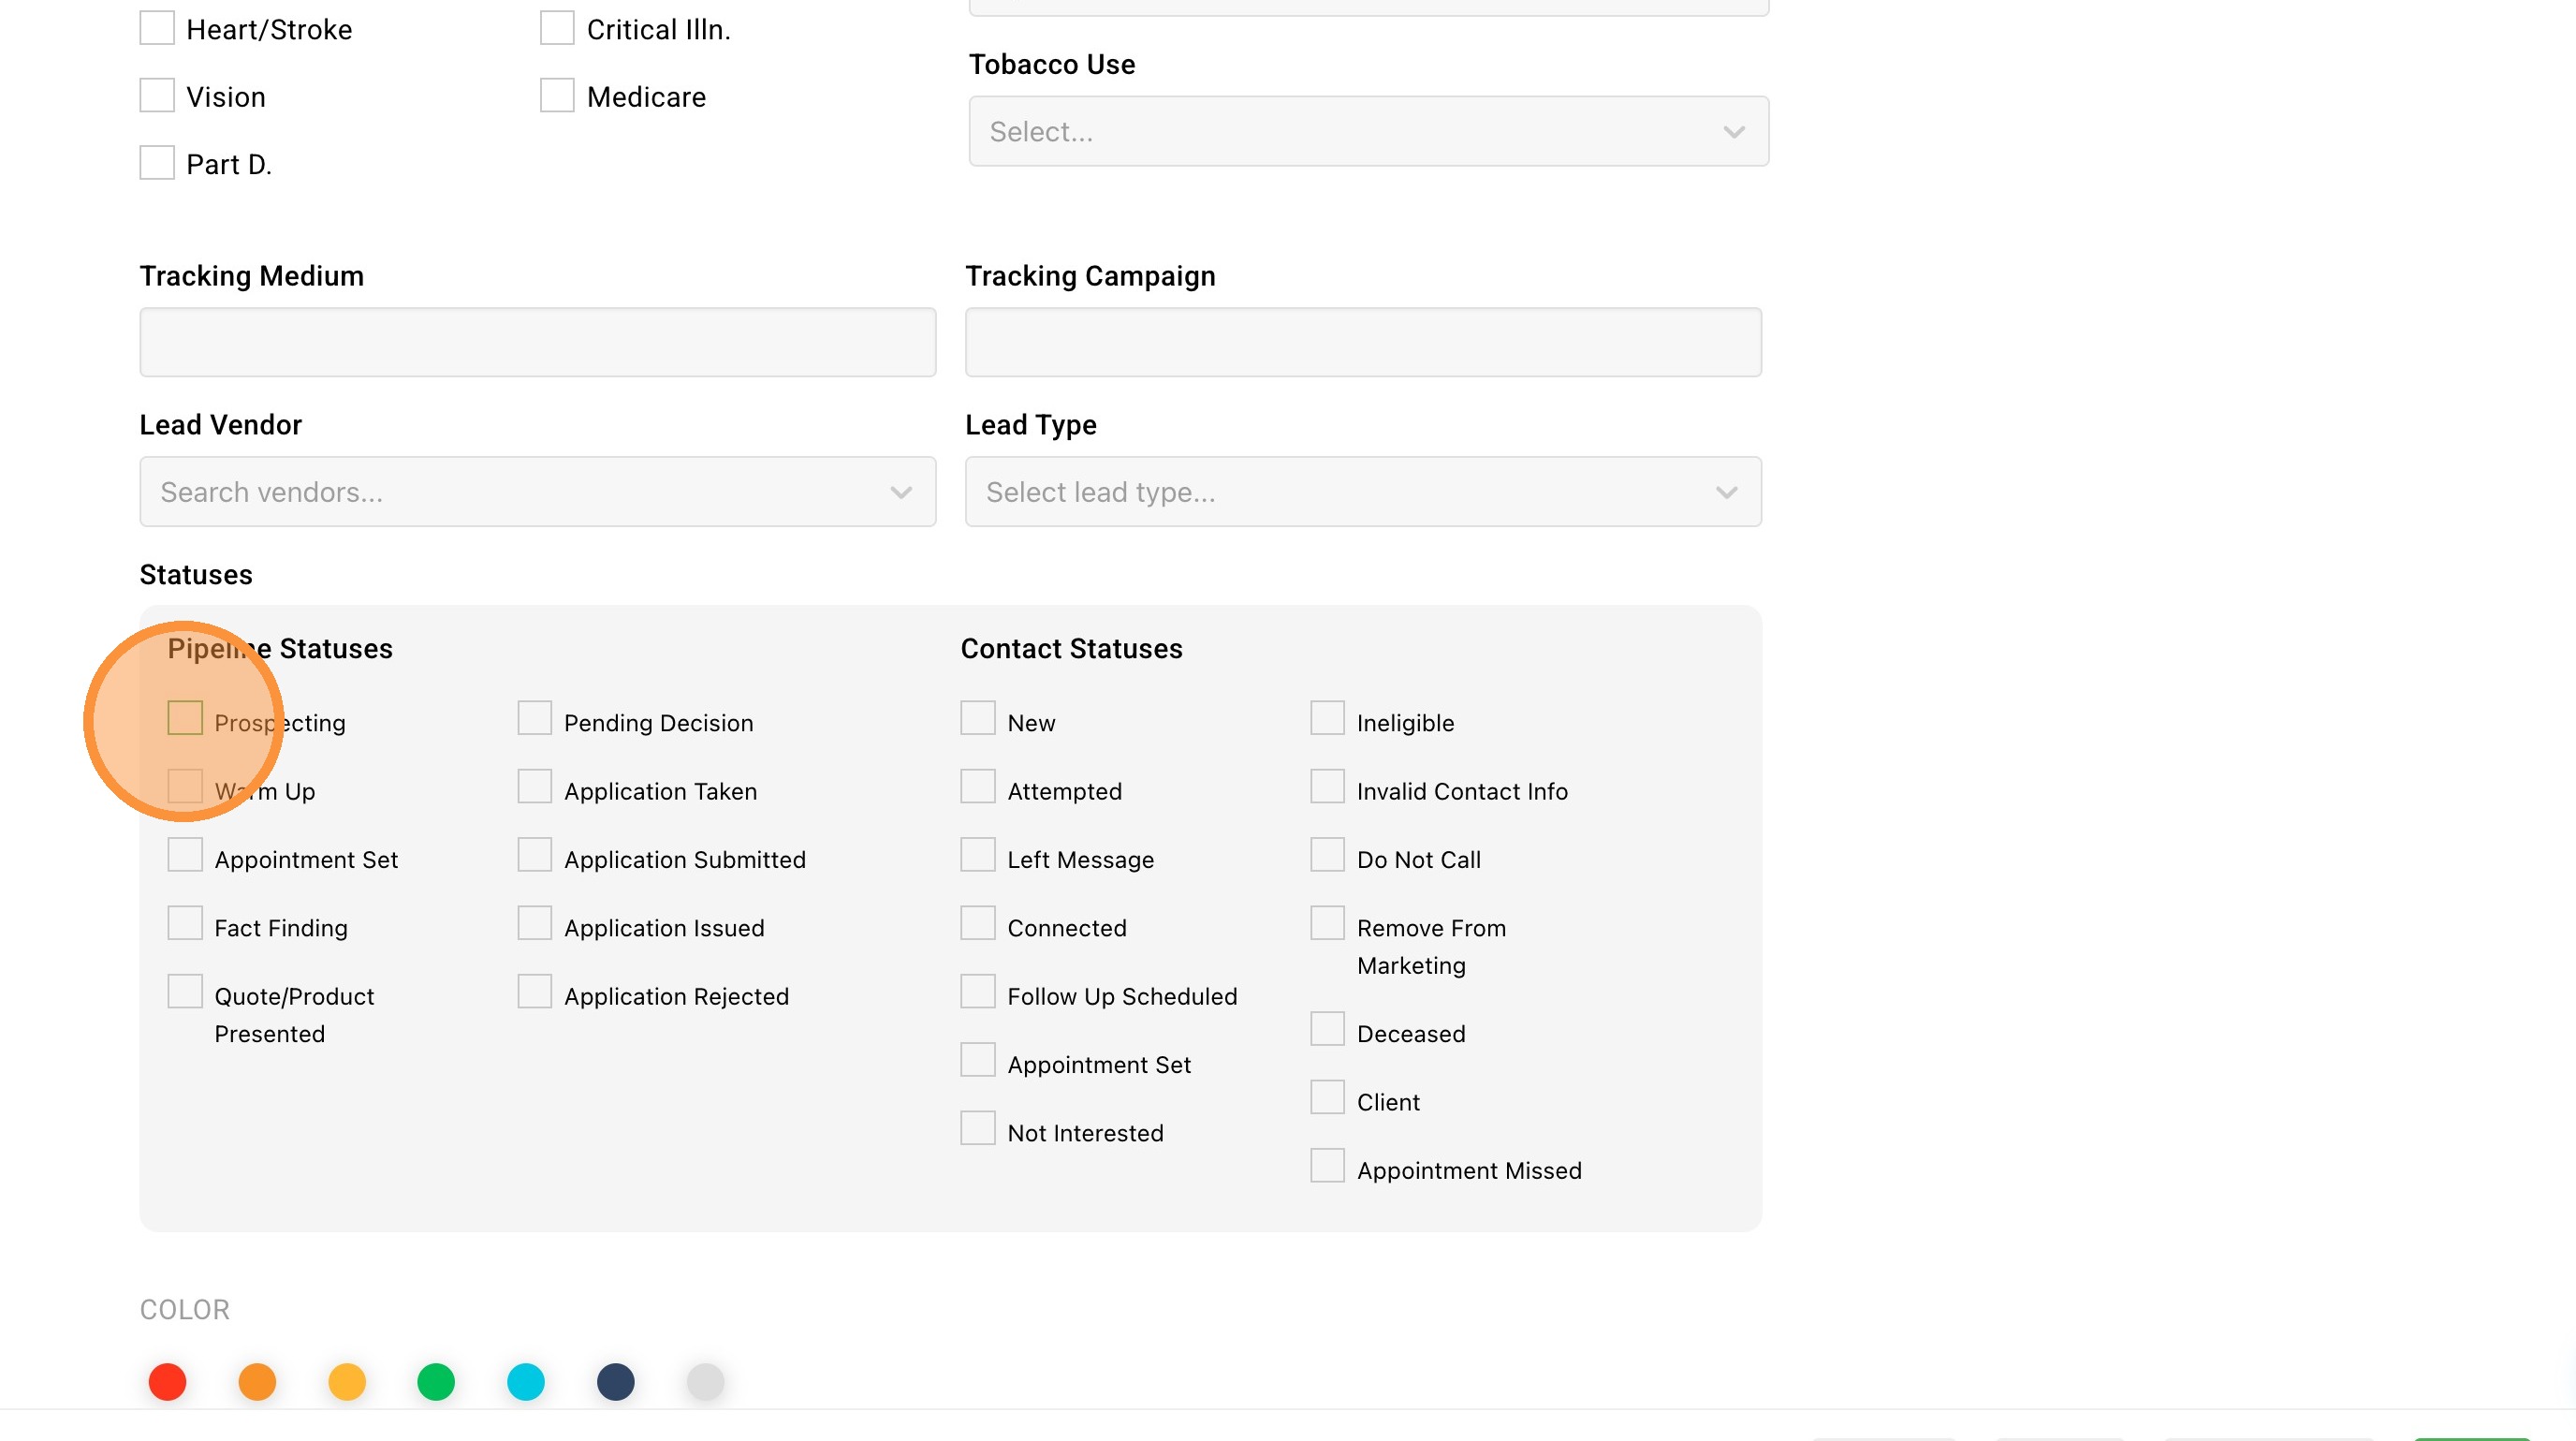
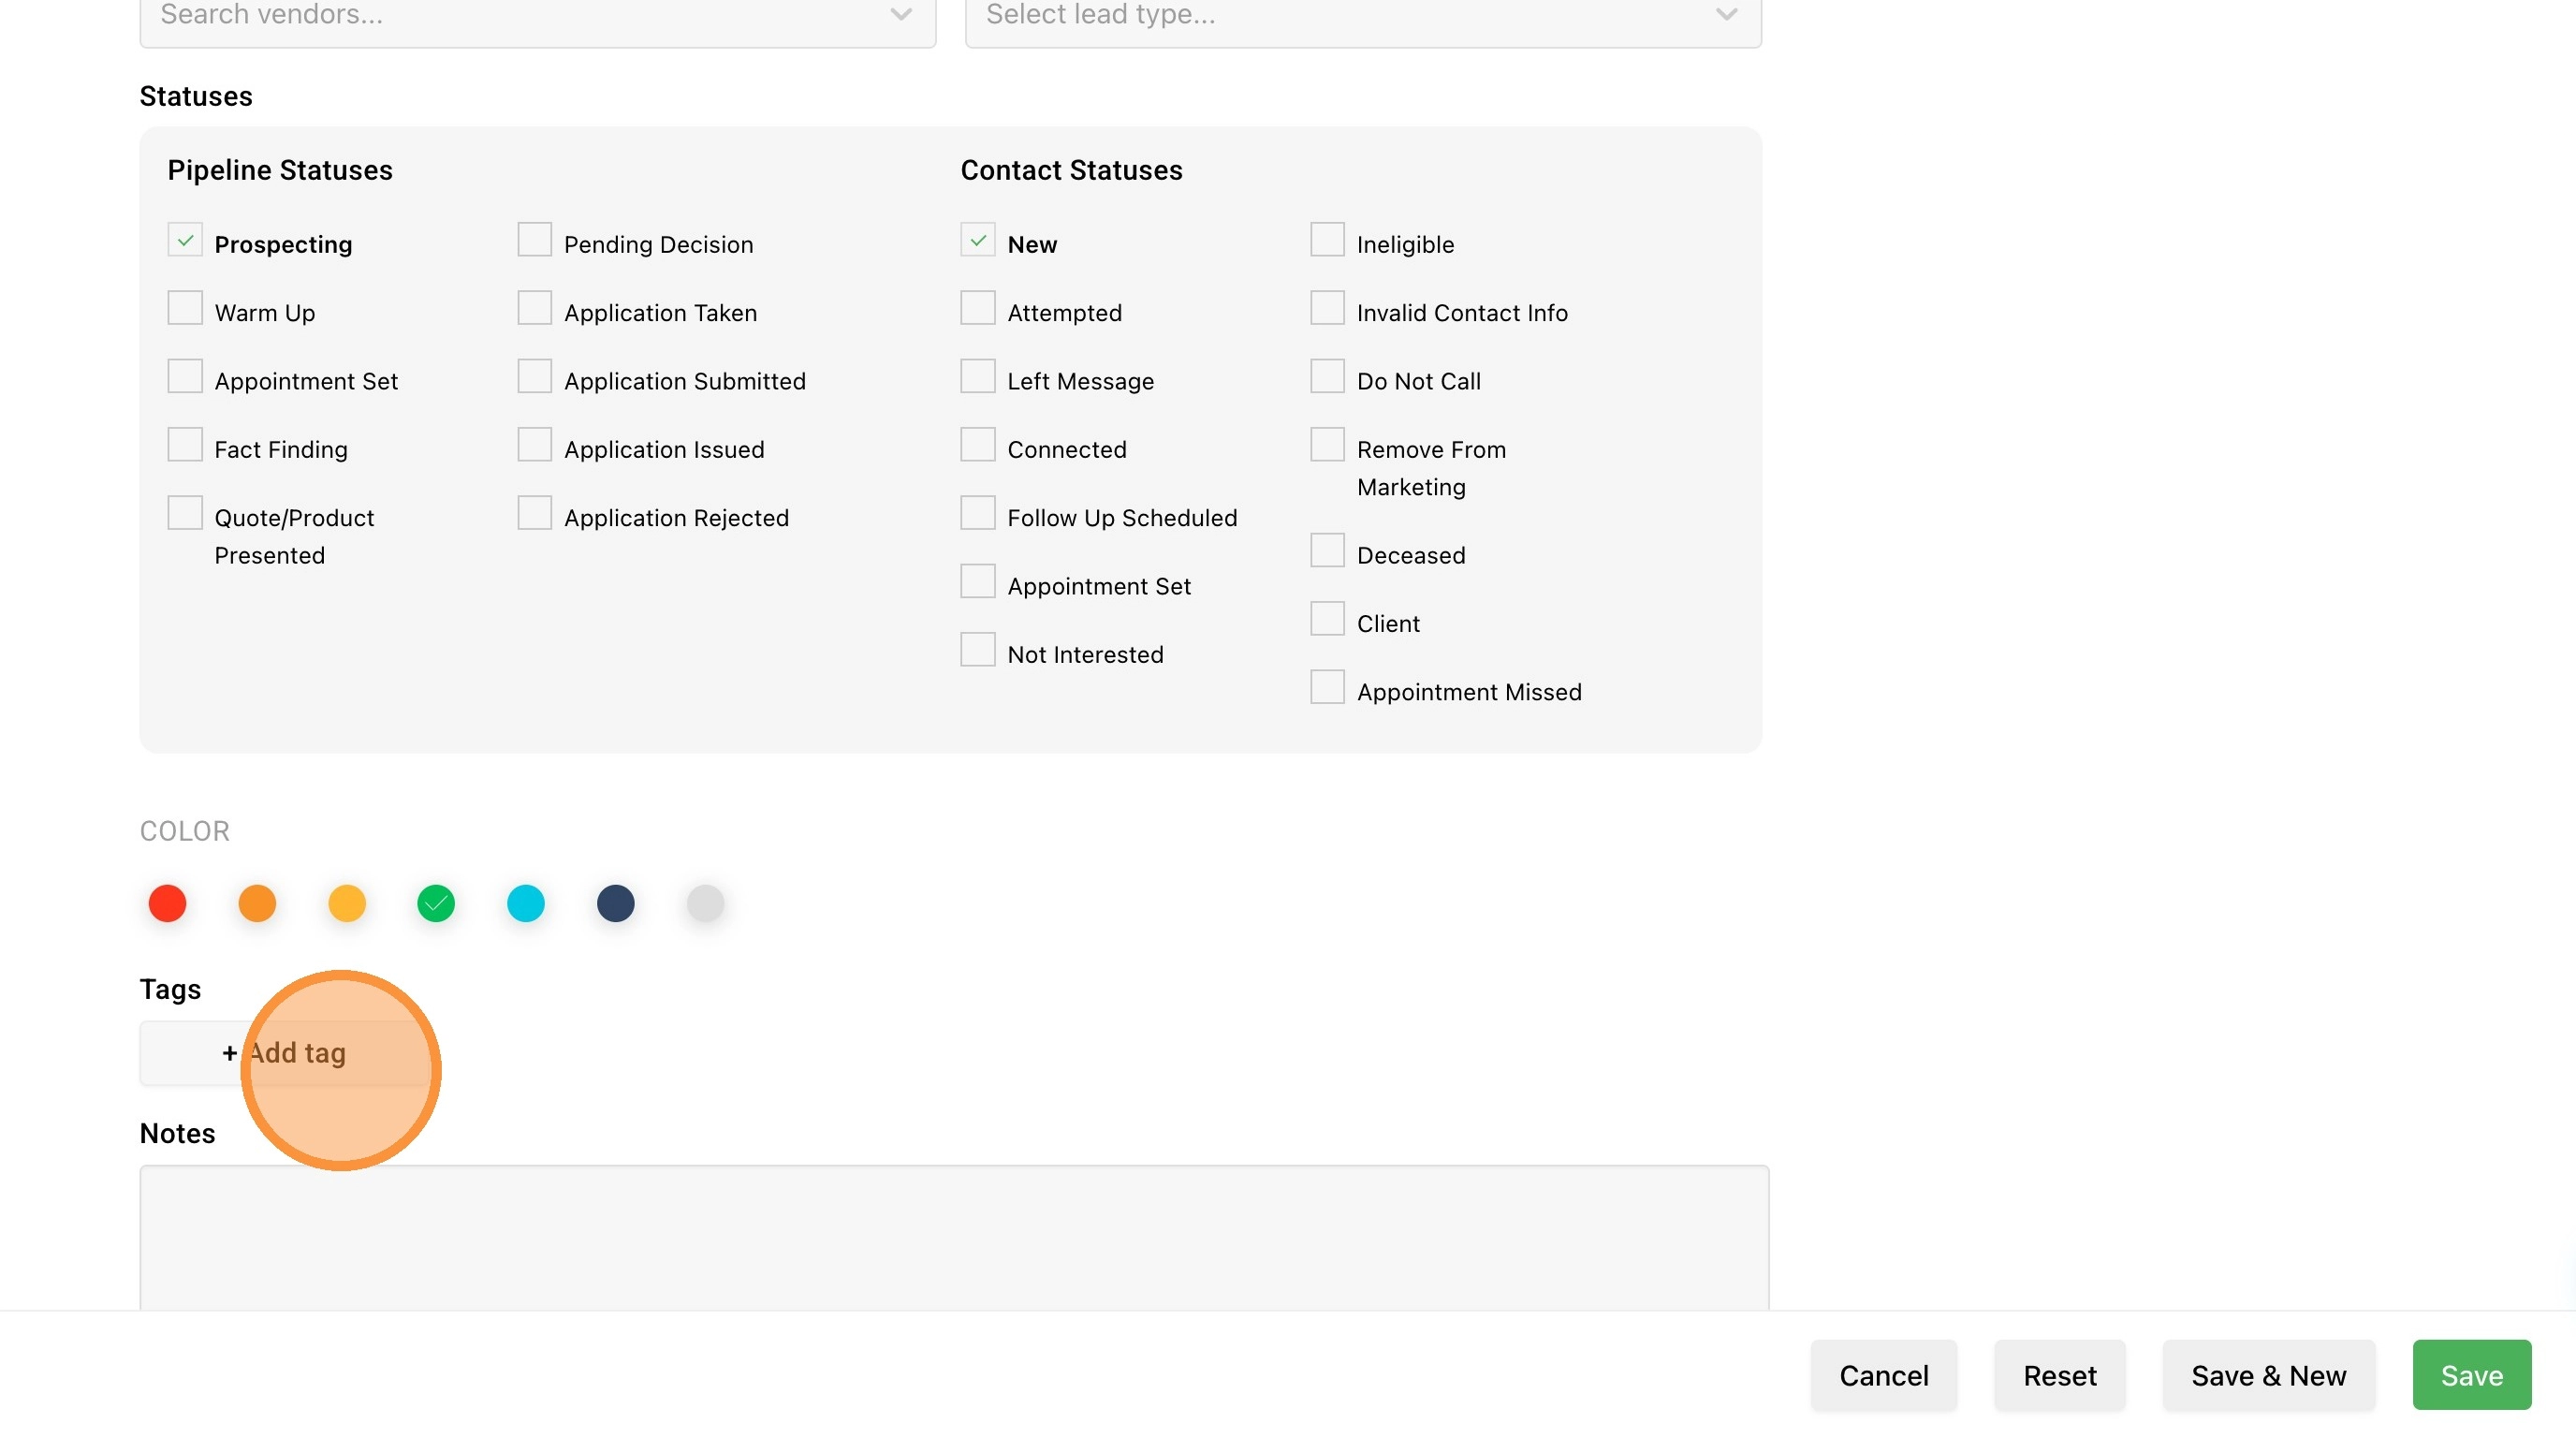
12. You can set the Pipeline Status which indicates where along the contact is in the sales pipeline.
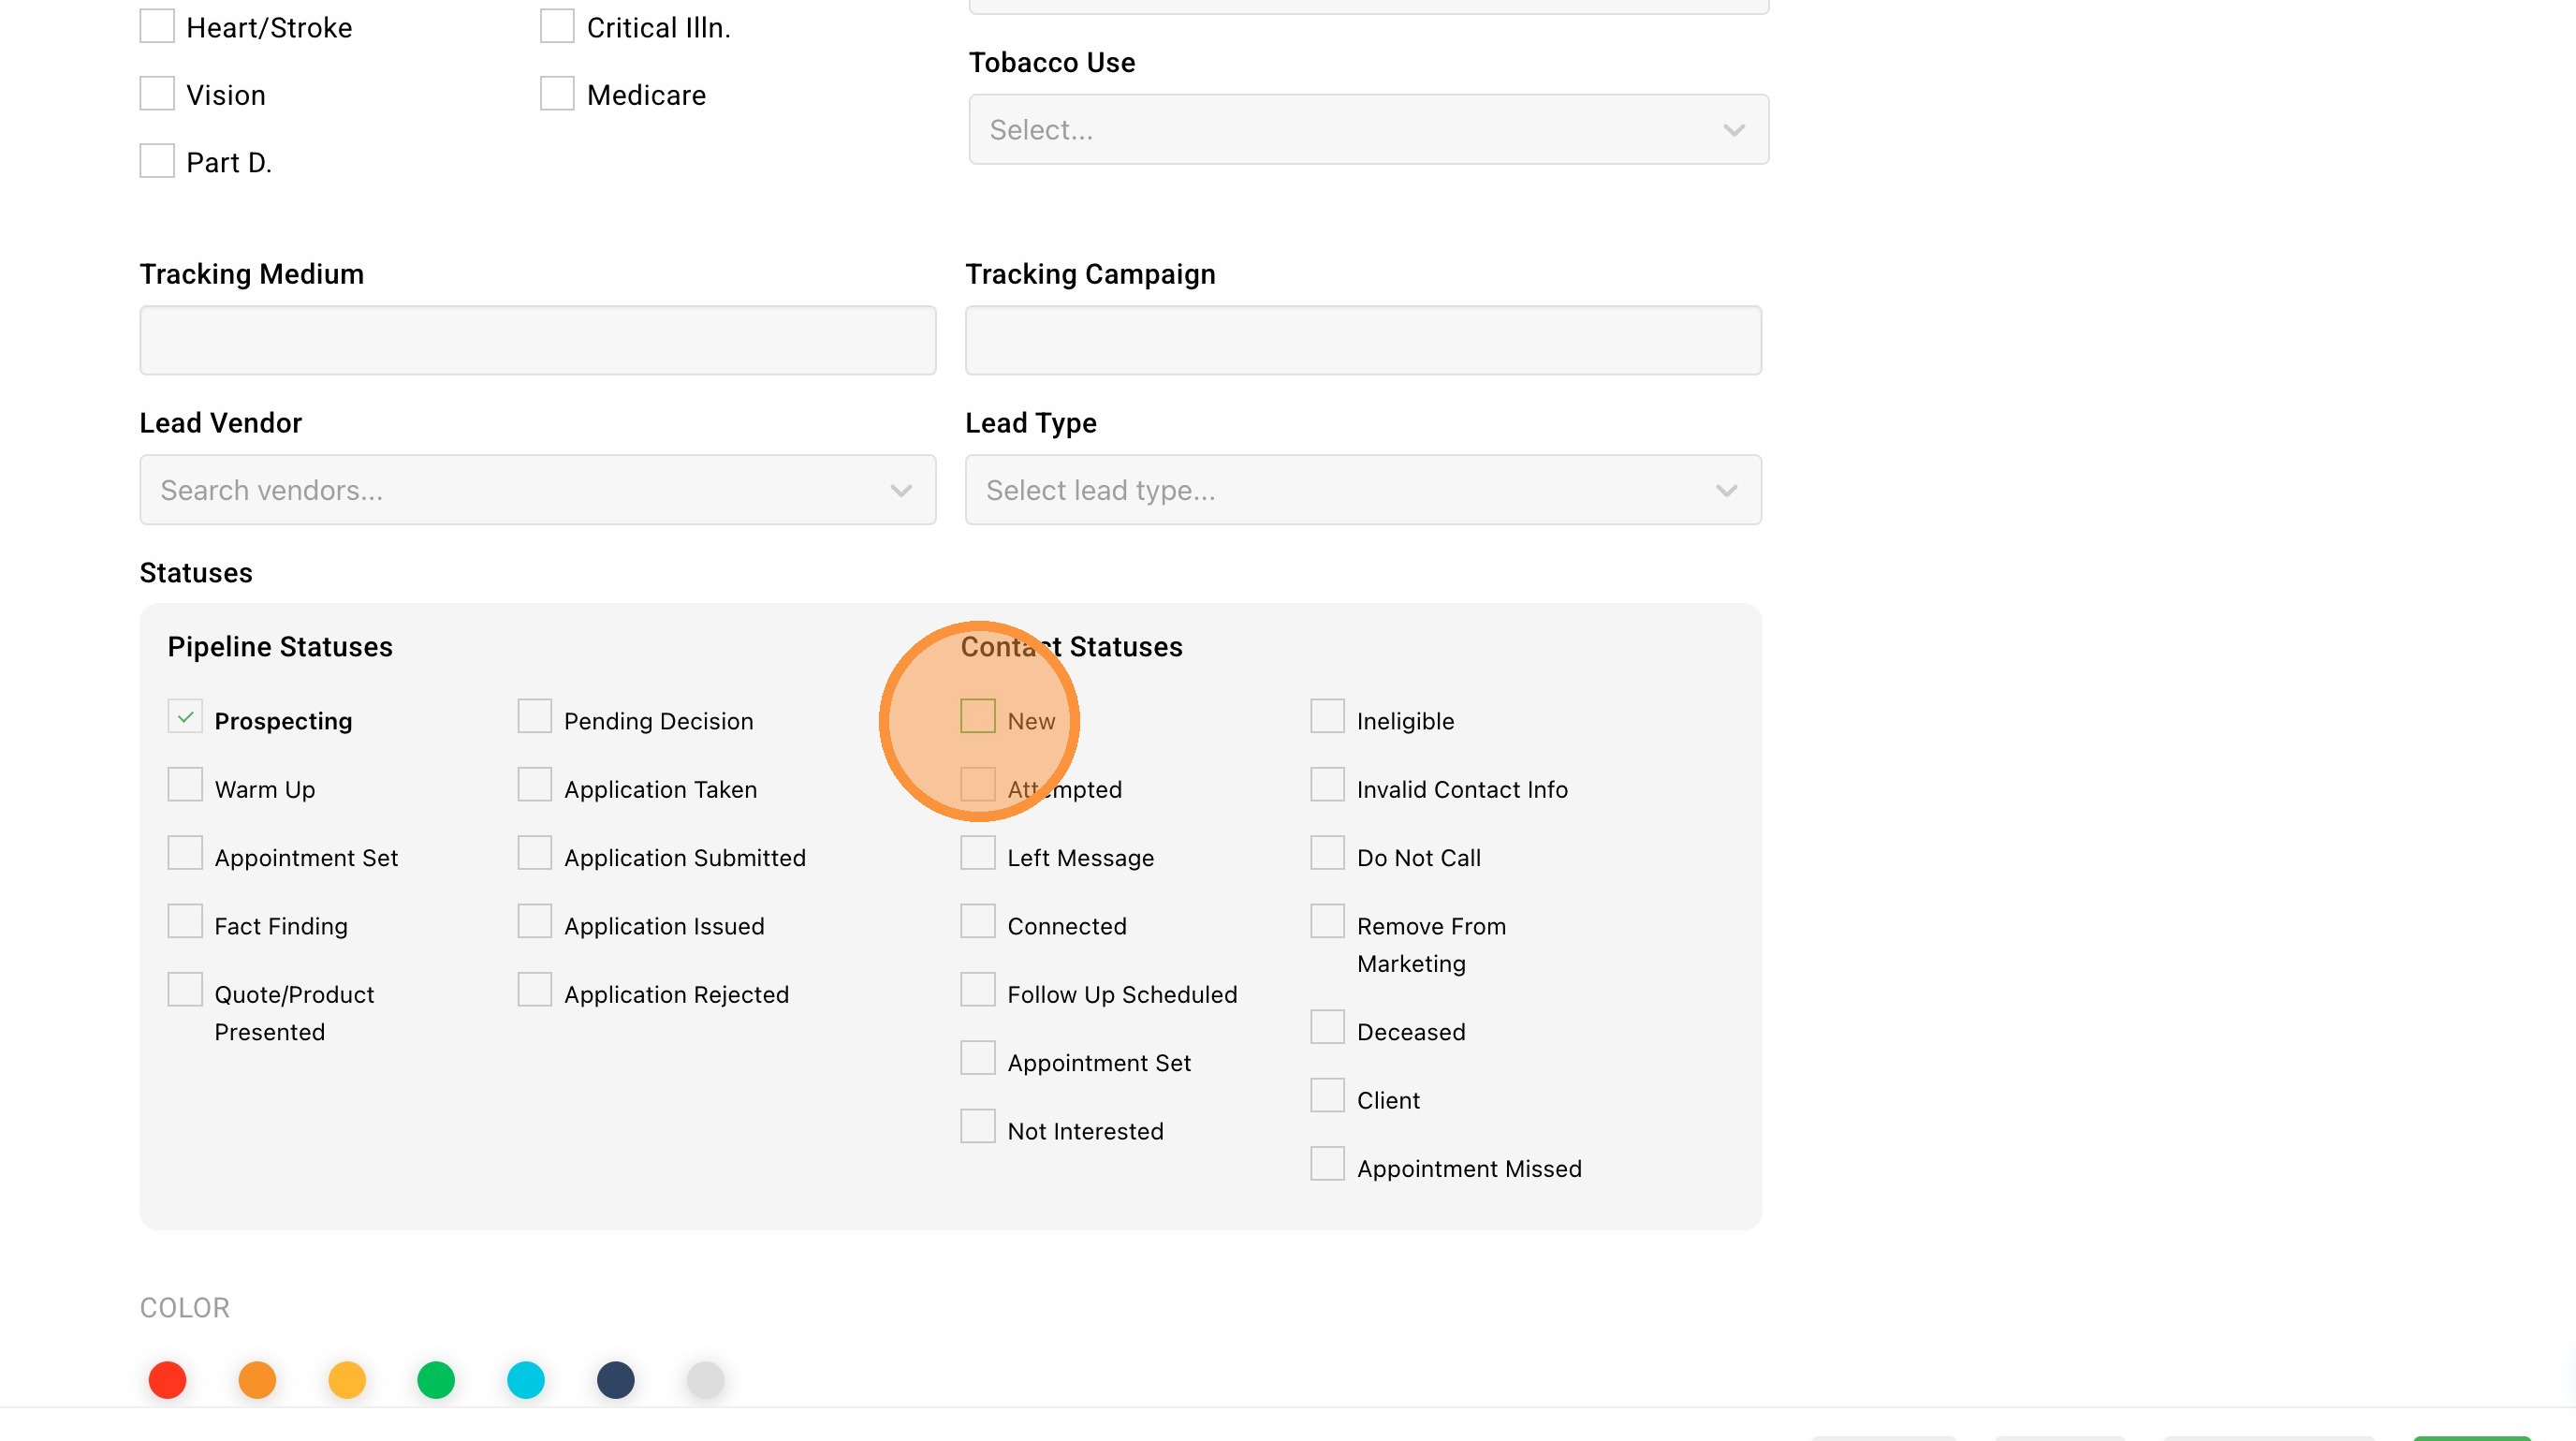
13. You can also set the Contact Status which indicates recent contact and communication with the contact.
14. You can also assign colors to your contacts. This is useful if you want to indicate hot leads versus cold leads or easily identify specific contact types.
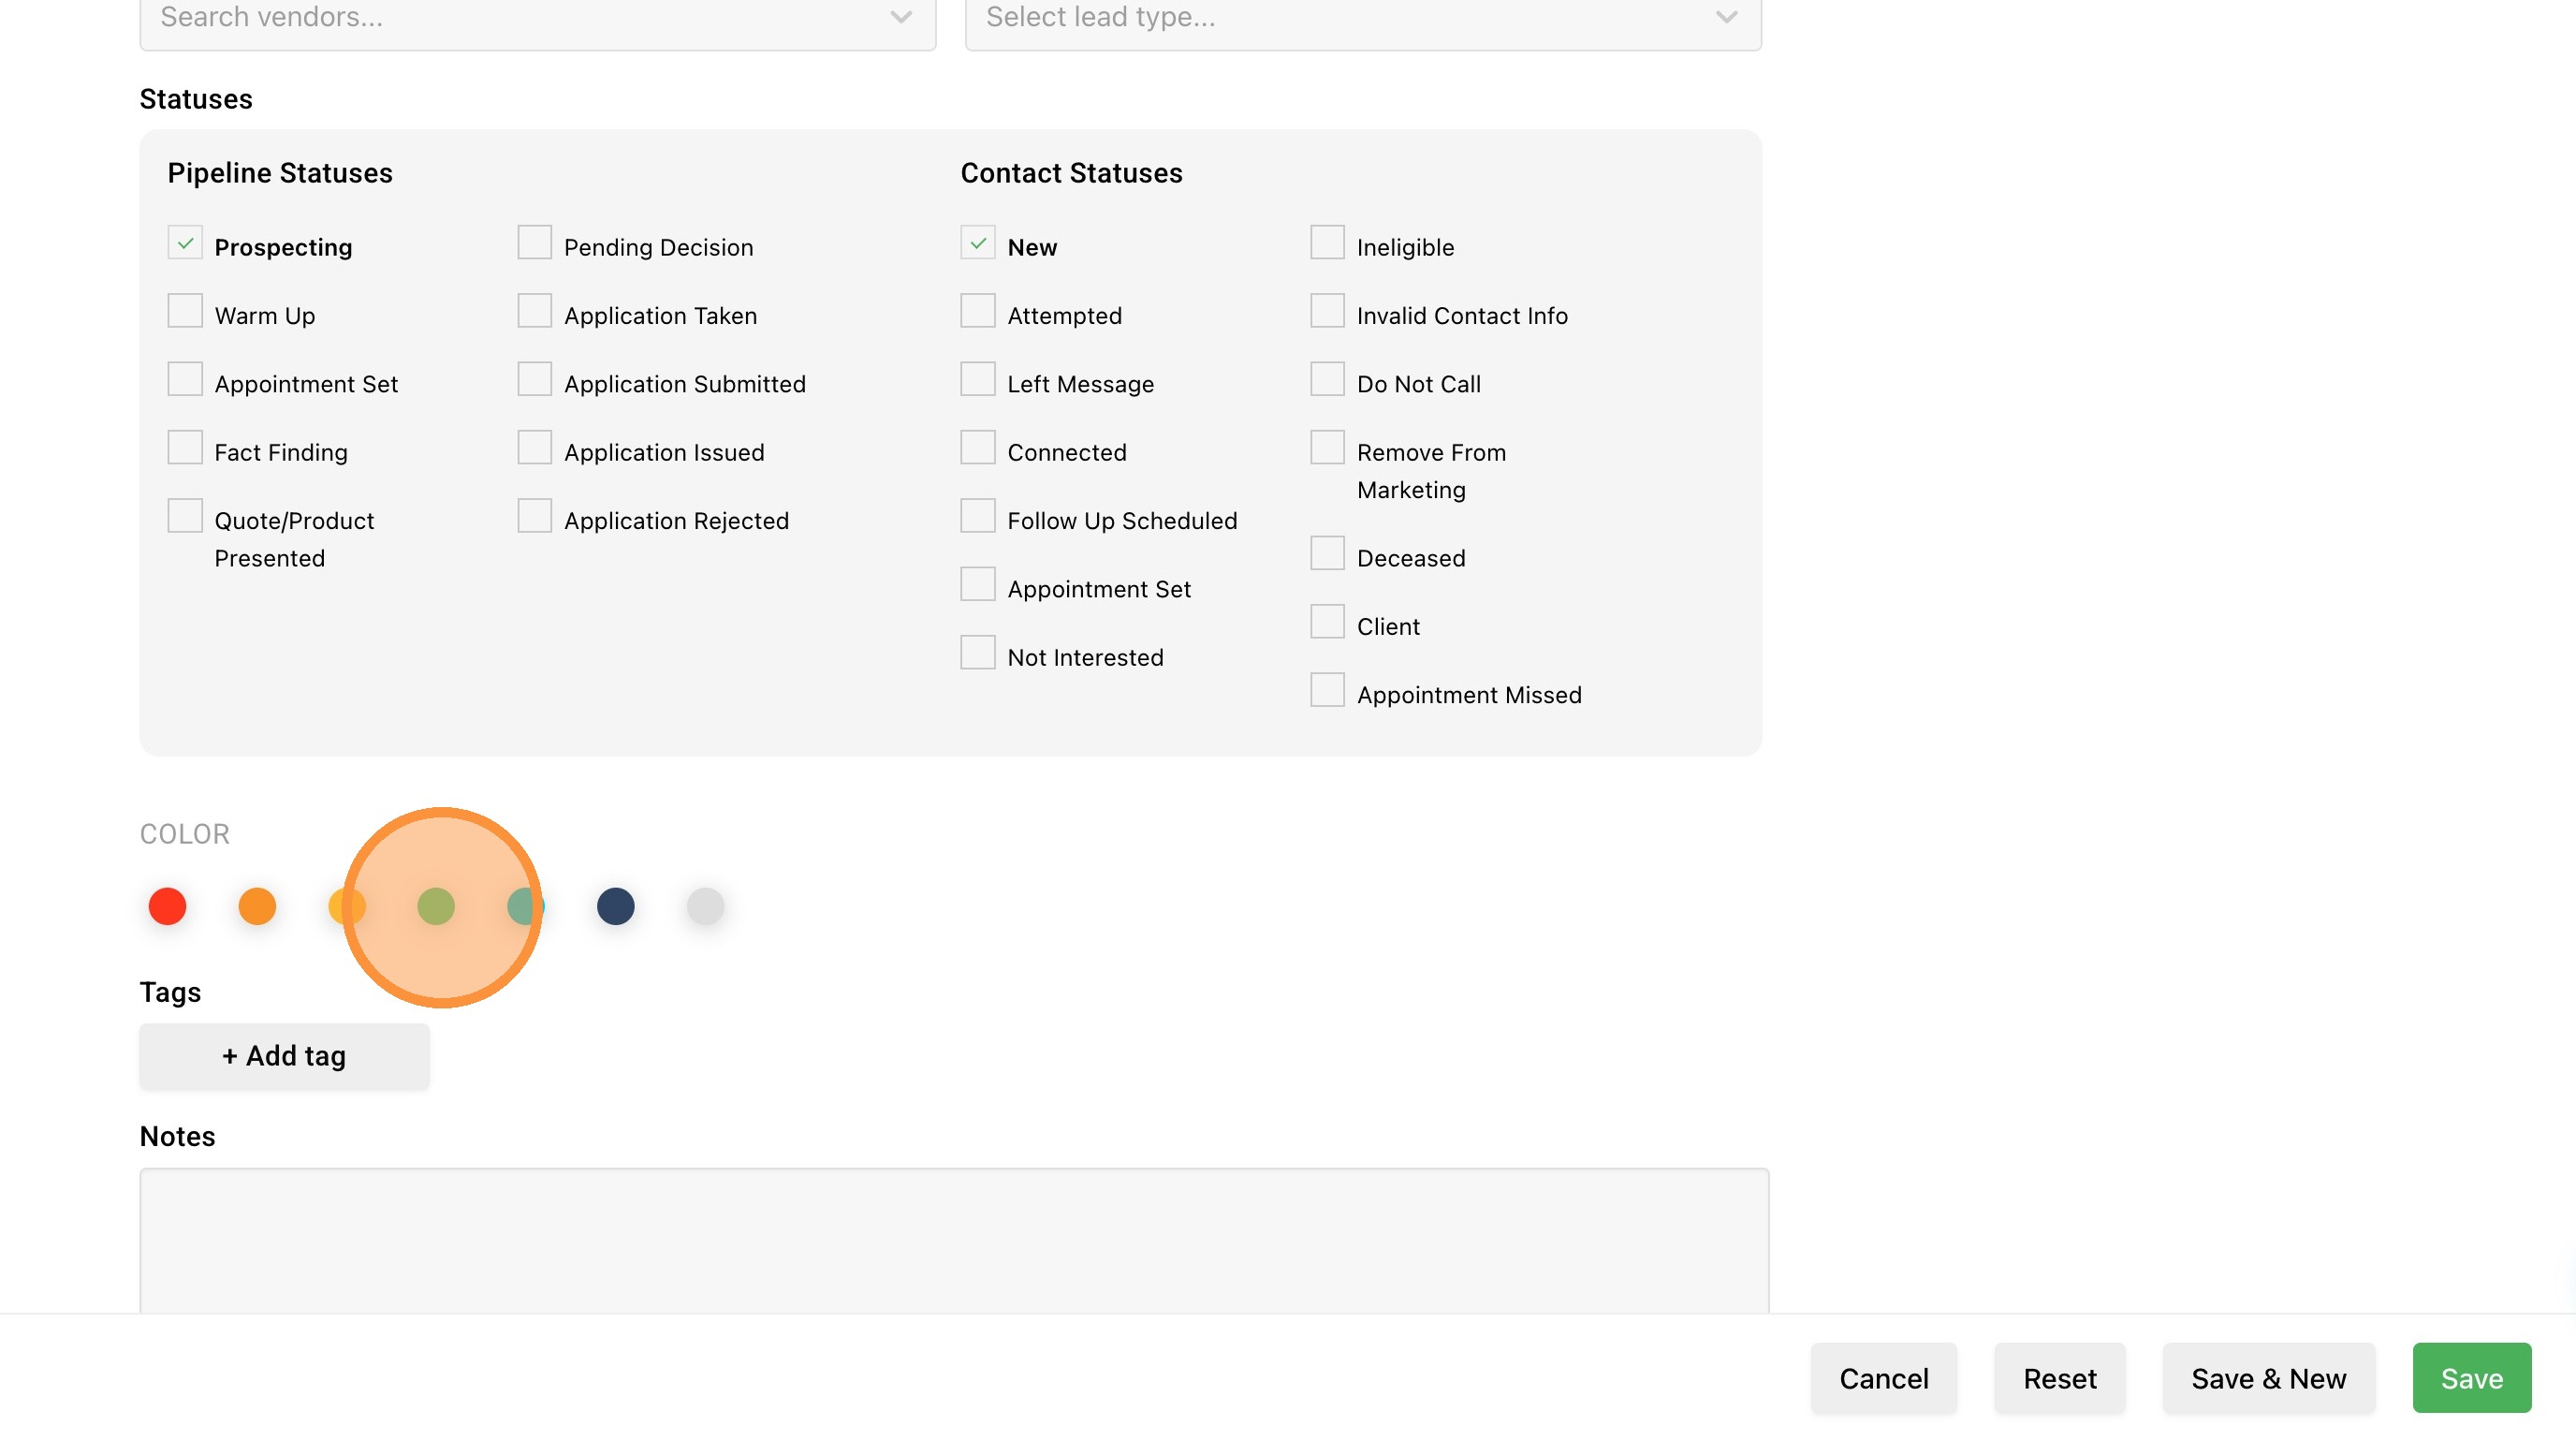
15. You can then add one or more tags. Tags are particularly useful when creating campaigns, searching for groups of contacts, or general marketing. Simply click the "+ Add tag" button, enter your tag name, and select a color.
16. Finally you can enter notes. We provide two different not fields. The first is a timestamp note that will be searchable. This is useful when you want to have your notes dated. This field also has a higher character limit. The second notes field is for something you want to make sure you remember each to you view the contact. It's a static field that will display towards the top of your contact.

Review and Save
17. Once you've entered in all the contact's information click "Save"
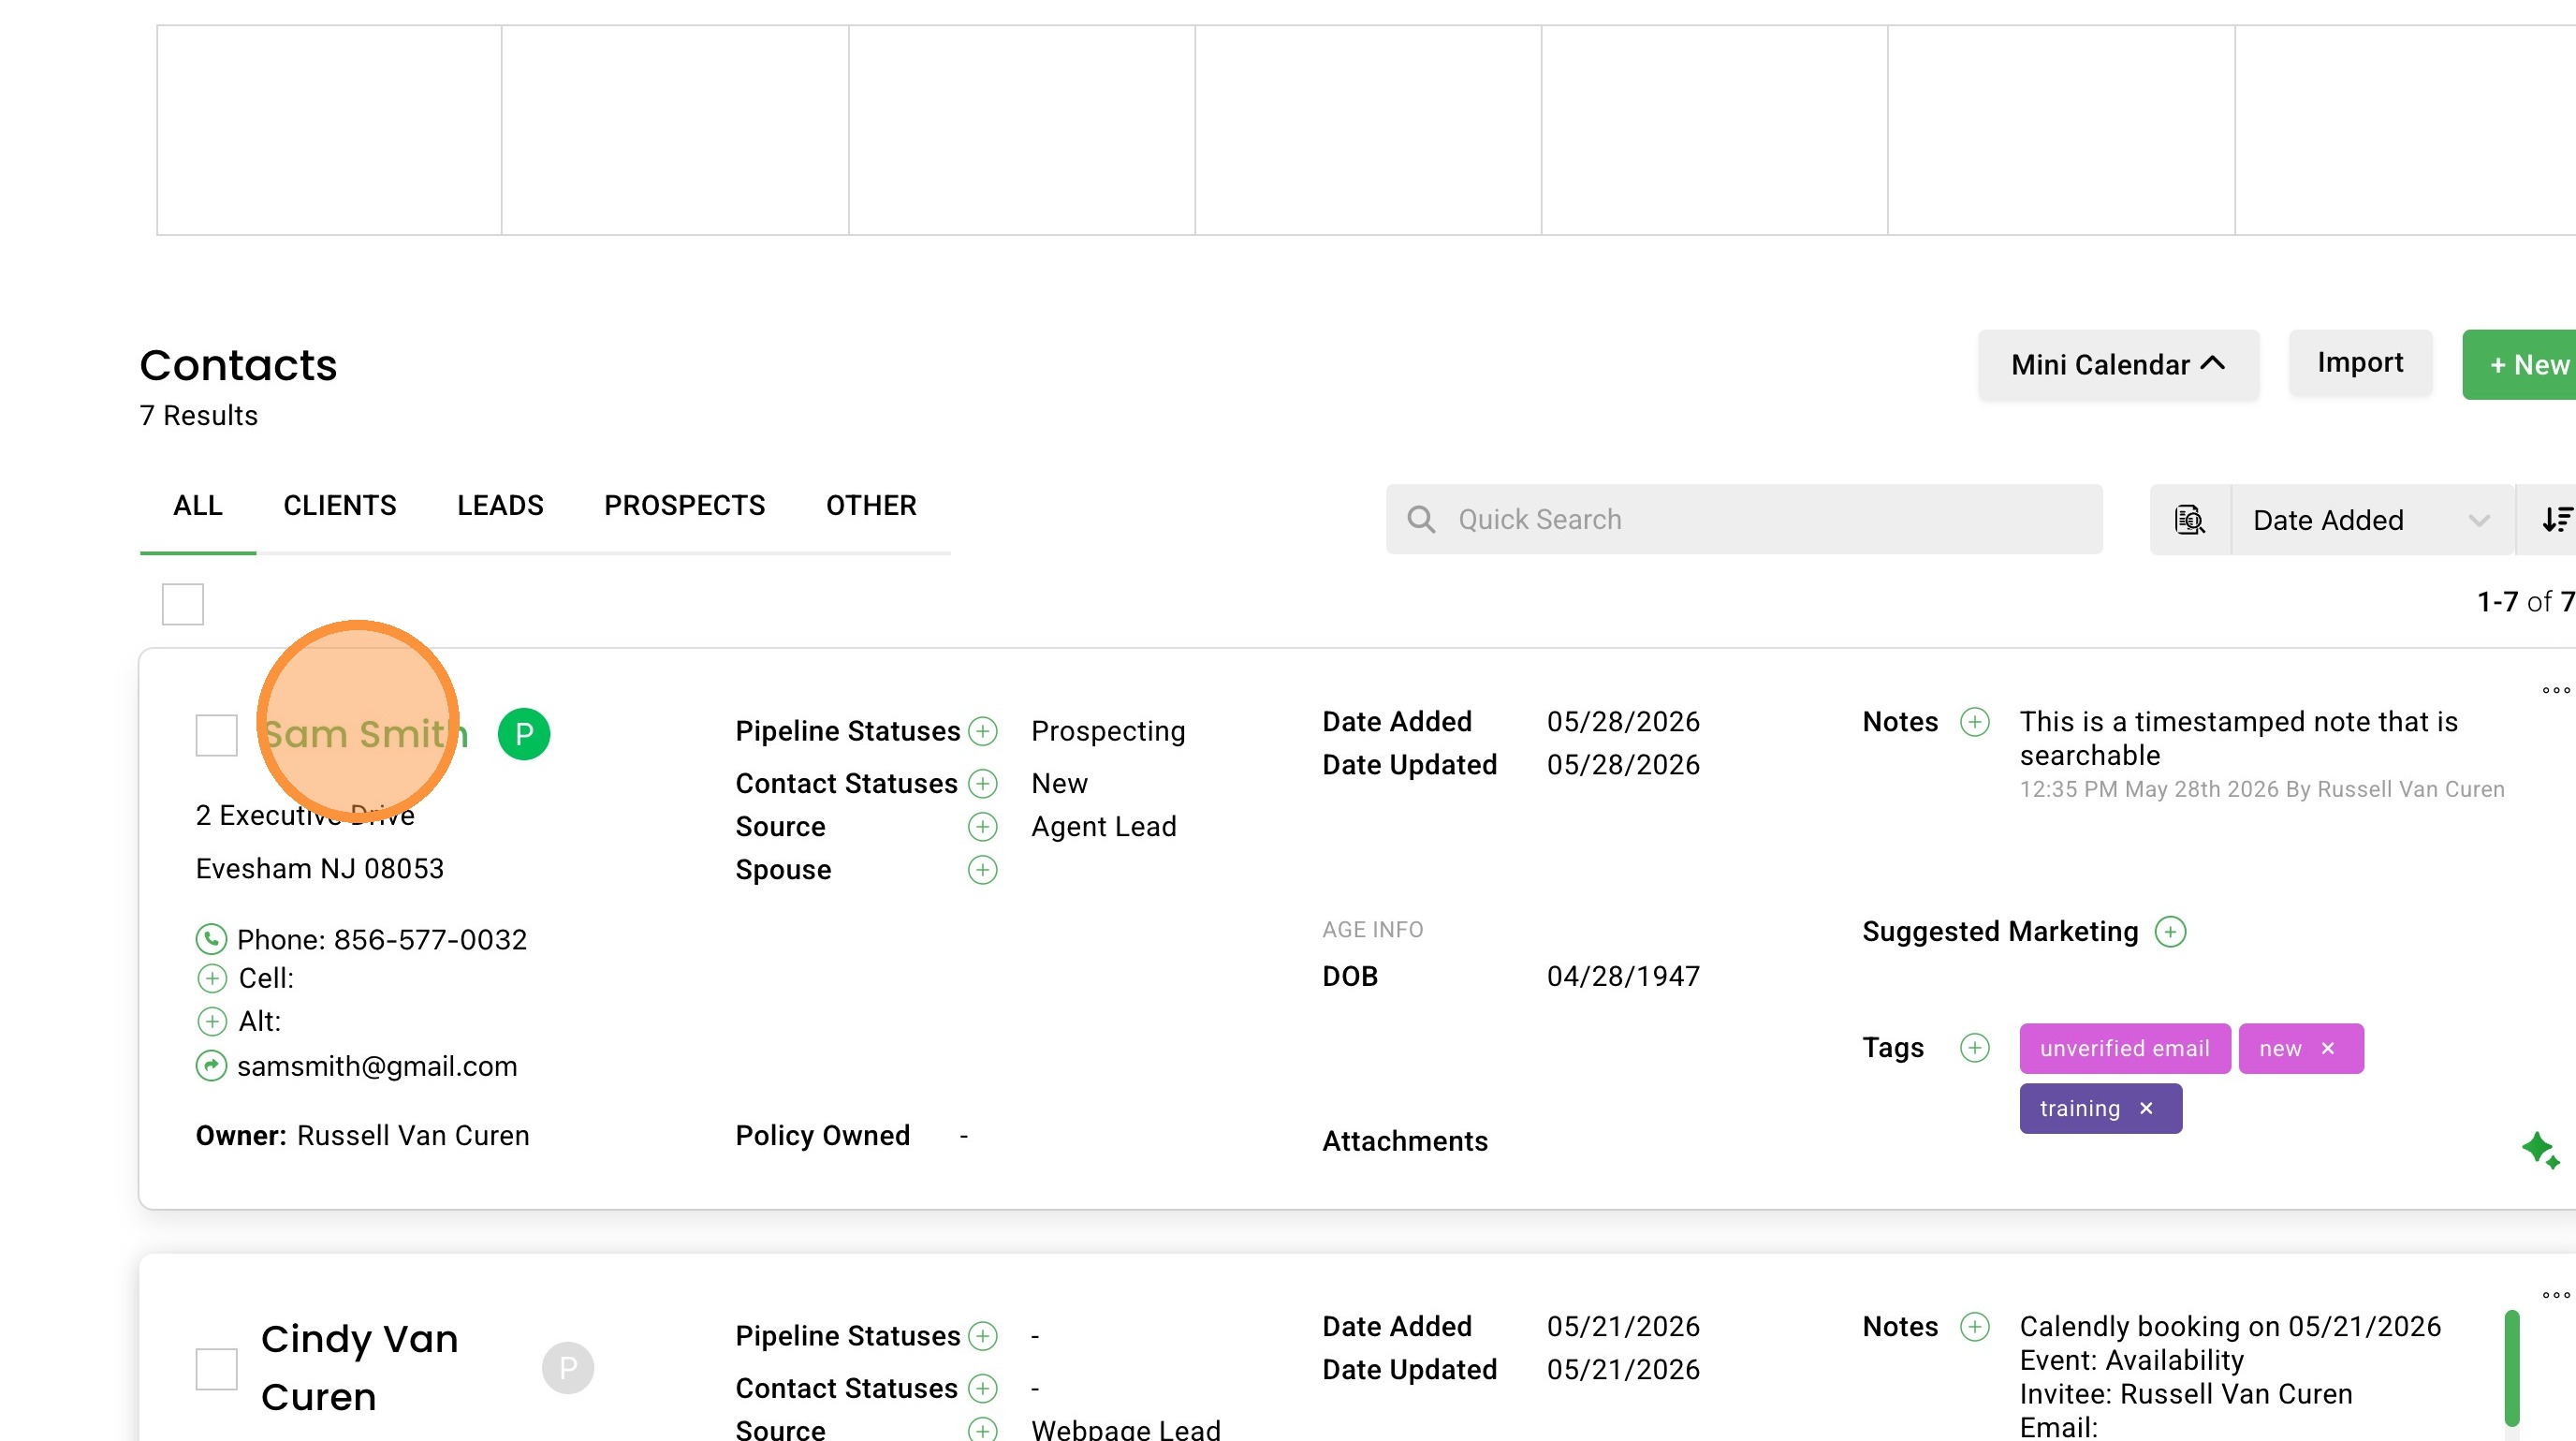
18. You can now view the contact from the contacts page.