Adding A New Contact In ClientWave360
This guide walks you through adding a new contact to ClientWave360, from basic information through demographics and custom tags. Following these steps will keep your book of business organized and make sure every prospect, lead, and client is easy to find when it's time to follow up.
Navigation and Access
1. Navigate to https://clientwave360.com/ and sign in to your account.
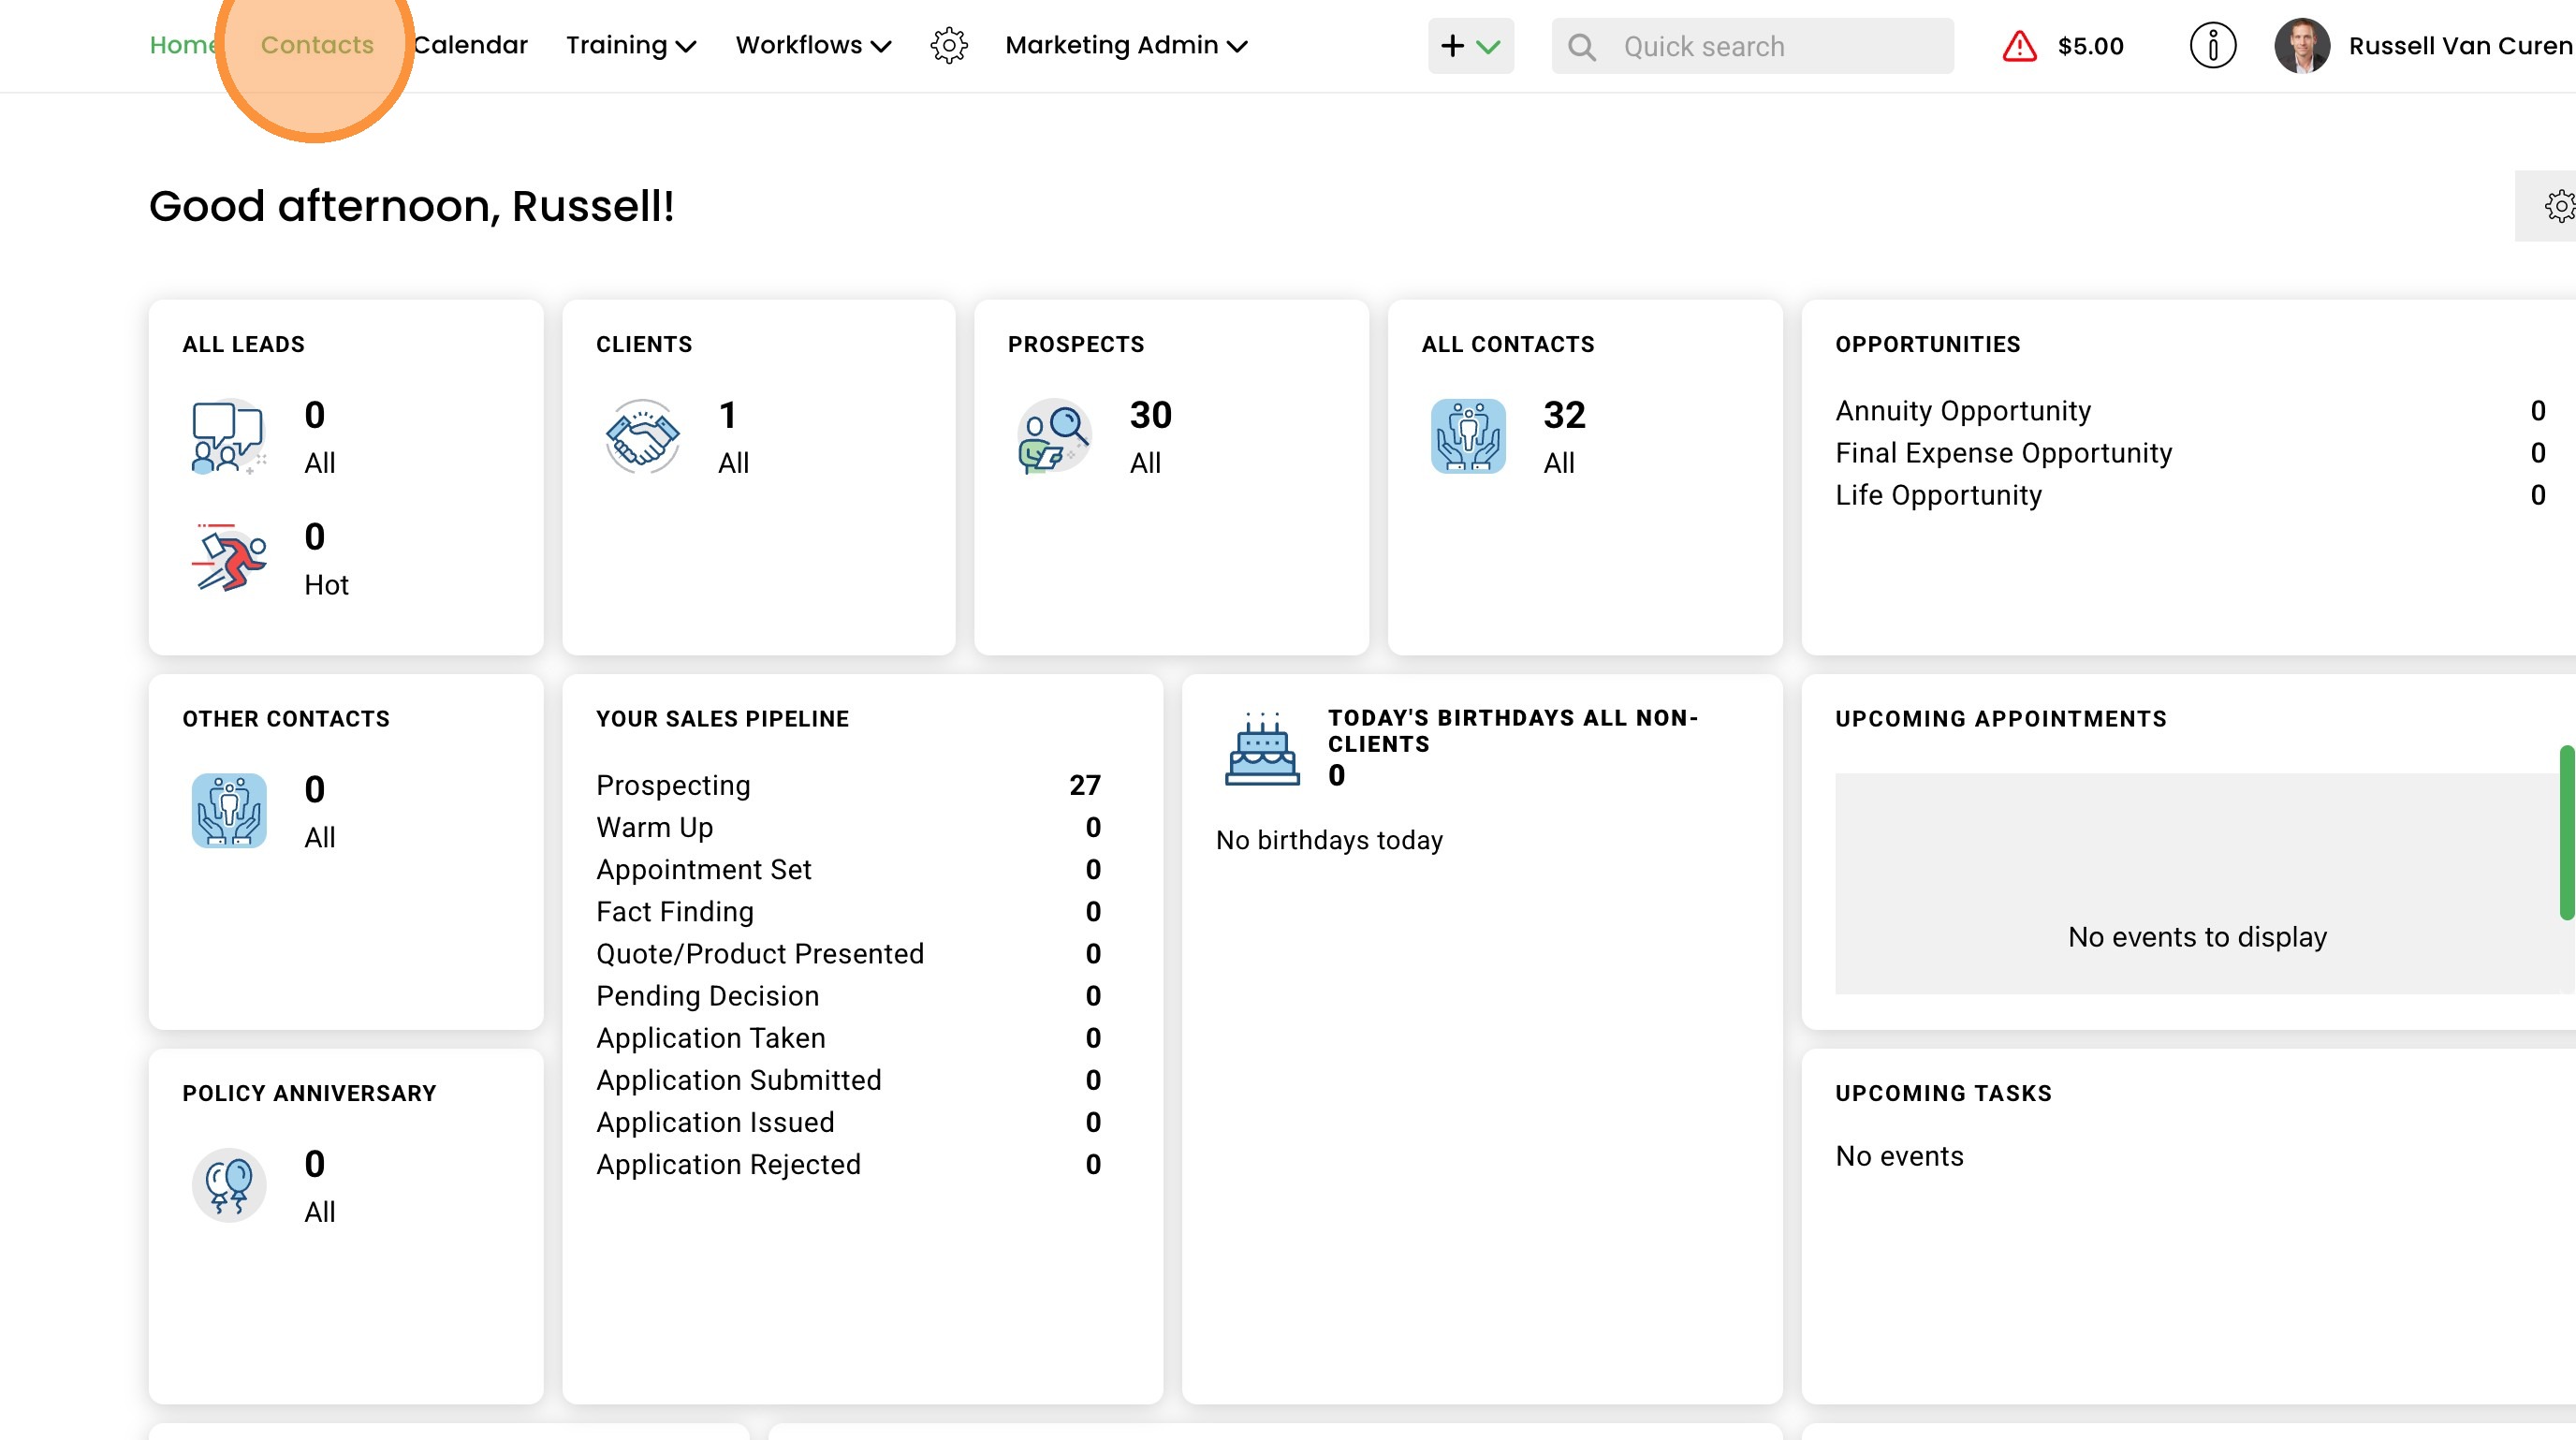
2. From the top navigation menu, click the "Contacts" tab. This is your main view for every contact in your account.
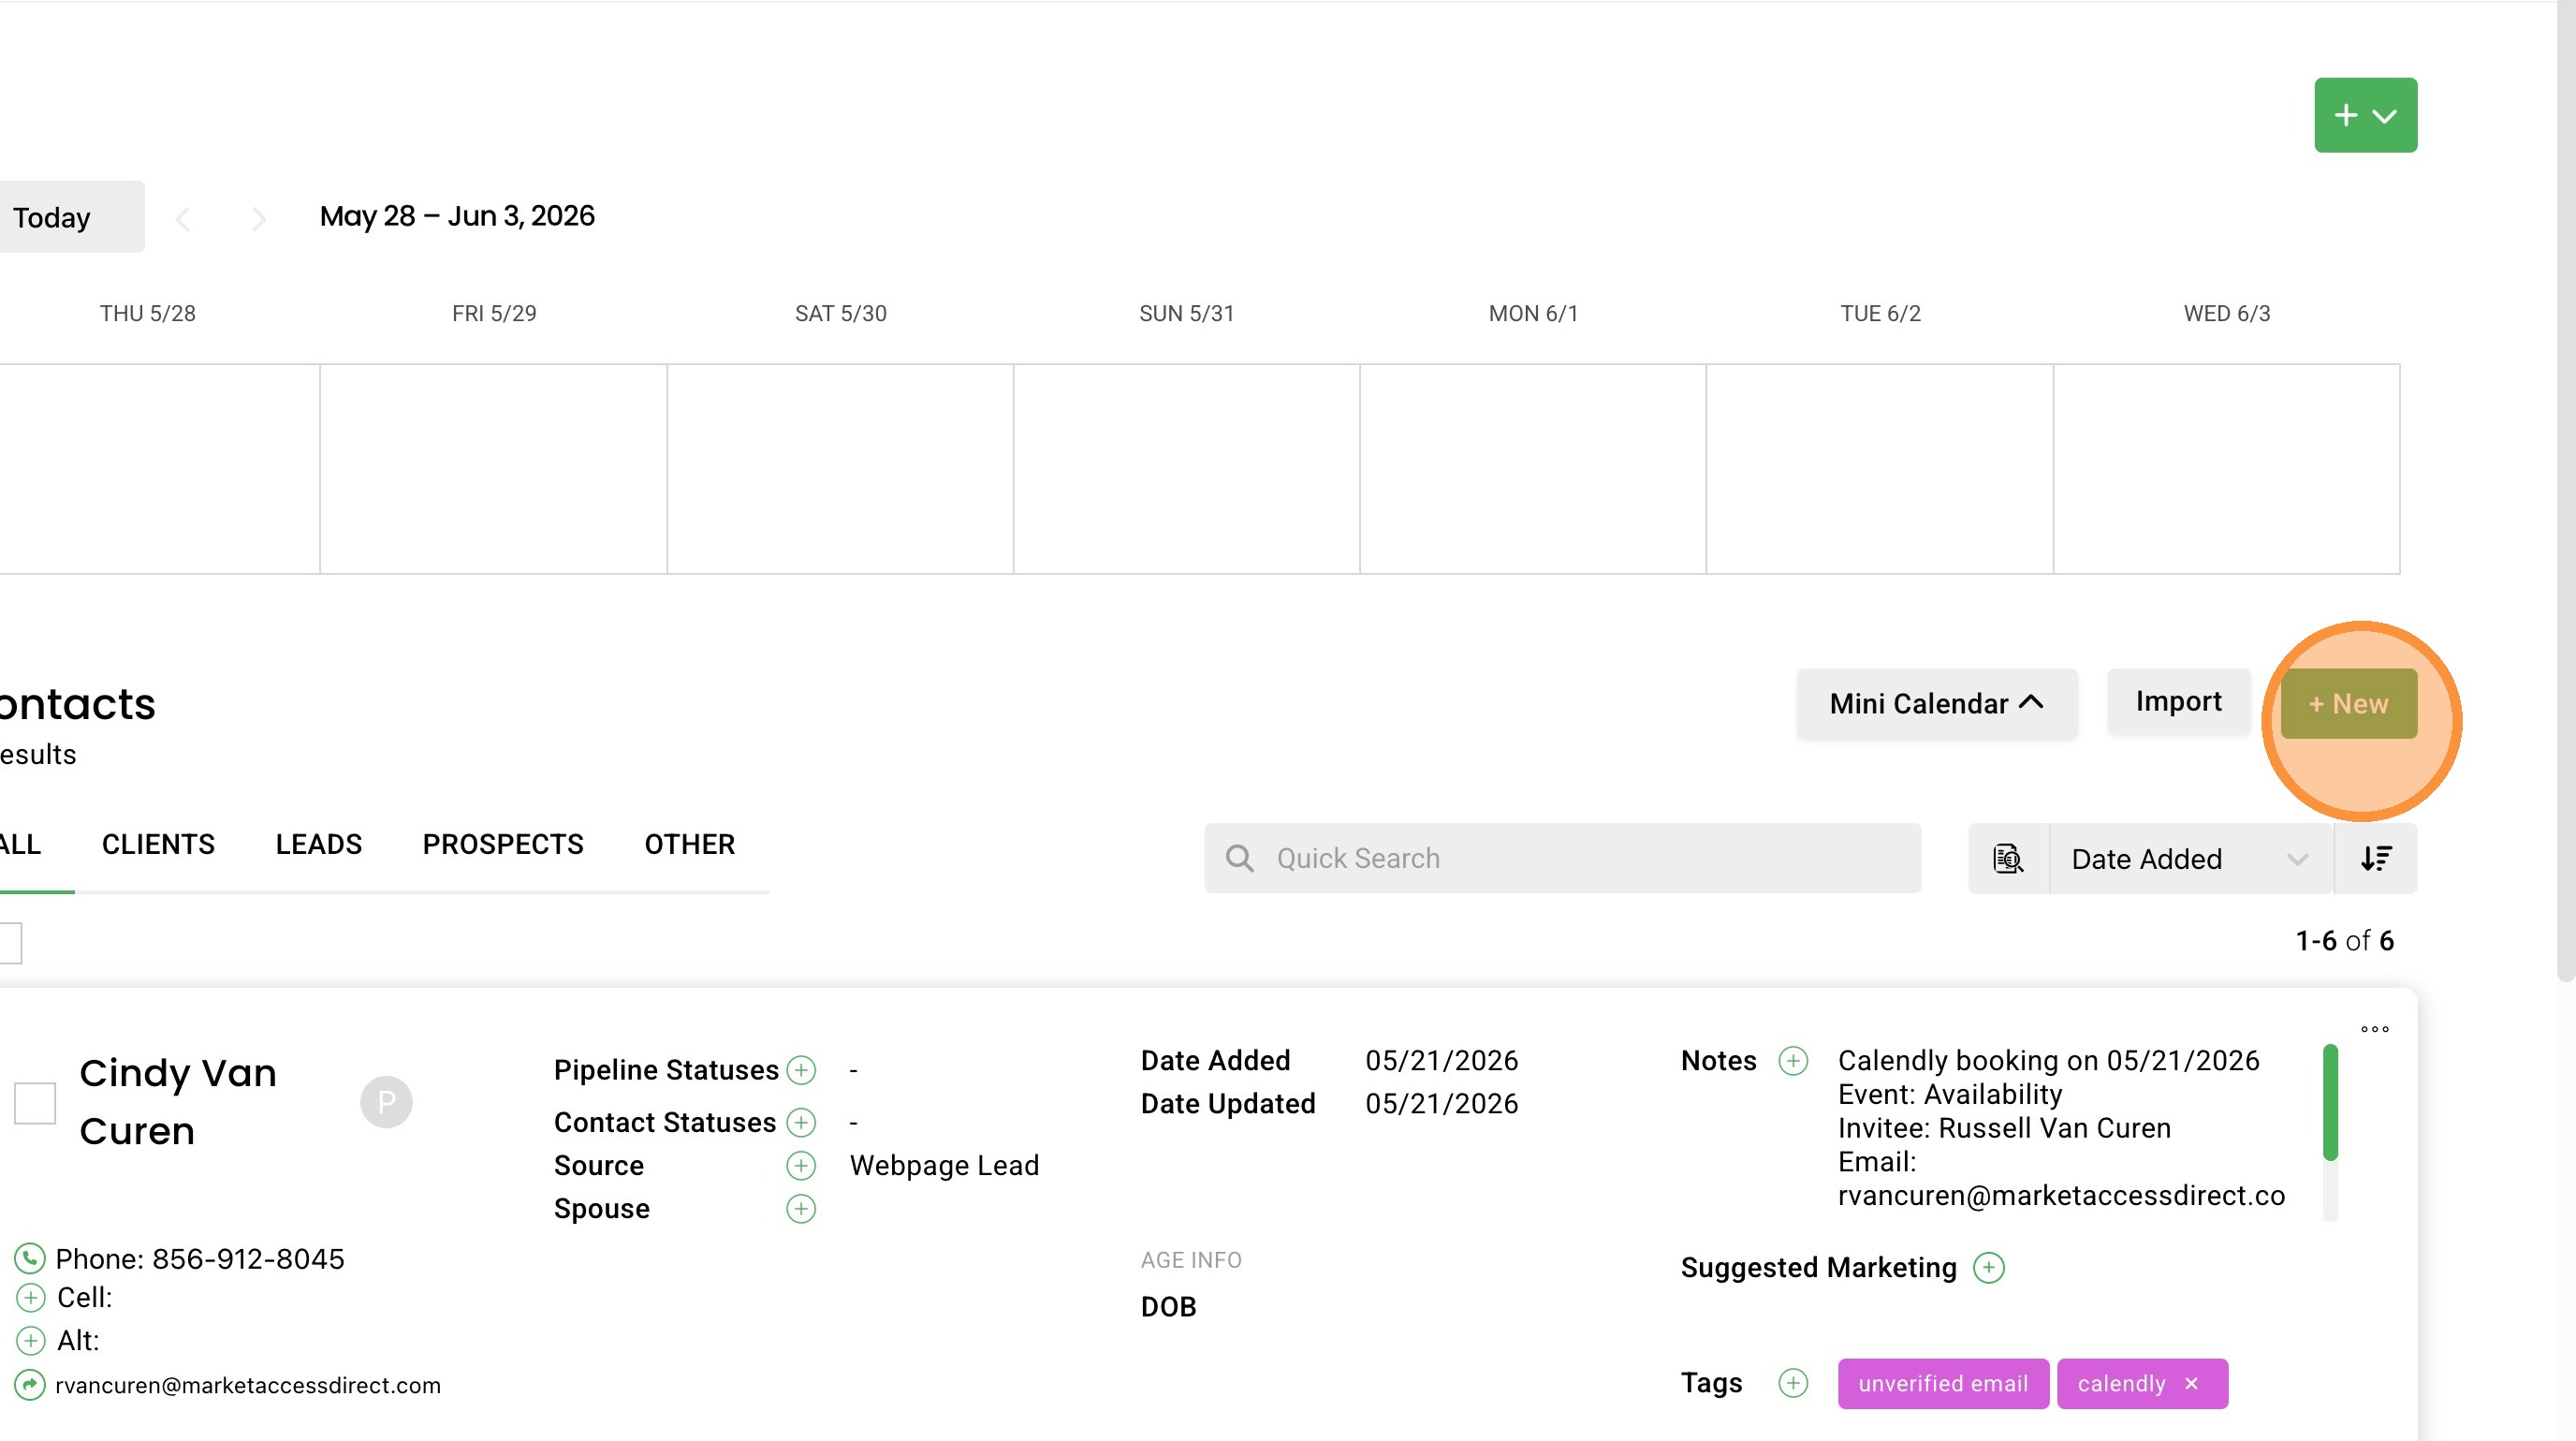
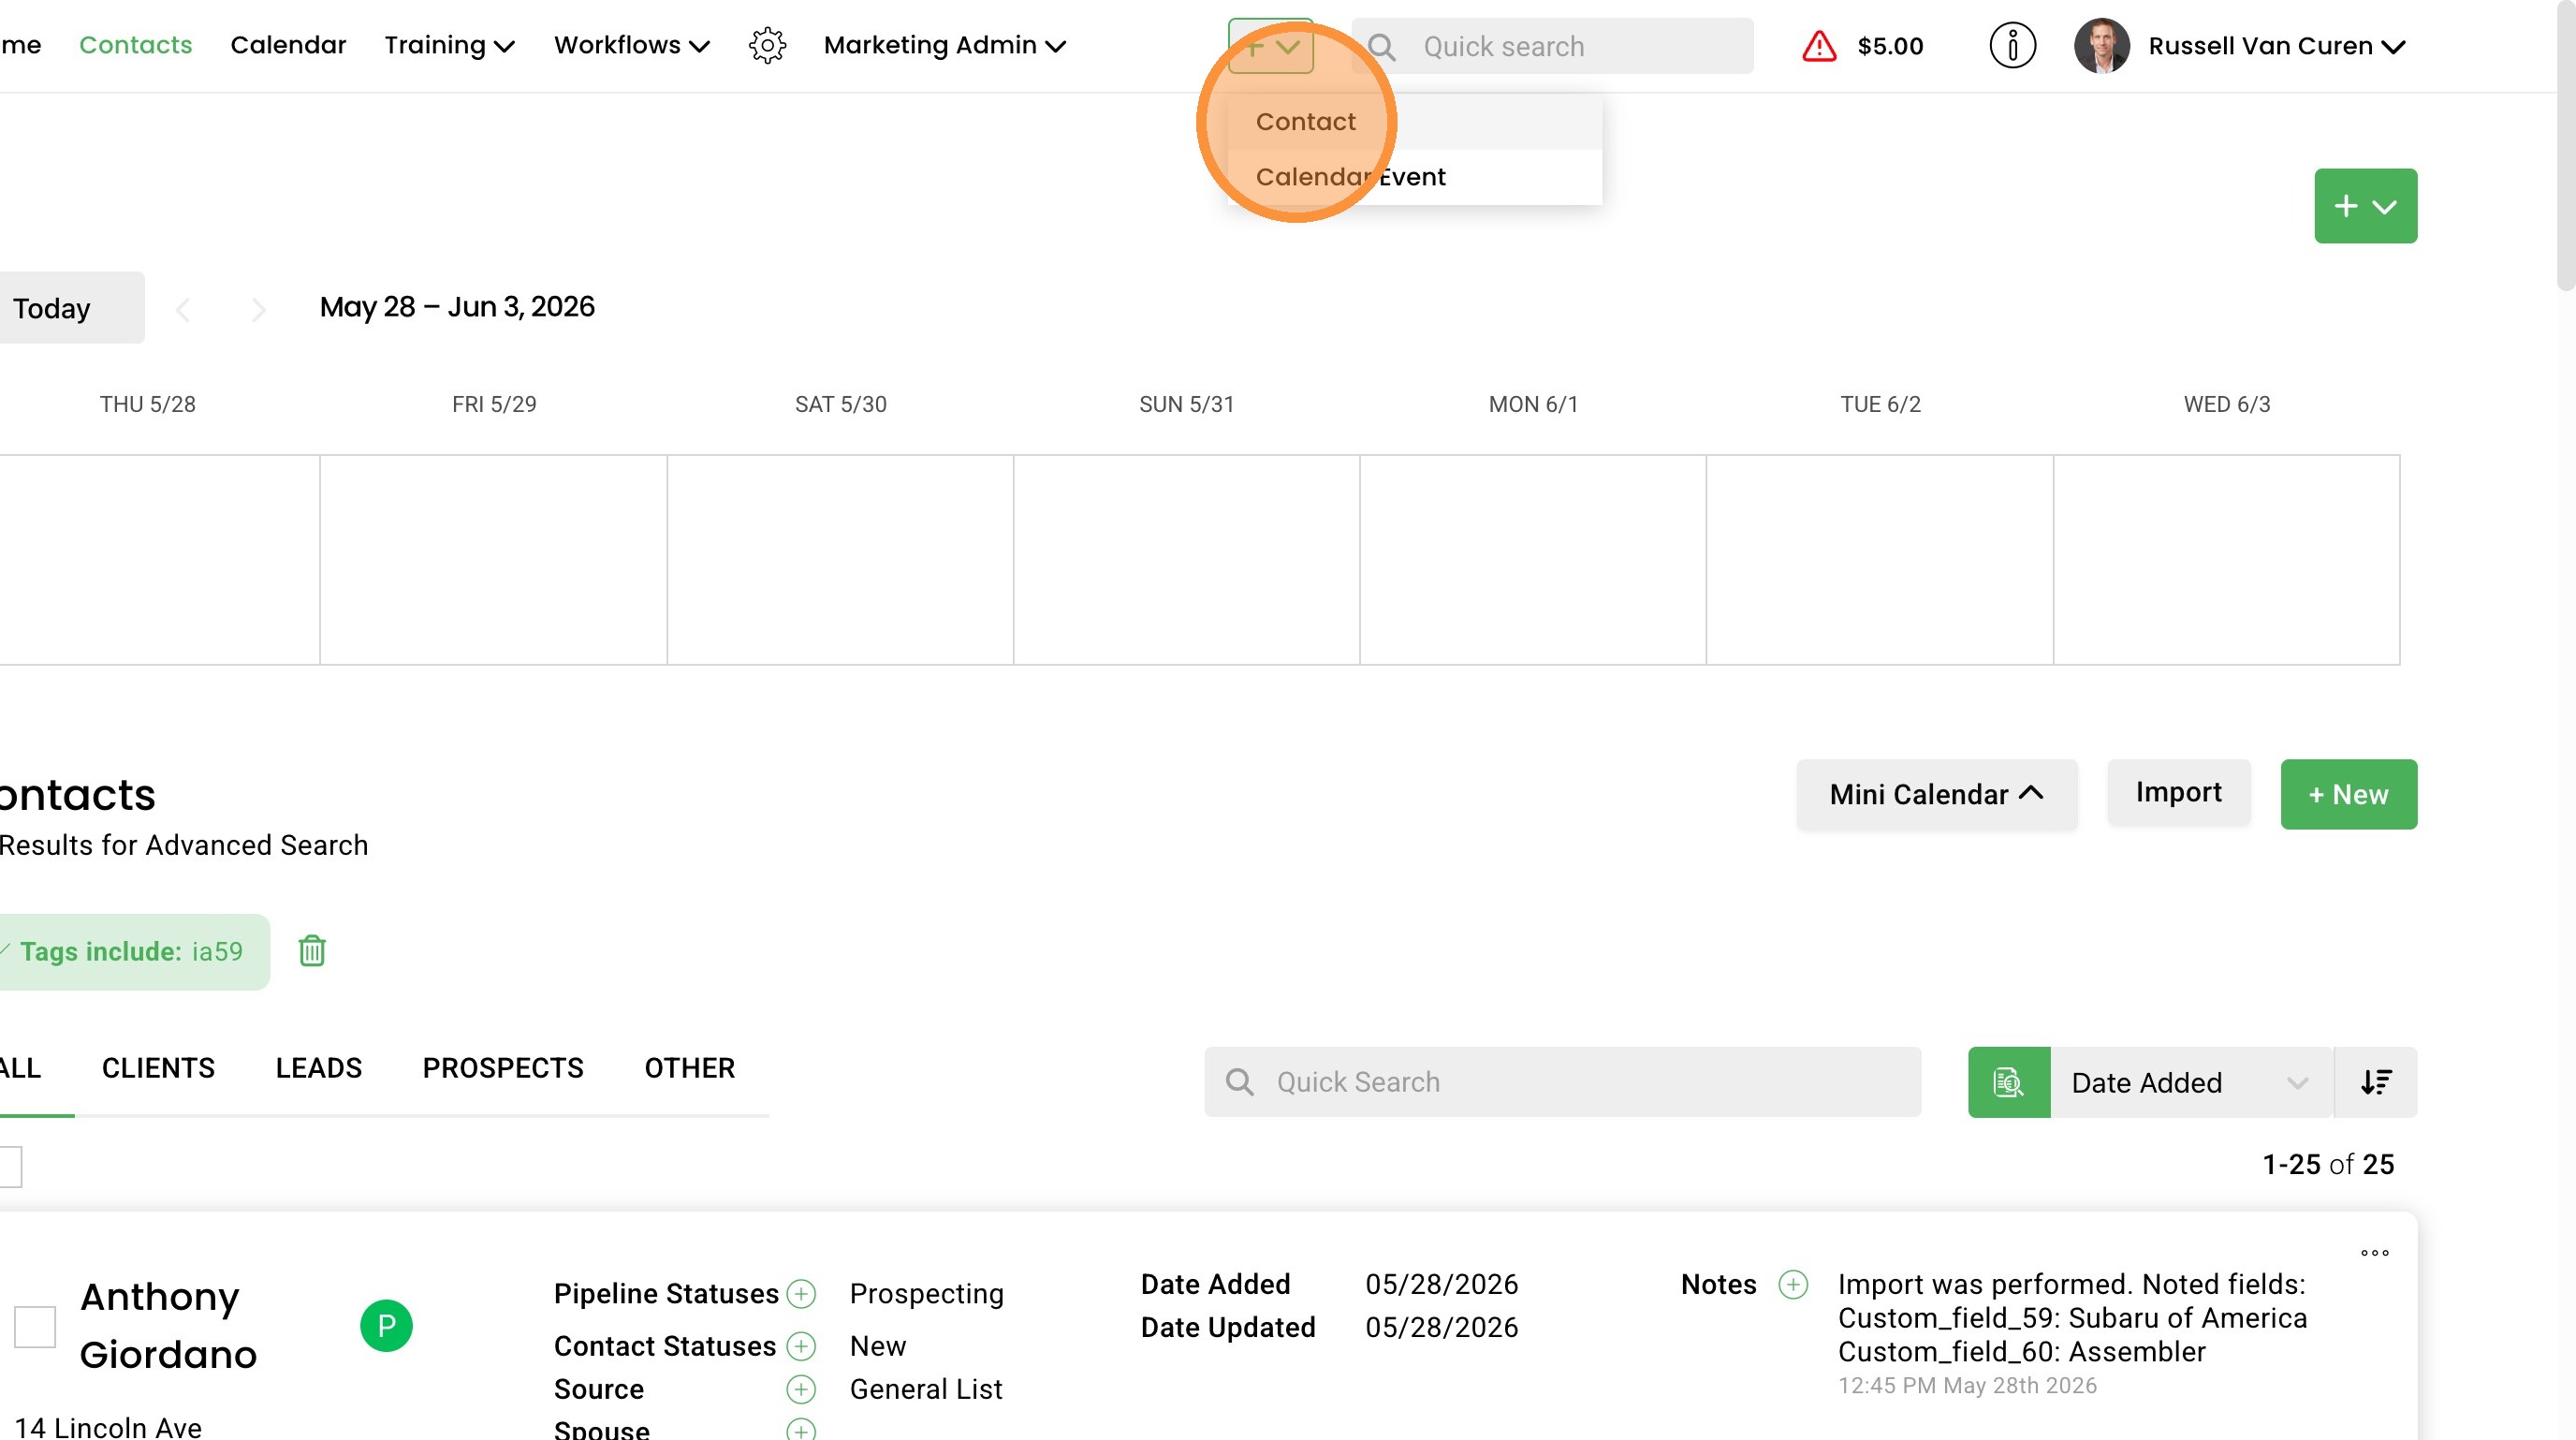
3. On the Contacts page, click the "+ New" button to open a blank new contact form.
4. You can also use the quick add shortcut. Click the "+" button in the top navigation menu and choose "Contact" from the dropdown. This opens the same new contact form from any page you're on.
Basic Contact Information
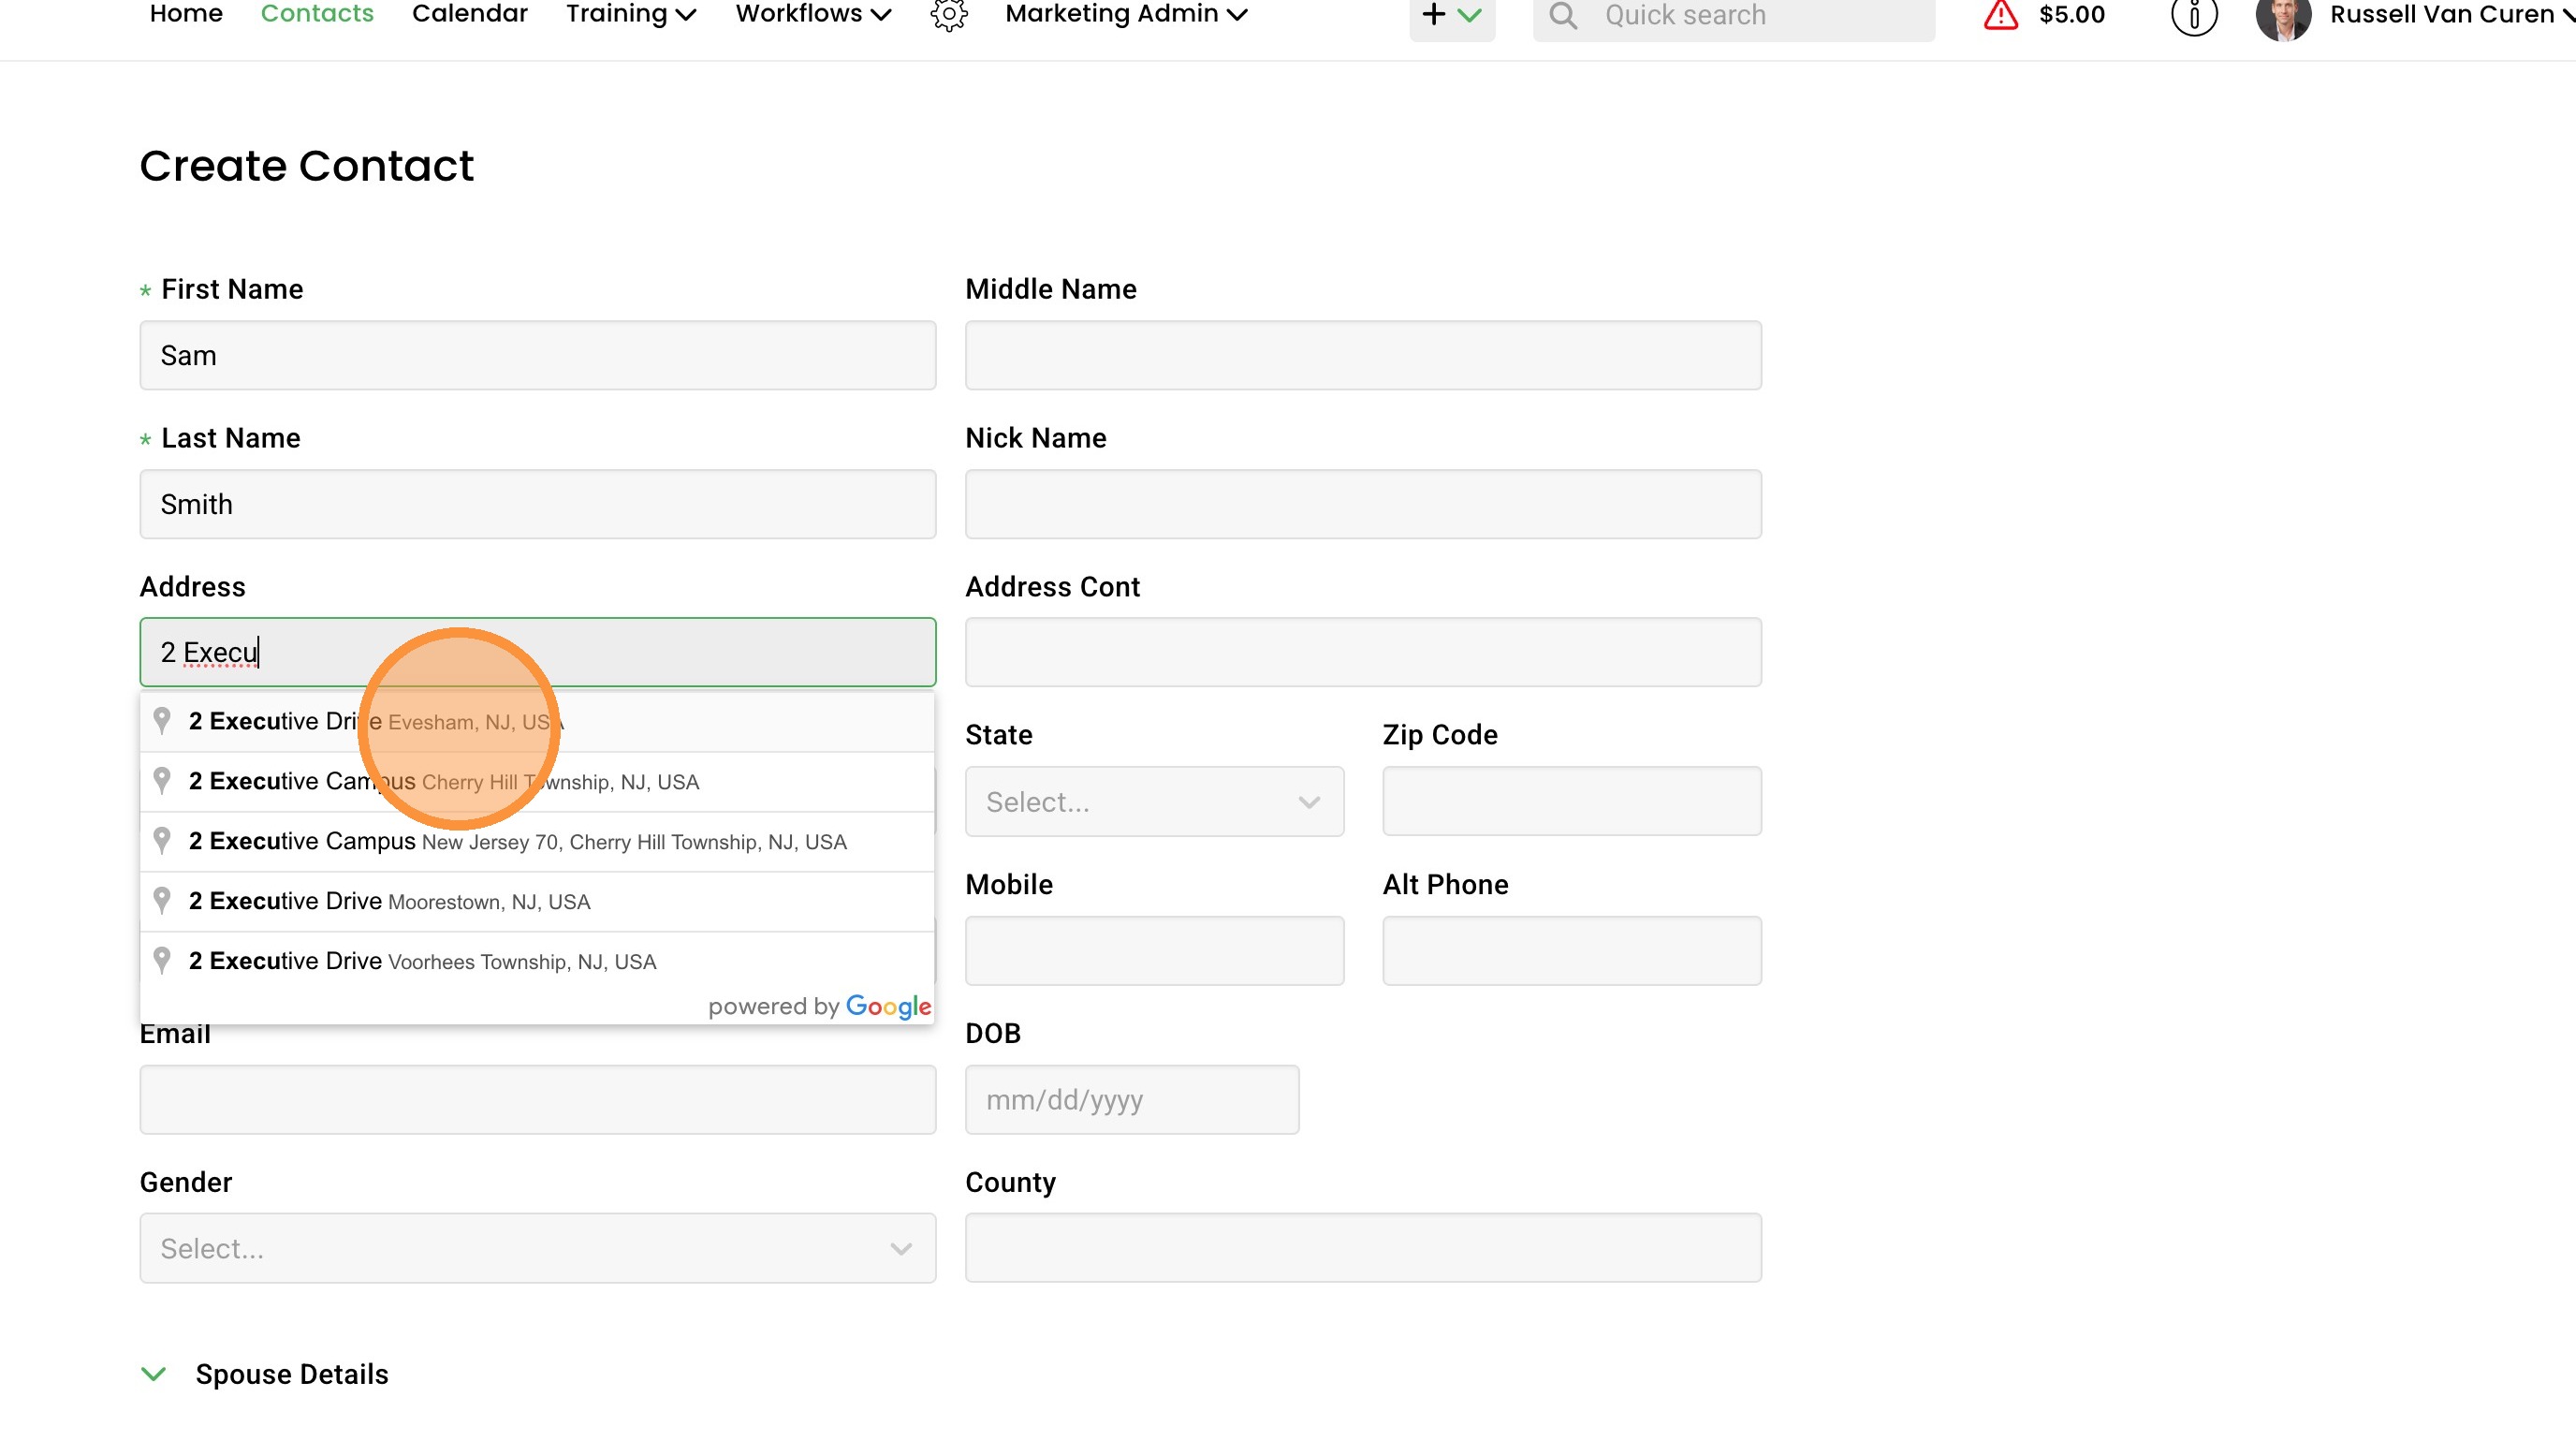
5. Start by filling out the basic information at the top of the form. First Name, Last Name, and Source are required fields. The rest are optional, but the more detail you capture up front the more useful the contact record will be later.
6. For the address field, start typing the street address and Google autocomplete will return matching suggestions in a dropdown. Selecting one of the suggestions will prepopulate the City, State, and Zip fields for you.
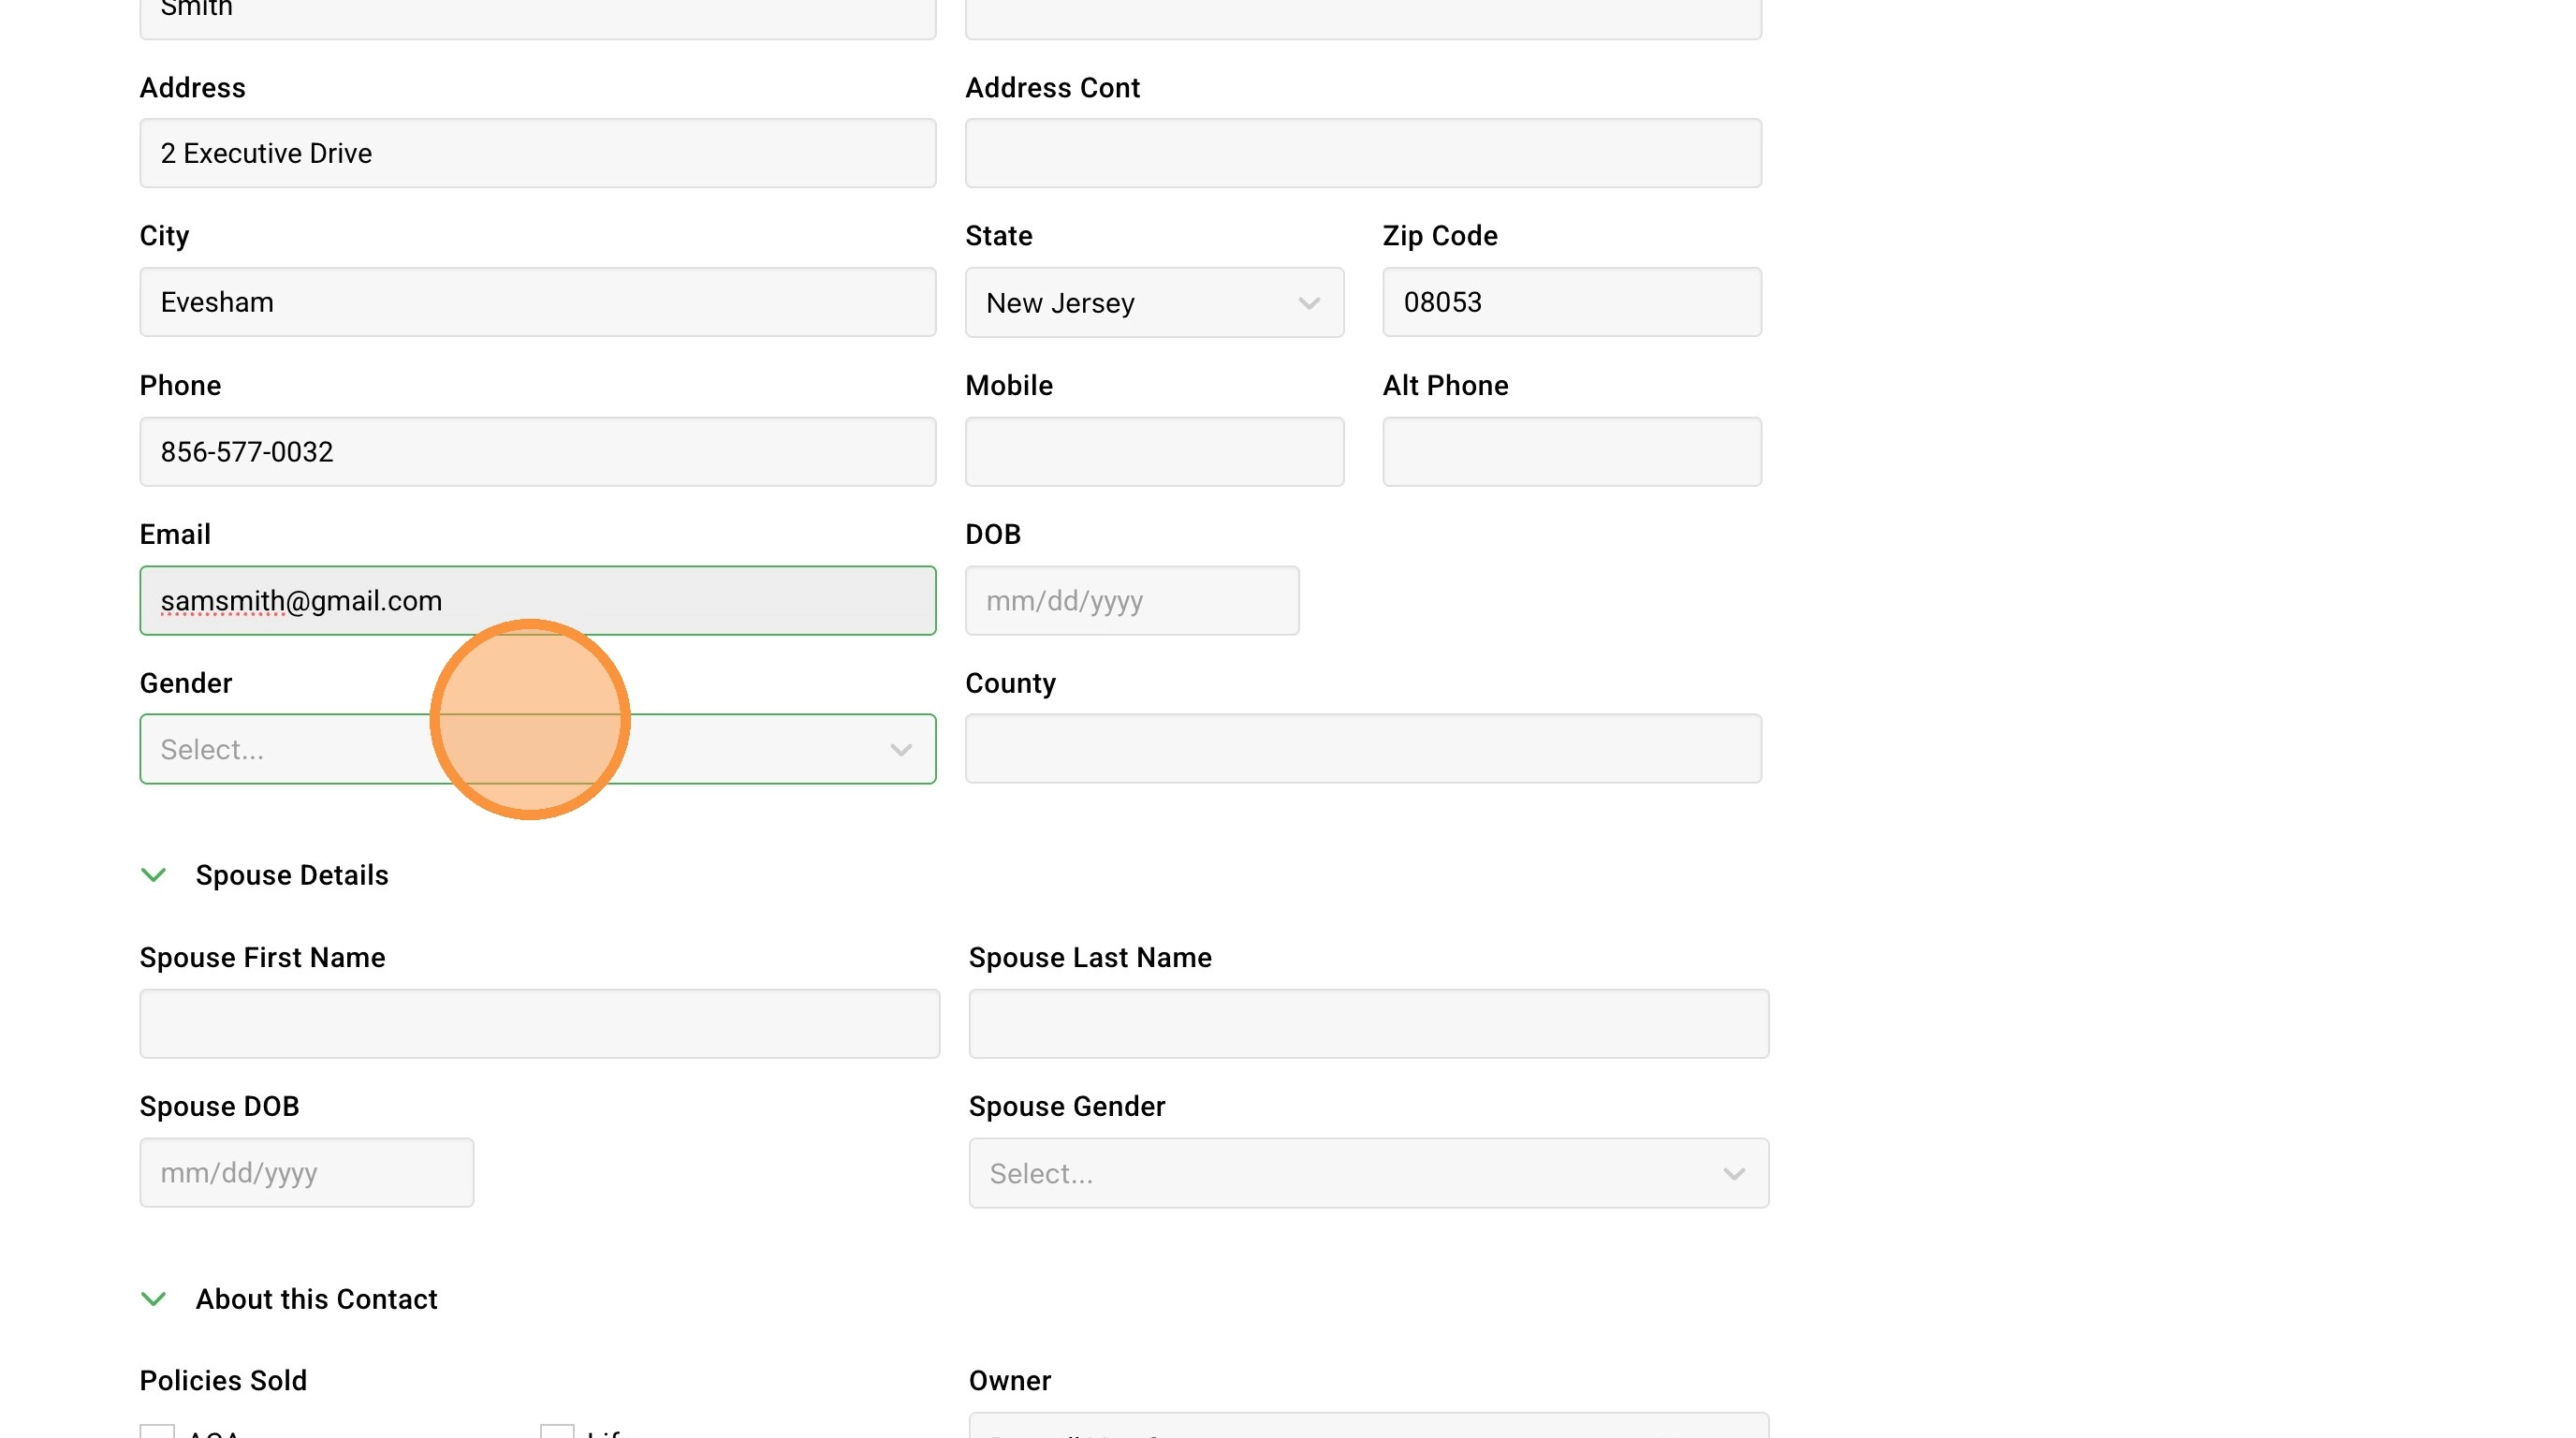
7. Add a Phone and Mobile number whenever you have them. Having both numbers on file gives you more ways to reach the contact and helps with marketing. ClientWave360 can also verify whether the number is active and in service if you choose.

8. Enter the email address if you have it. We can verify the email address as well so you know it's good before you send anything to it.

9. Continue filling out the rest of the basic information fields.
10. Select a Source from the dropdown. Source is required and tells you where the contact came from. Keeping this accurate is what lets you track which of your lead programs are actually producing.
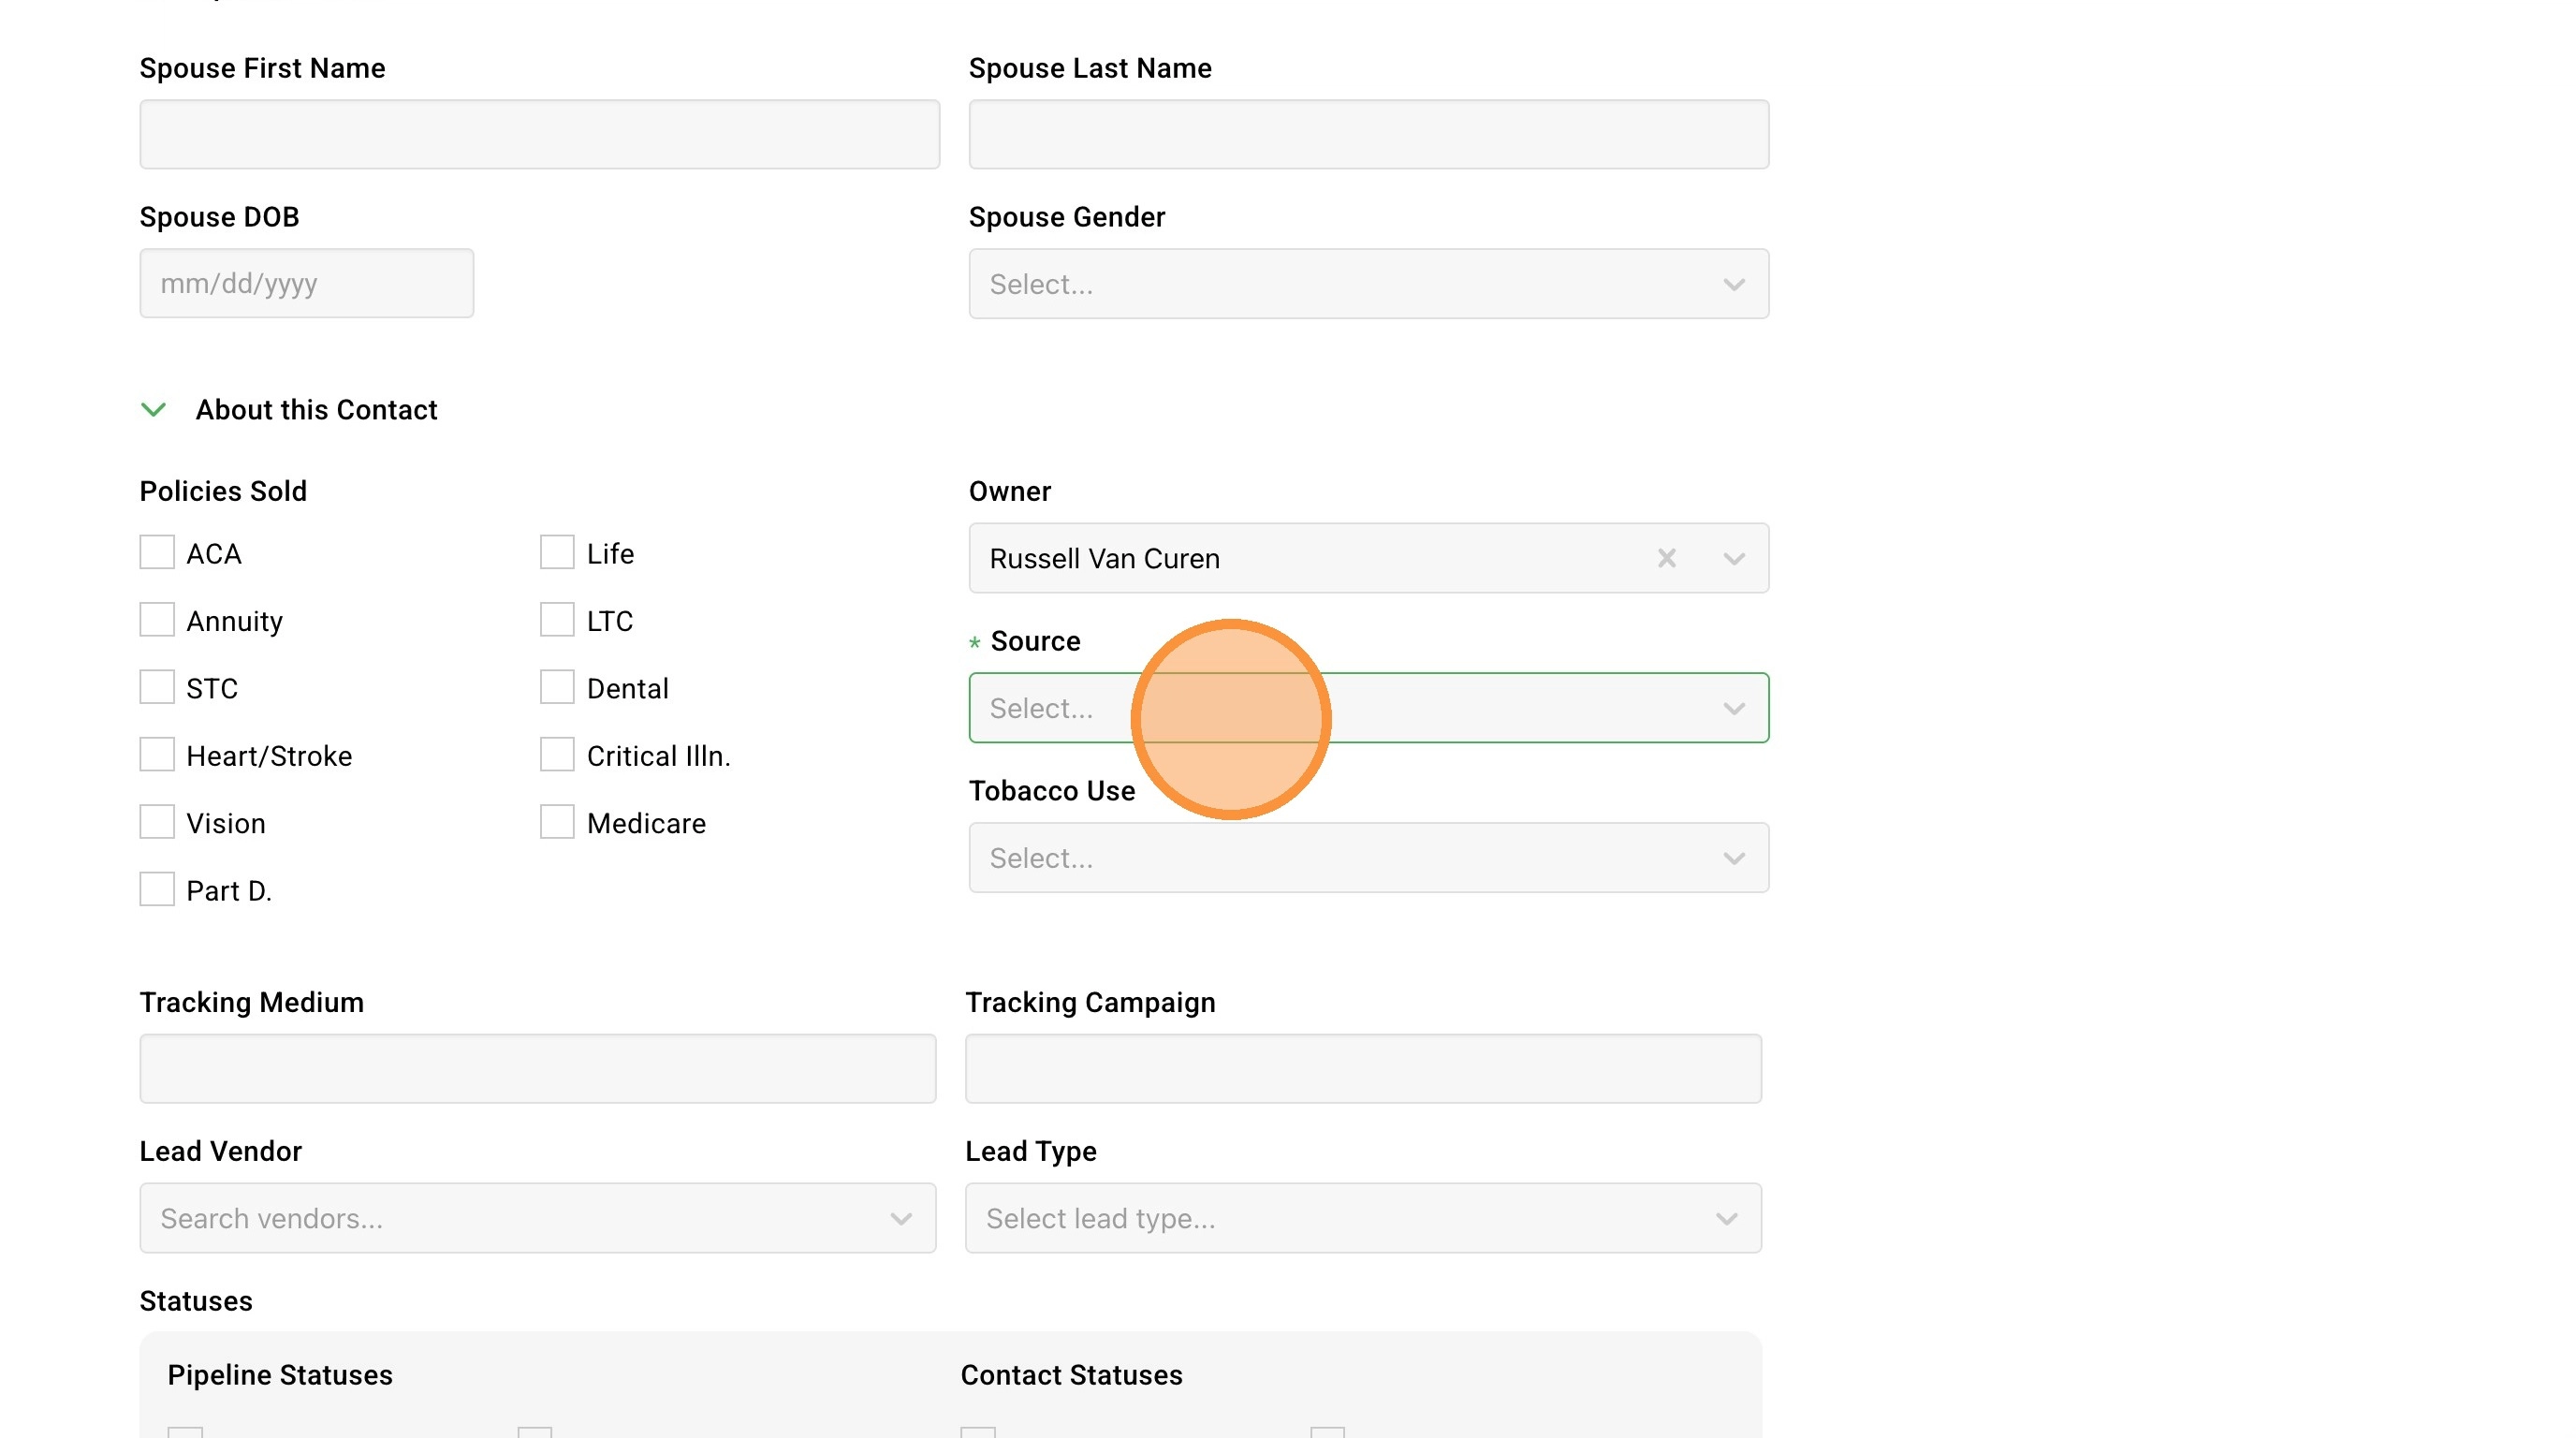
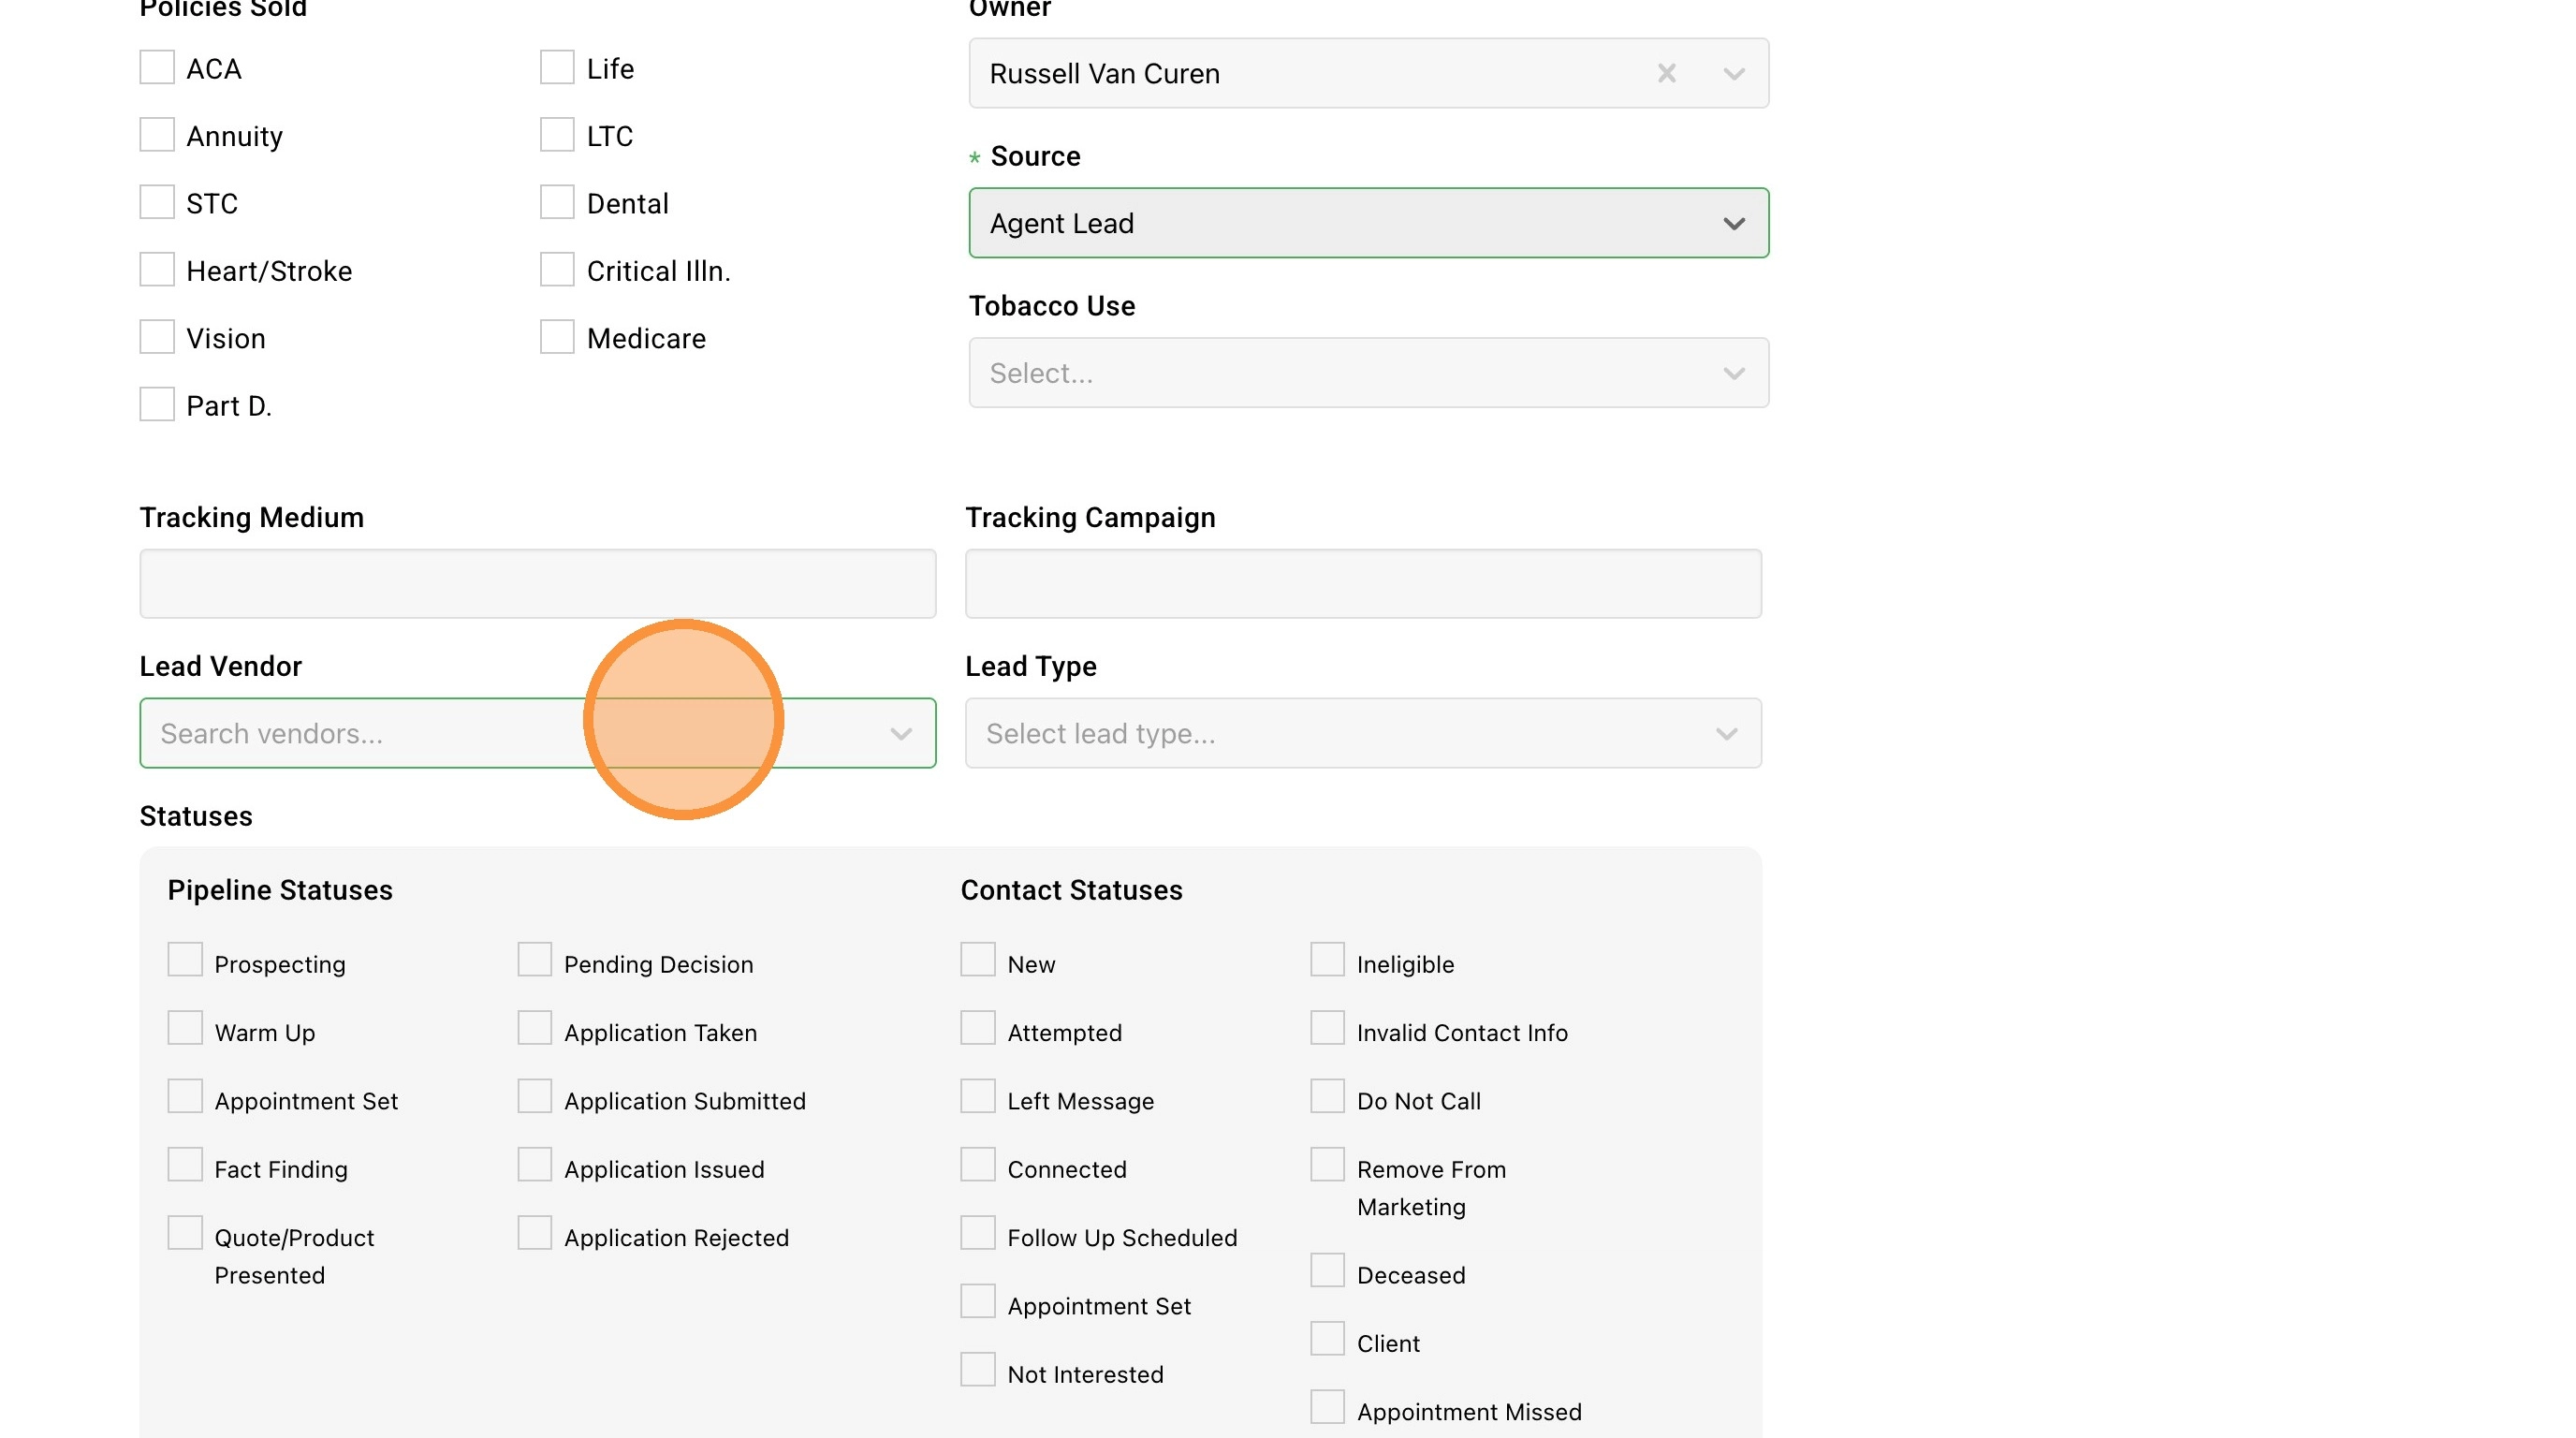
11. If the contact is a lead, set the Lead Vendor and Lead Type. If your vendor isn't already in the list, you can add a new one right from this field. The more this field is used the easier it is to track vendor success and personalize campaigns.
Categorization and Status
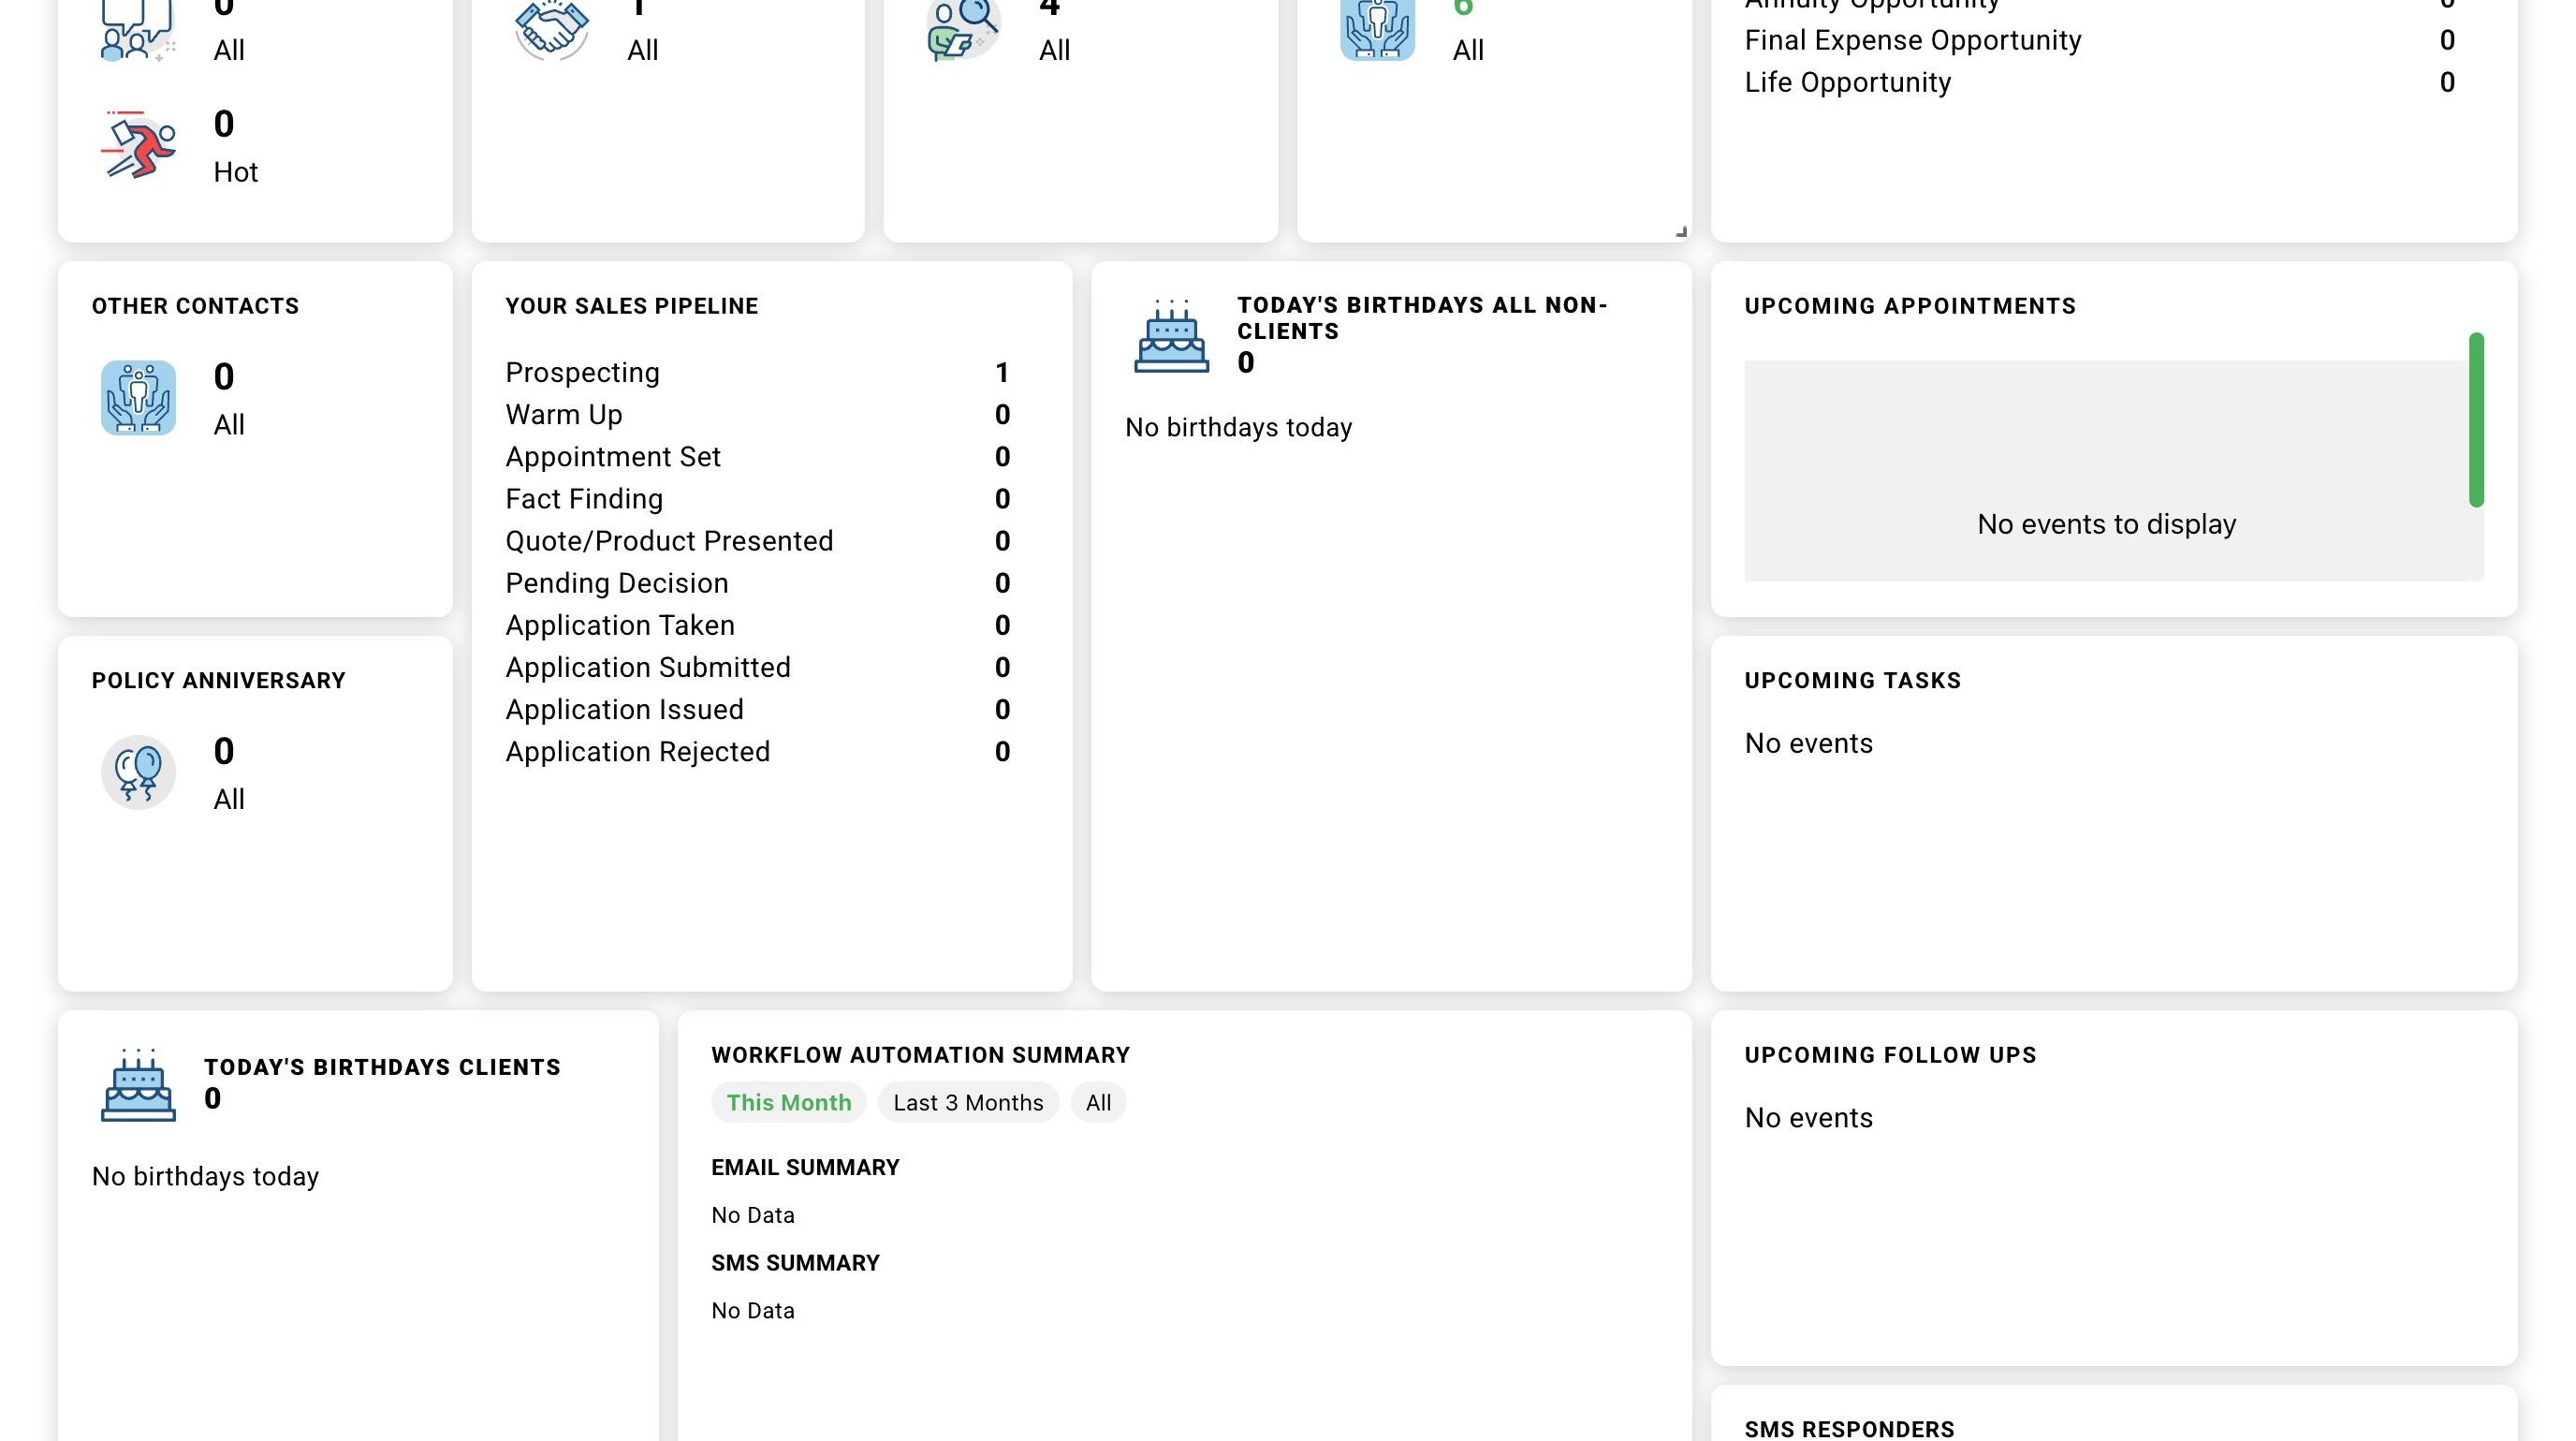
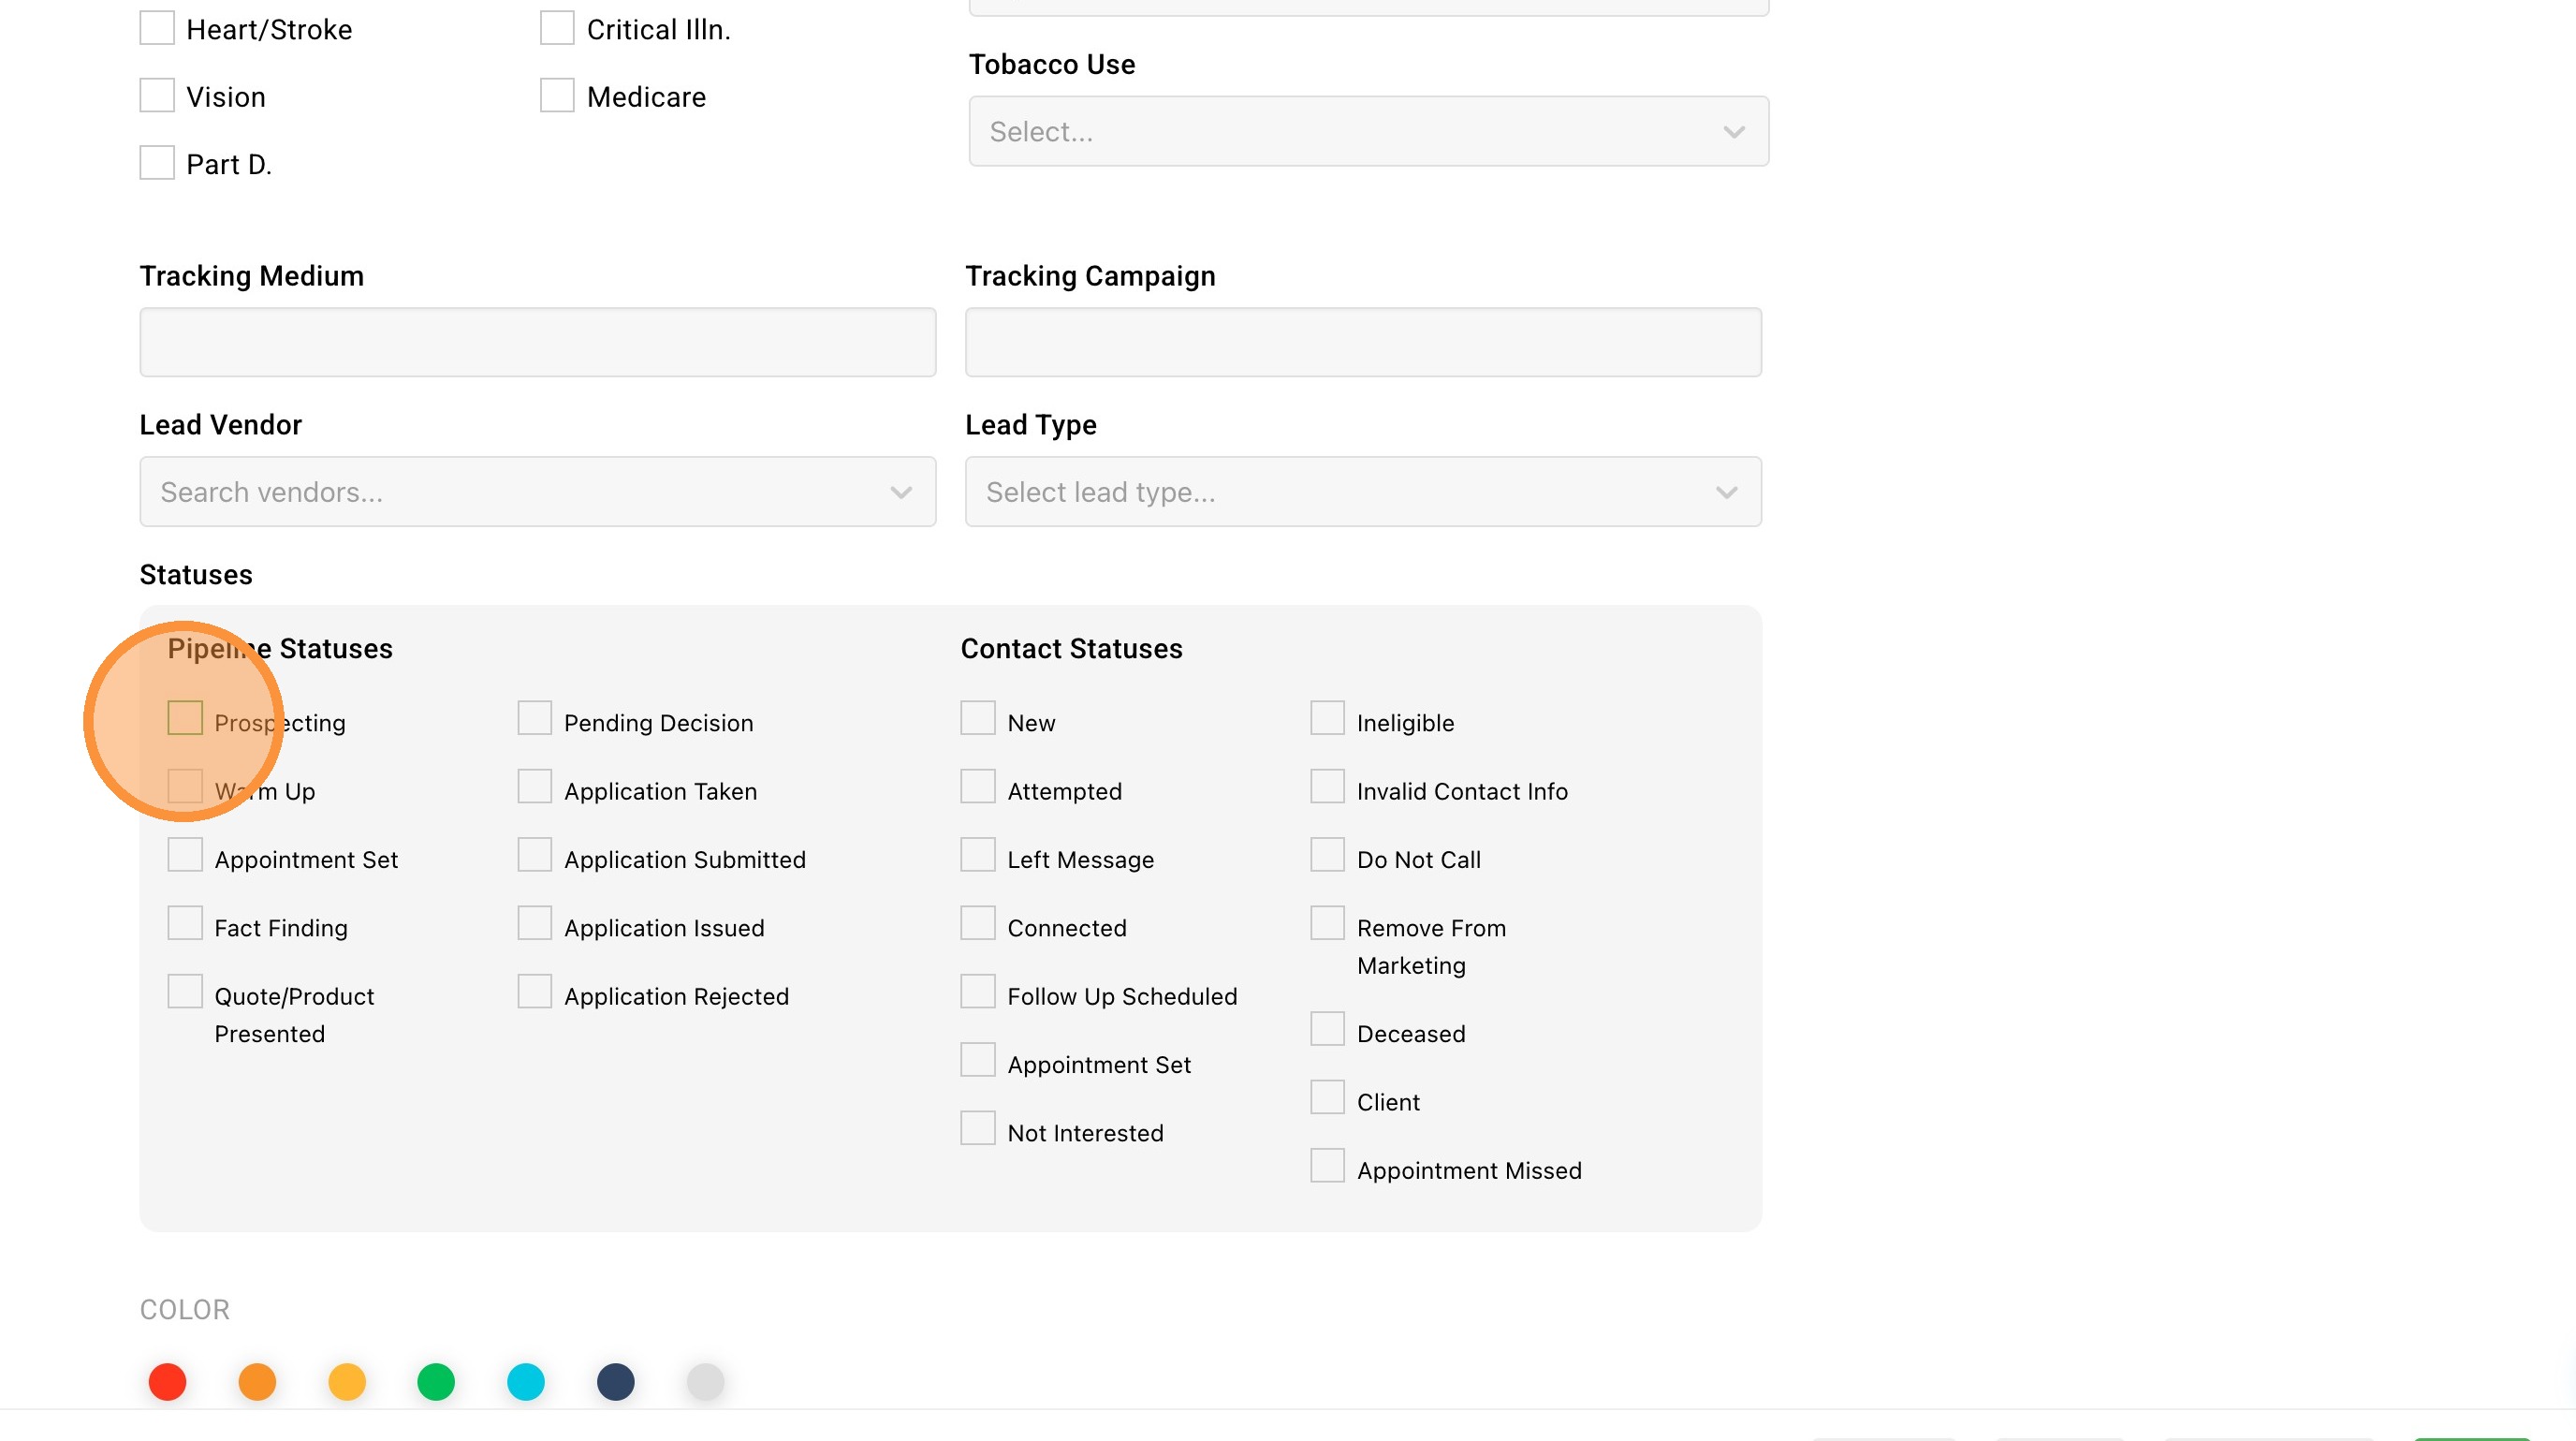
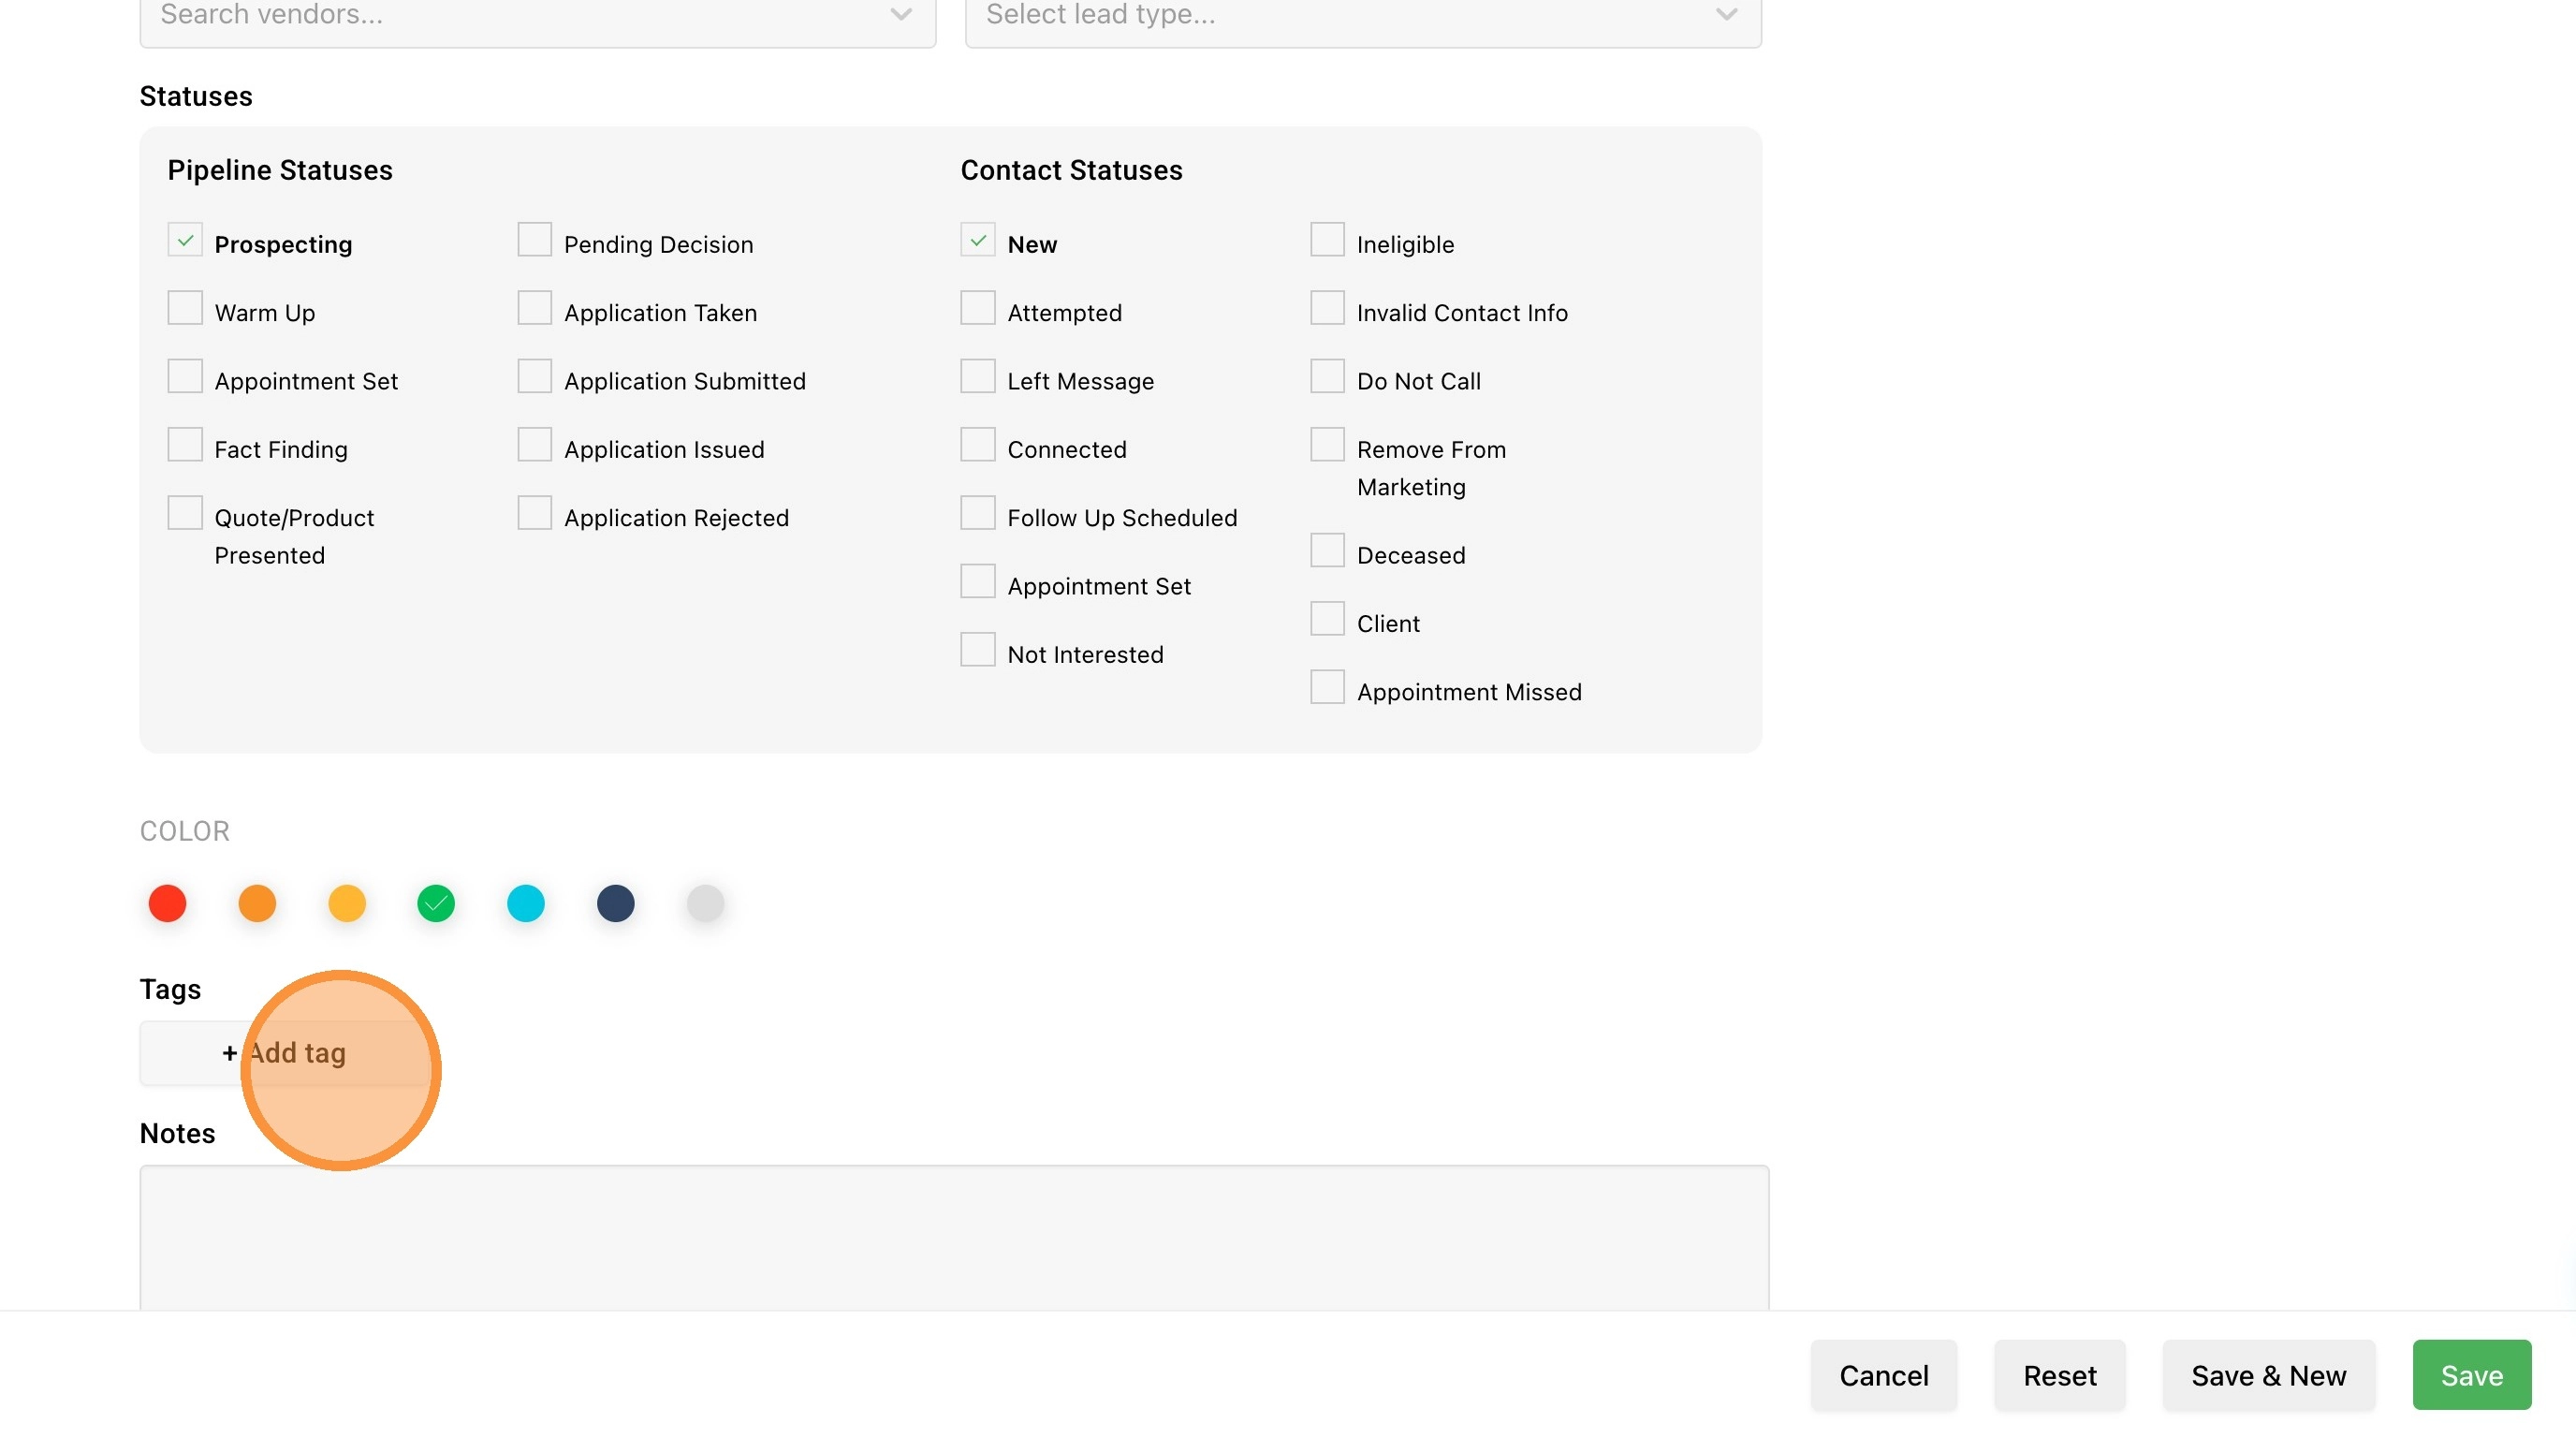
12. Set the Pipeline Status. This shows where the contact currently sits in your sales pipeline.
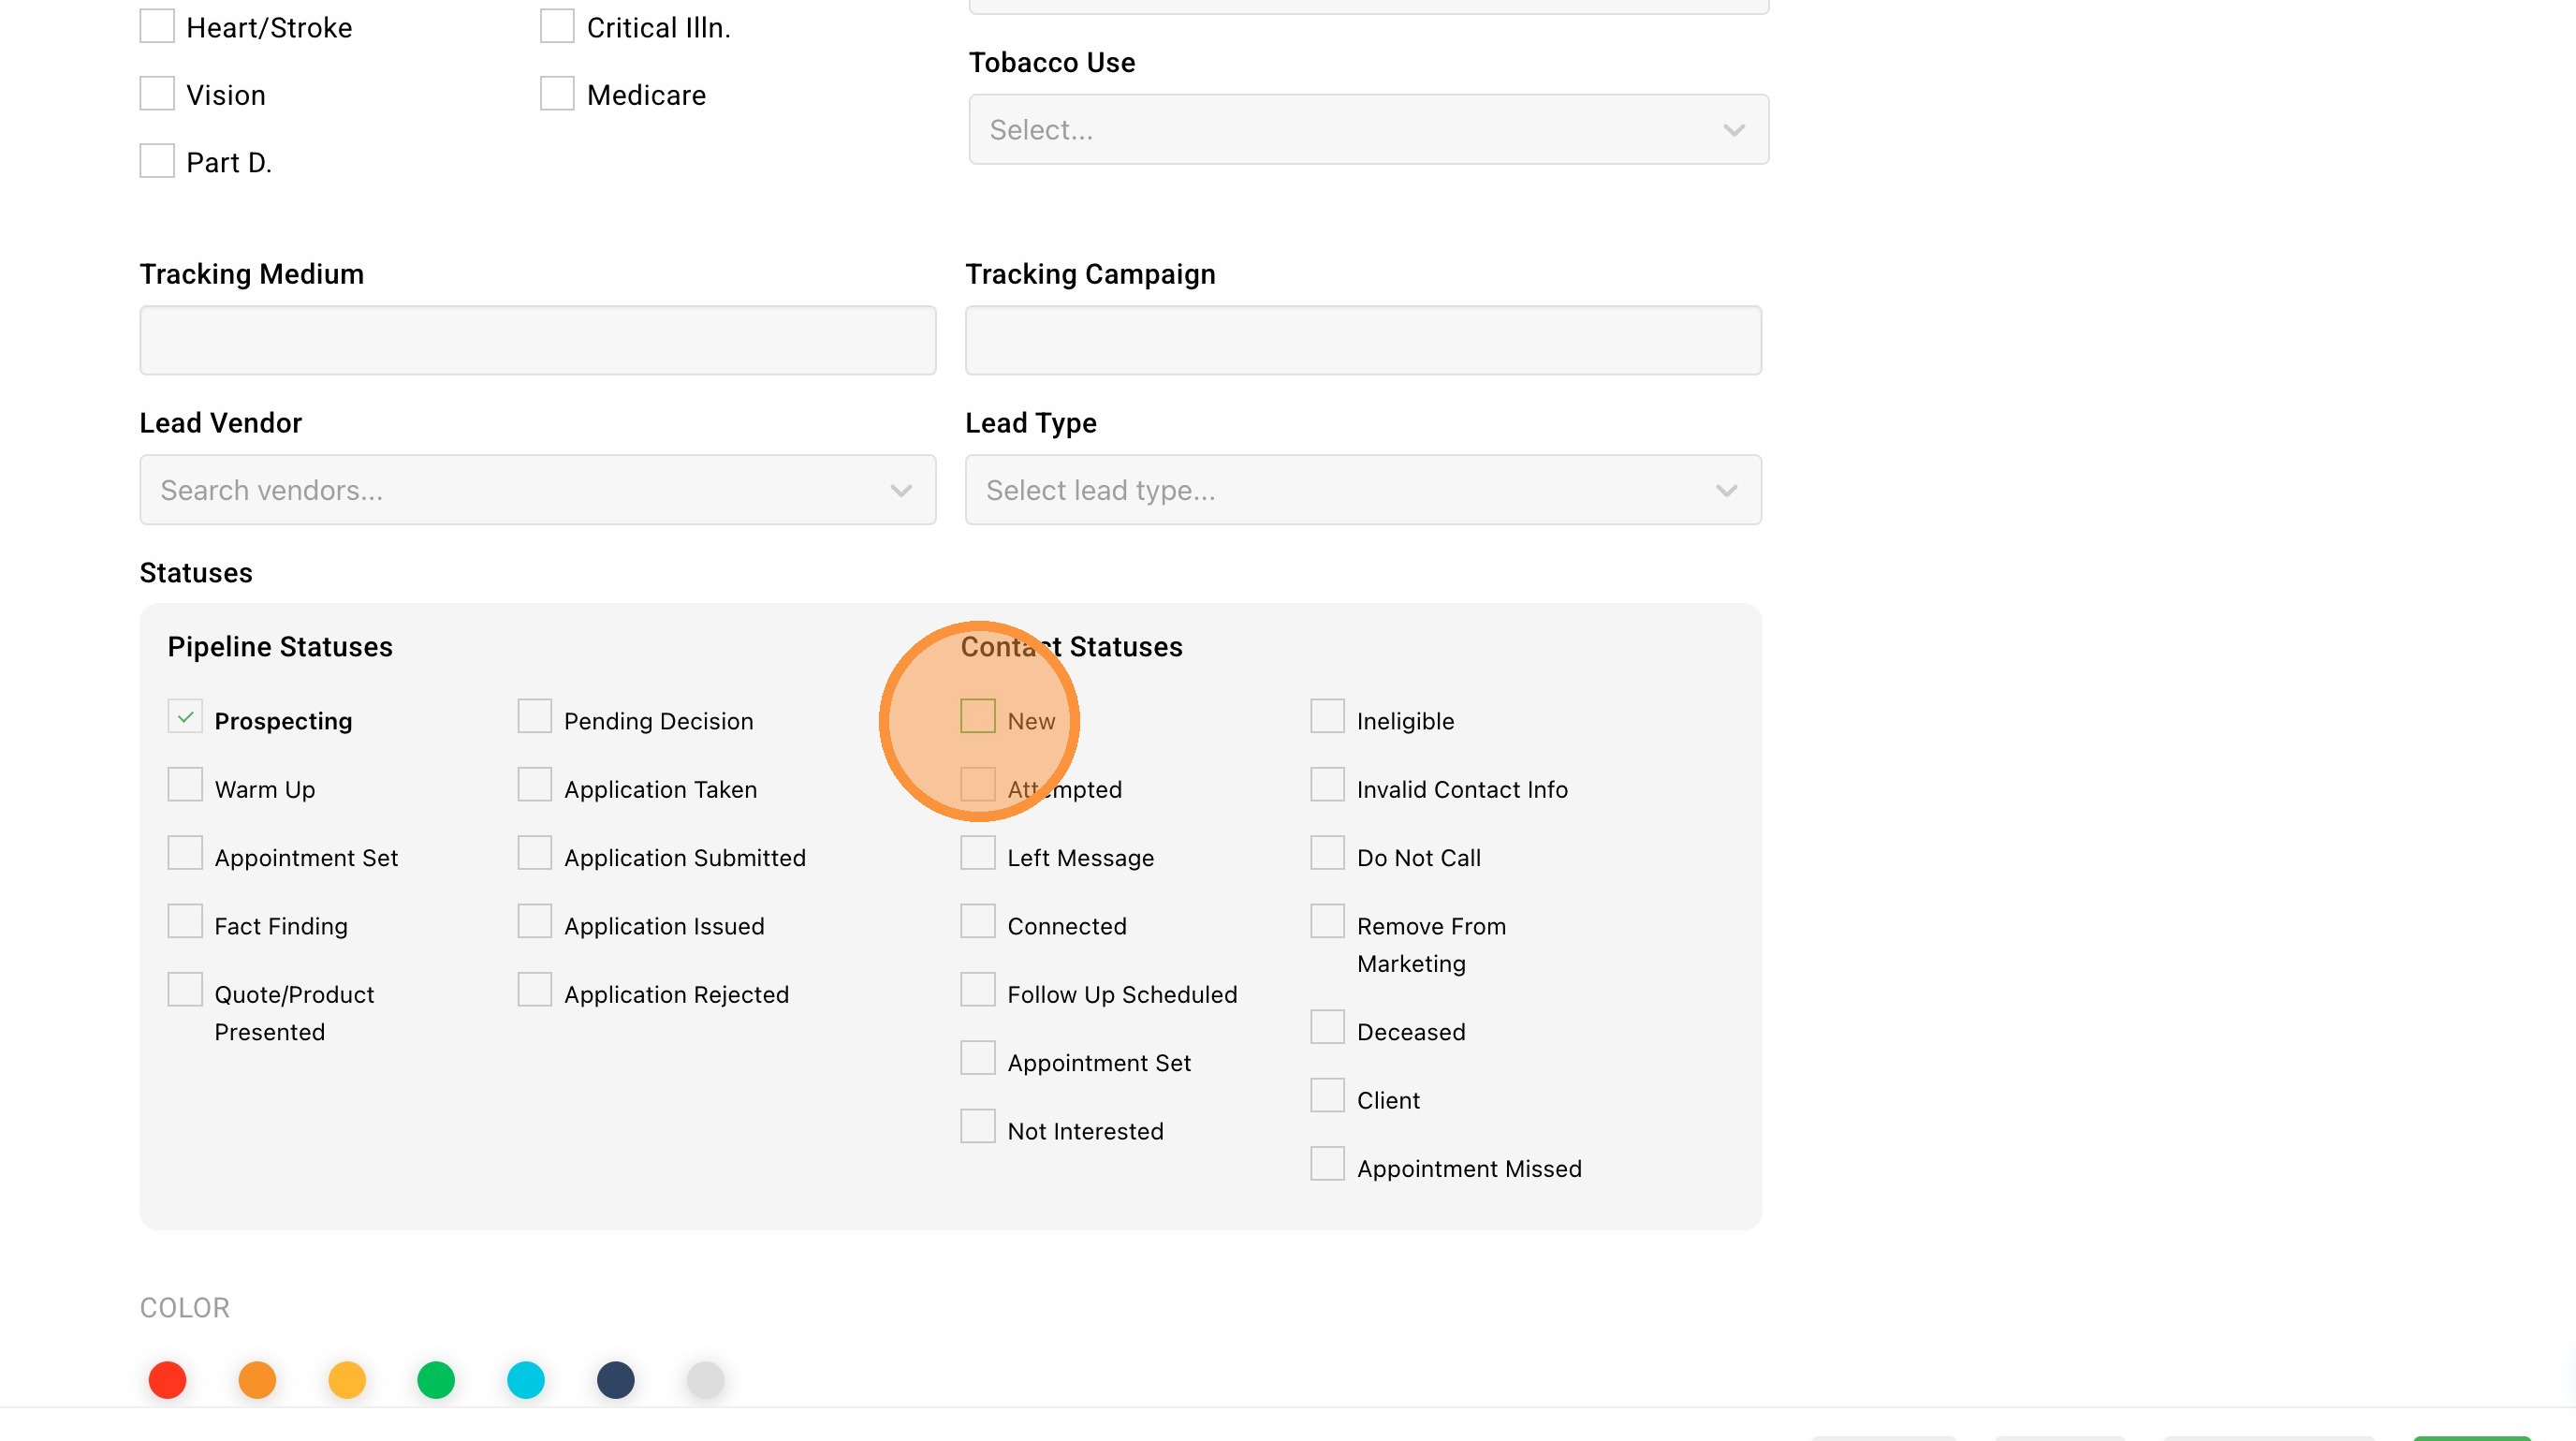
13. Set the Contact Status. This is separate from Pipeline Status and reflects your most recent contact and communication with this person, so you can see at a glance where contact stands.
14. Assign a color to the contact if you want a visual flag. A lot of agents use this to mark hot leads versus cold leads, or to identify specific contact types at a glance on the contact list.
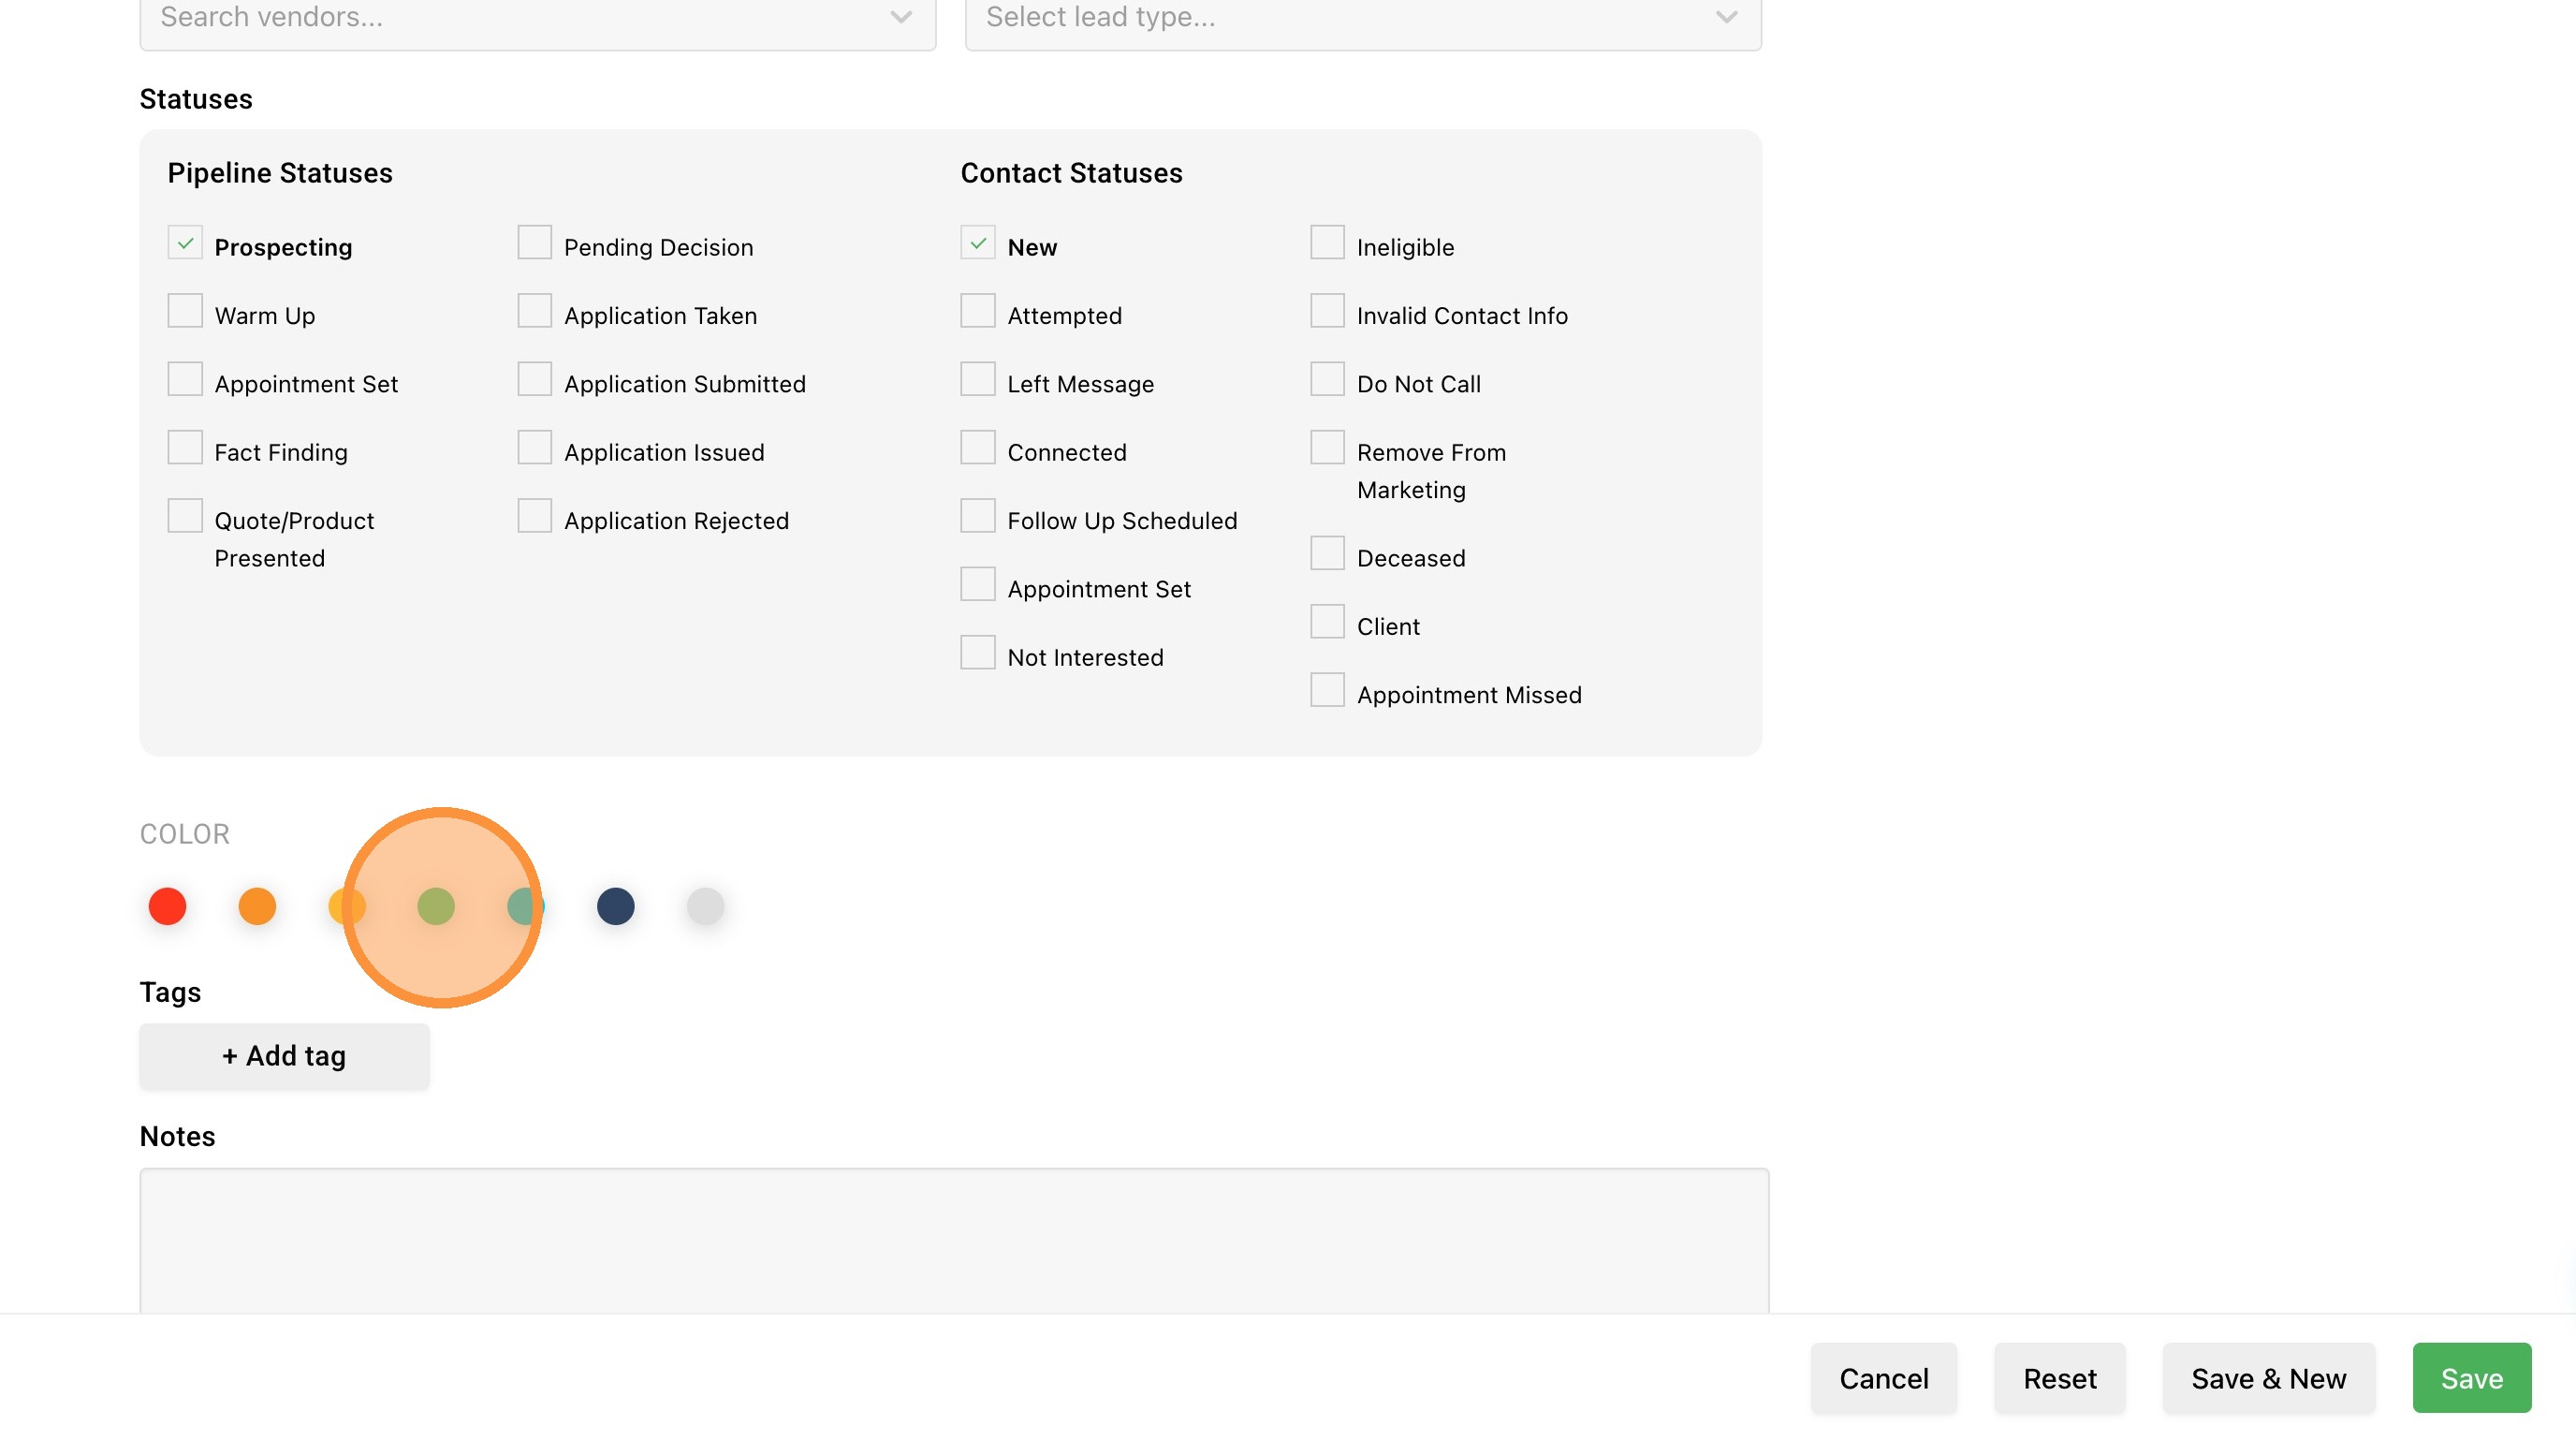
15. Add one or more tags. Tags are especially useful for building campaigns, pulling groups of contacts, and general marketing. To add a tag, click the "+ Add tag" button, enter the tag name, and choose a color. You can apply as many tags as you need.
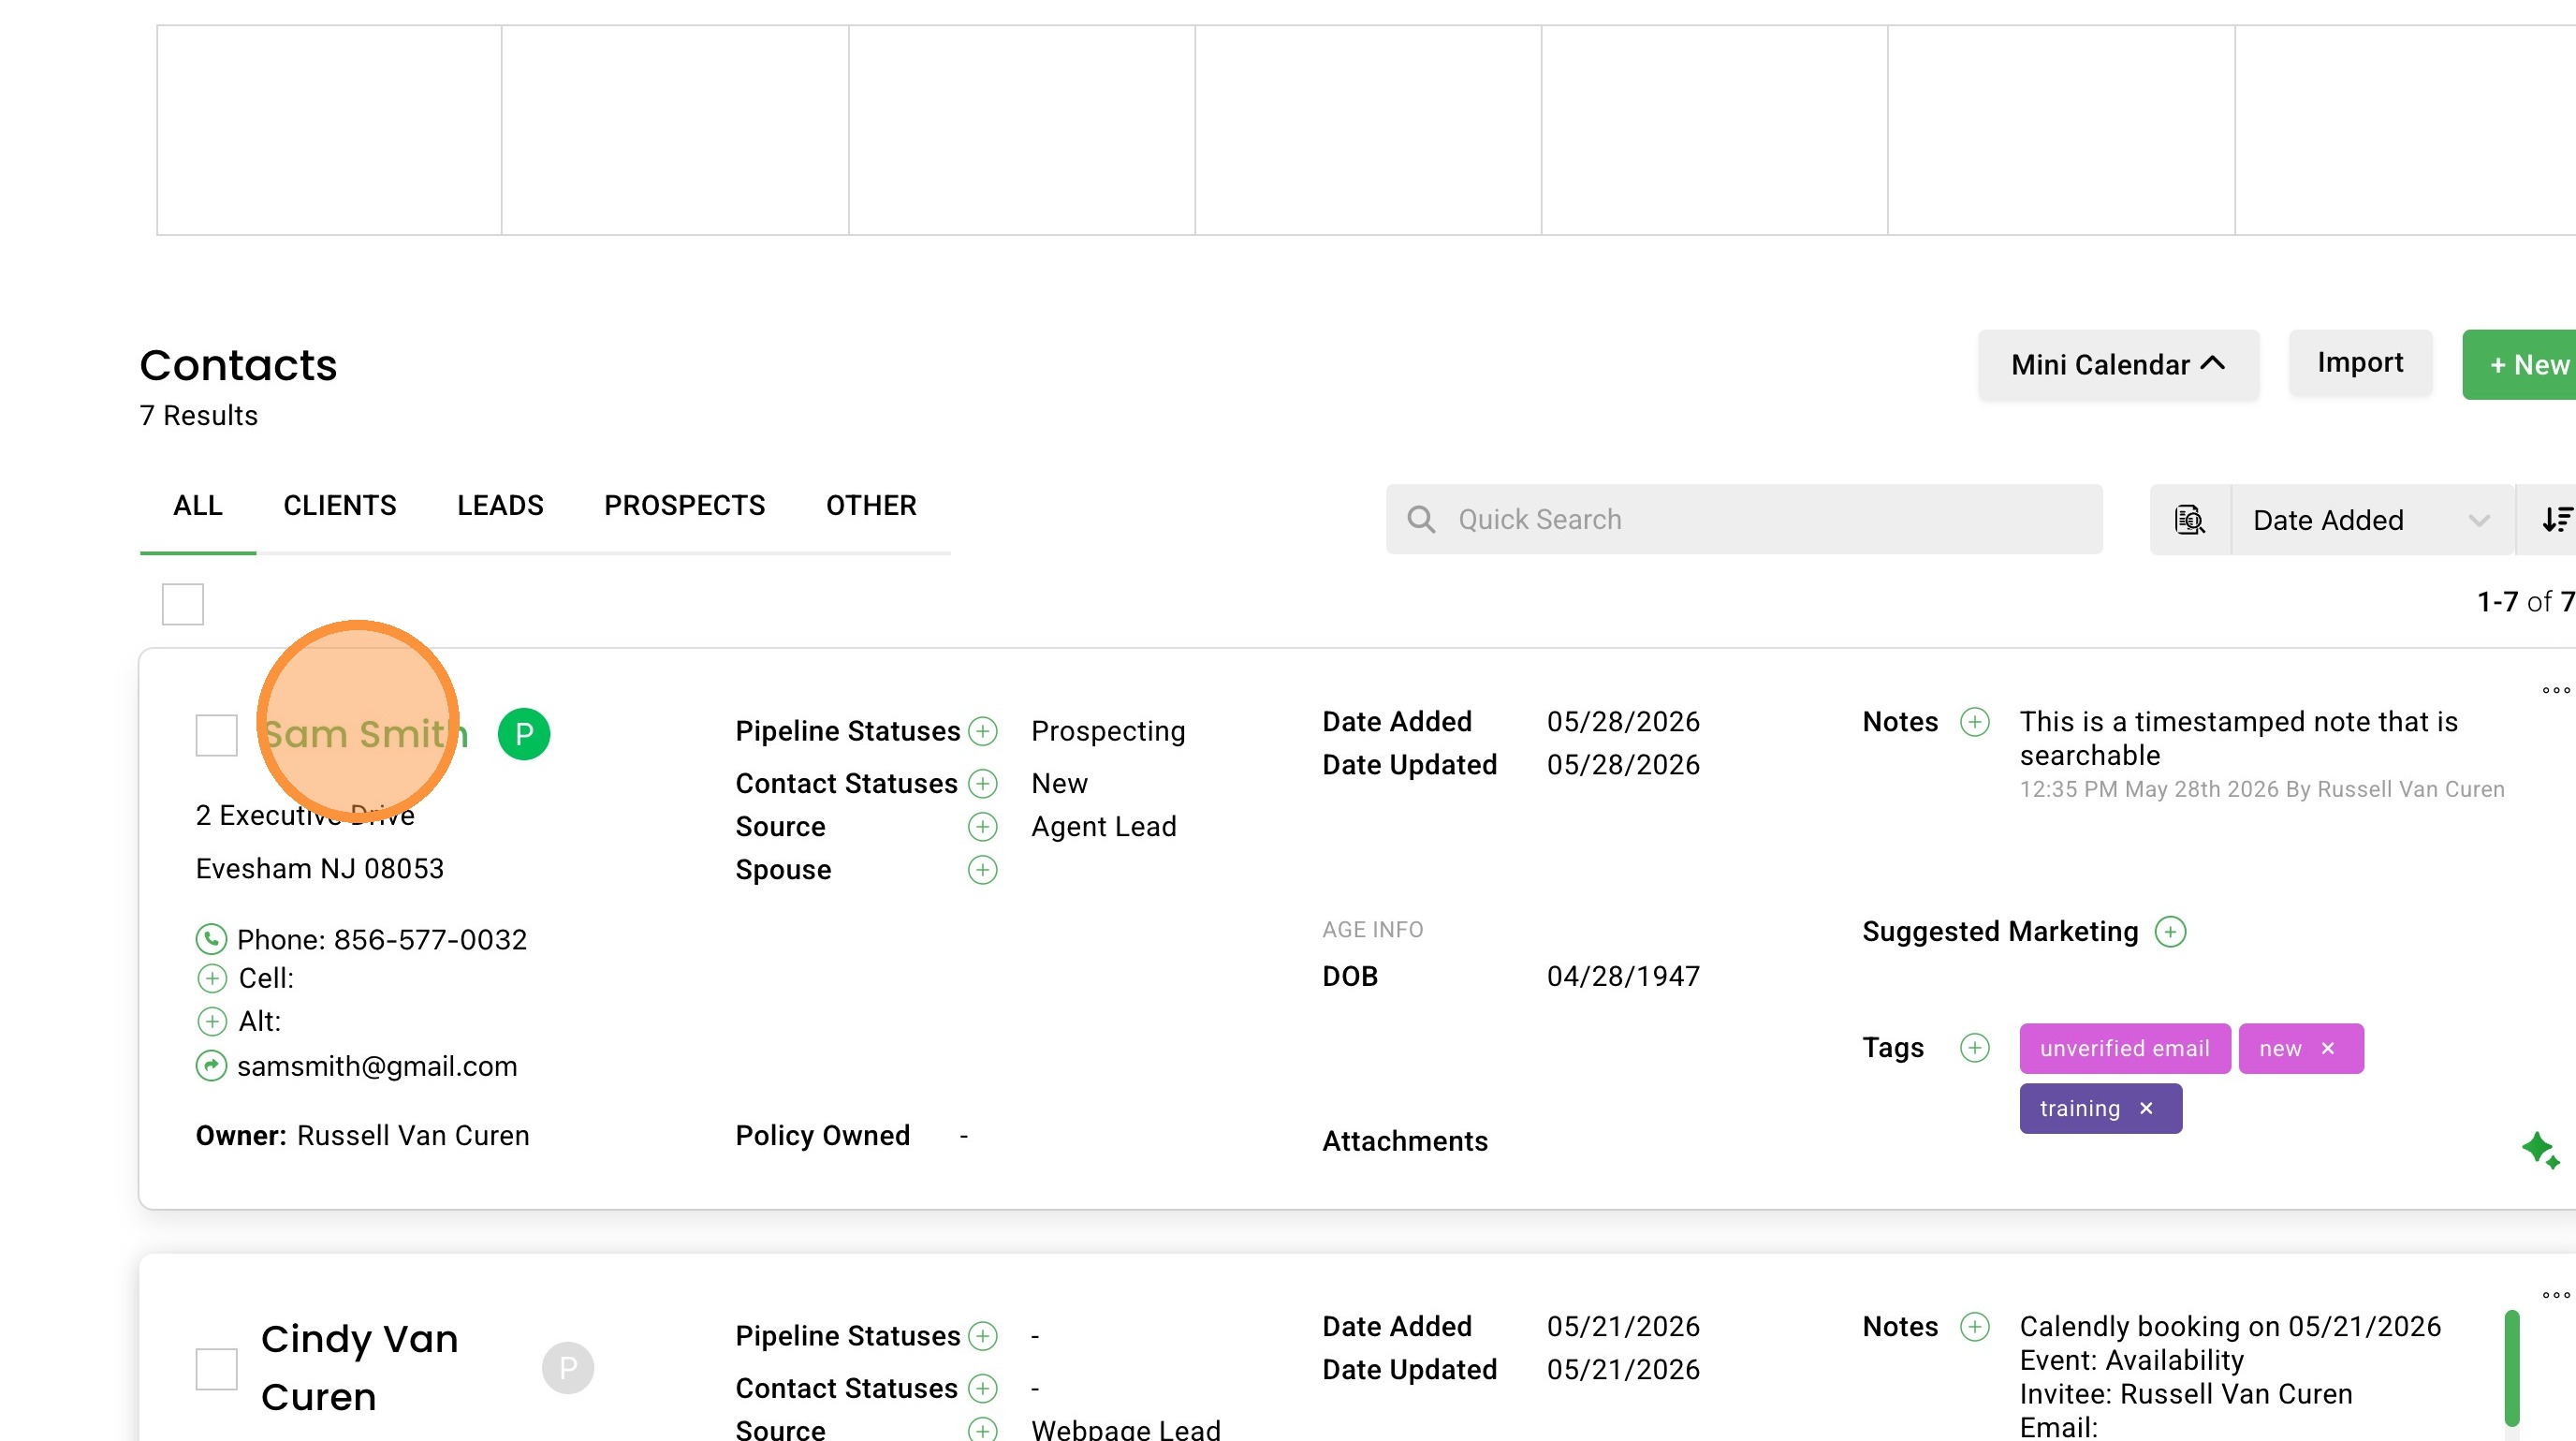
16. Add your notes. There are two notes fields, and each one is used differently:
- The first is a timestamped note. It's dated, searchable, and has a higher character limit. Use it for call notes and anything you want a running record of over time.
- The second is a static note that displays near the top of the contact record every time you open it. Use this for the one or two things you want reminded of every time you view the contact.

Review and Save
17. Once you've entered everything you have for the contact, click "Save".
18. The new contact will now show up on the Contacts page, ready for follow-up.